-
Notifications
You must be signed in to change notification settings - Fork 17
from existing devonfw


From existing devonfw template is very similar to devon4j, devon4ng, devon4net and devon4node templates. The main difference is from existing devonfw template will no create a new devonfw project, it takes an existing project from GitLab and then add/create everything in order to apply a CICD strategy to your project.
To be able to run Jenkins Node job under ProductionLine you need to configure below settings in Jenkins and Gitlab
-
Jenkins
-
Execute the initialize instance template
-
If you plan to deploy into OpenShift, you need to execute openshift-configuration template also.
-
-
Gitlab
-
Create a project and upload your current code. In order to start a new project in your local machine, you can use the devonfw-ide. The project must be a devon4j, devon4ng, devon4net or devon4node project.
-
Generate User Private Token
Go to your Profile in Gitlab
-

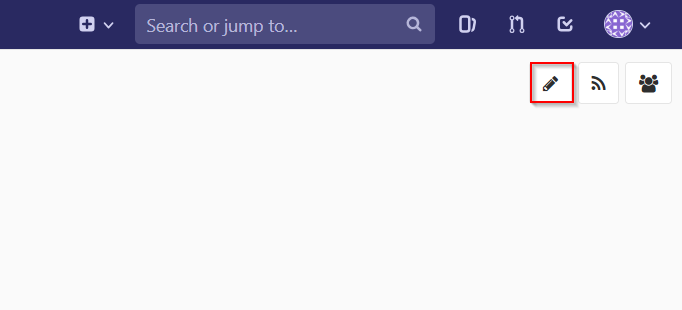
Next click on the pen icon

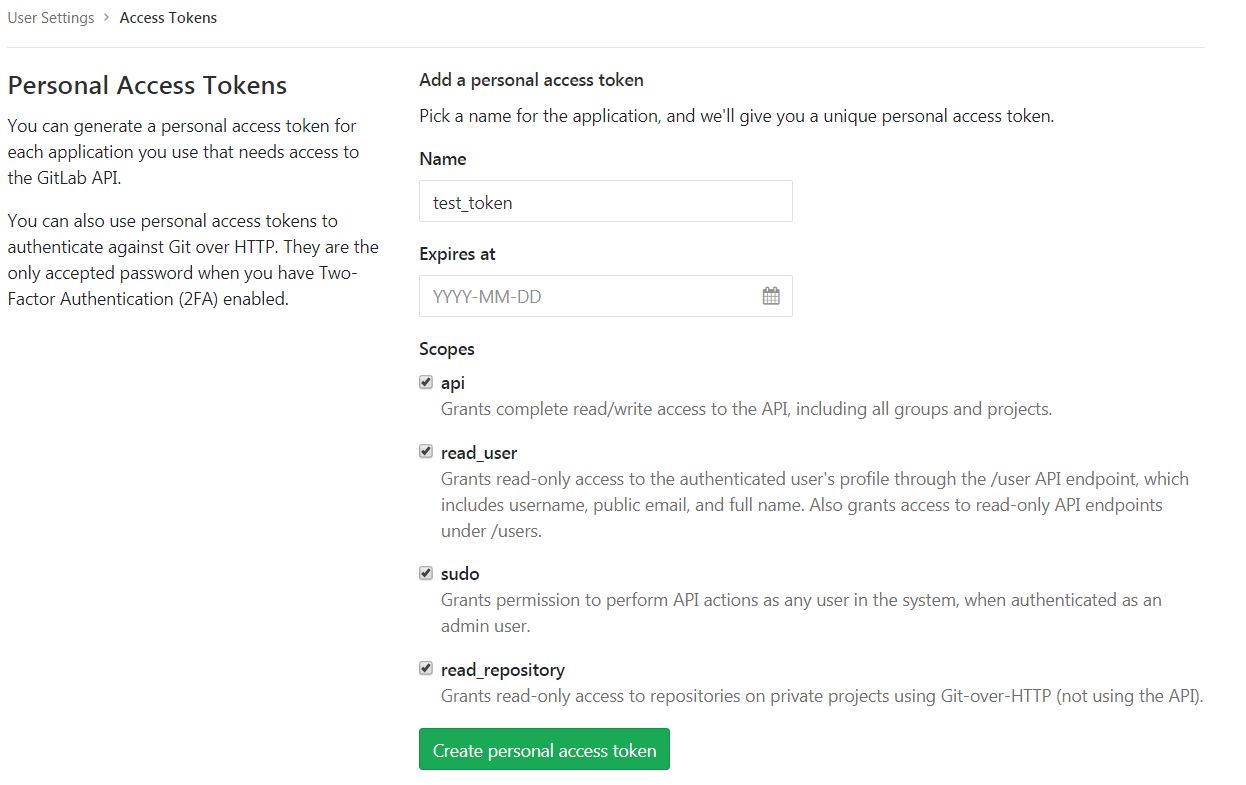
On the left menu choose Access Tokens and put token name and check fields like below

Click "Create personal access token", you should receive notification about created token and token string. Copy the token string.

The GitLab API user needs to have API access and the rights to create a new group. To set this permission follow the next steps:
-
Enter the Admin control panel
-
Select 'Users'
-
Select the user(s) in question and click 'Edit'
-
Scroll down to 'Access' and un-tick 'Can Create Group'
In order to add the template, you can follow the guide.
-
Build the job with parameters:
-
REPOSITORY_URL: The internal repository URL. Without protocol. Example: gitlab-core:80/gitlab/mygroup/myproject-frontend.
-
GIT_BRANCH: The branch where you want to apply the CICD changes.
-
MERGE_STRATEGY: Choose the merge strategy for cicdgen. For more information see the CICDGEN merge documentation page
-
GITLAB_USER_PRIVATE_TOKEN: Private Token of a Production Line Gitlab User that can be used to create/update repositories. The token proprietary user must have admin rights in the repository. Created as prerequisite, you only need to add it as credential with GitLab API token Kind.
-
DEPLOY: Choose the environment where you want to deploy. The deployment could be none, docker or openshift. If docker or openshift were selected, extra parameters will be required in their dedicated steps:
-
Configuring DOCKER:
-
DOCKER_URL: The remote docker daemon URL
-
DOCKER_CERT: Credentials to access docker daemon. If the daemon is not secure, you can leave this empty.
-
-
Configuring Openshift:
-
OC_NAME: Openshift cluster name. It was defined in the Openshift Configuration template
-
DOCKER_REGISTRY_CREDENTIALS: Nexus docker registry user credentials. It was created in the initialize instance pipeline. The default username is nexus-api, the default password is the same as your service account.
-
-
-
After executing this template, you will have:
-
Your GitLab project updated.
-
Added a Jenkinsfile with all CICD stages.
-
The repository is updated in order to have the jenkins webhook.
-
-
A new multibranch pipeline in jenkins inside the folder PROJECT_NAME with the name PROJECT_NAME-PROJECT_SUFFIX. As the webhook is already configured, it should be executed on every push to GitLab repository.
-
If you choose docker for deployment, your Jenkinsfile should contain two extra stages in order to build and deploy the docker image. Also, the repository should contain the Dockerfiles to create the docker images.
-
If you choose OpenShift for deployment, three new applications should be created in your OpenShift. Those applications represent three environments of your application: develop, uat and stage. Also, your Jenkinsfile should contain three extra stages in order to build and deploy the docker image and check that the pod is running without errors. Also, the repository should contain the Dockerfiles to create the docker images.
-
-
devonfw Technologies Templates
-
Utility Templates
-
MrChecker
-
Samples
-