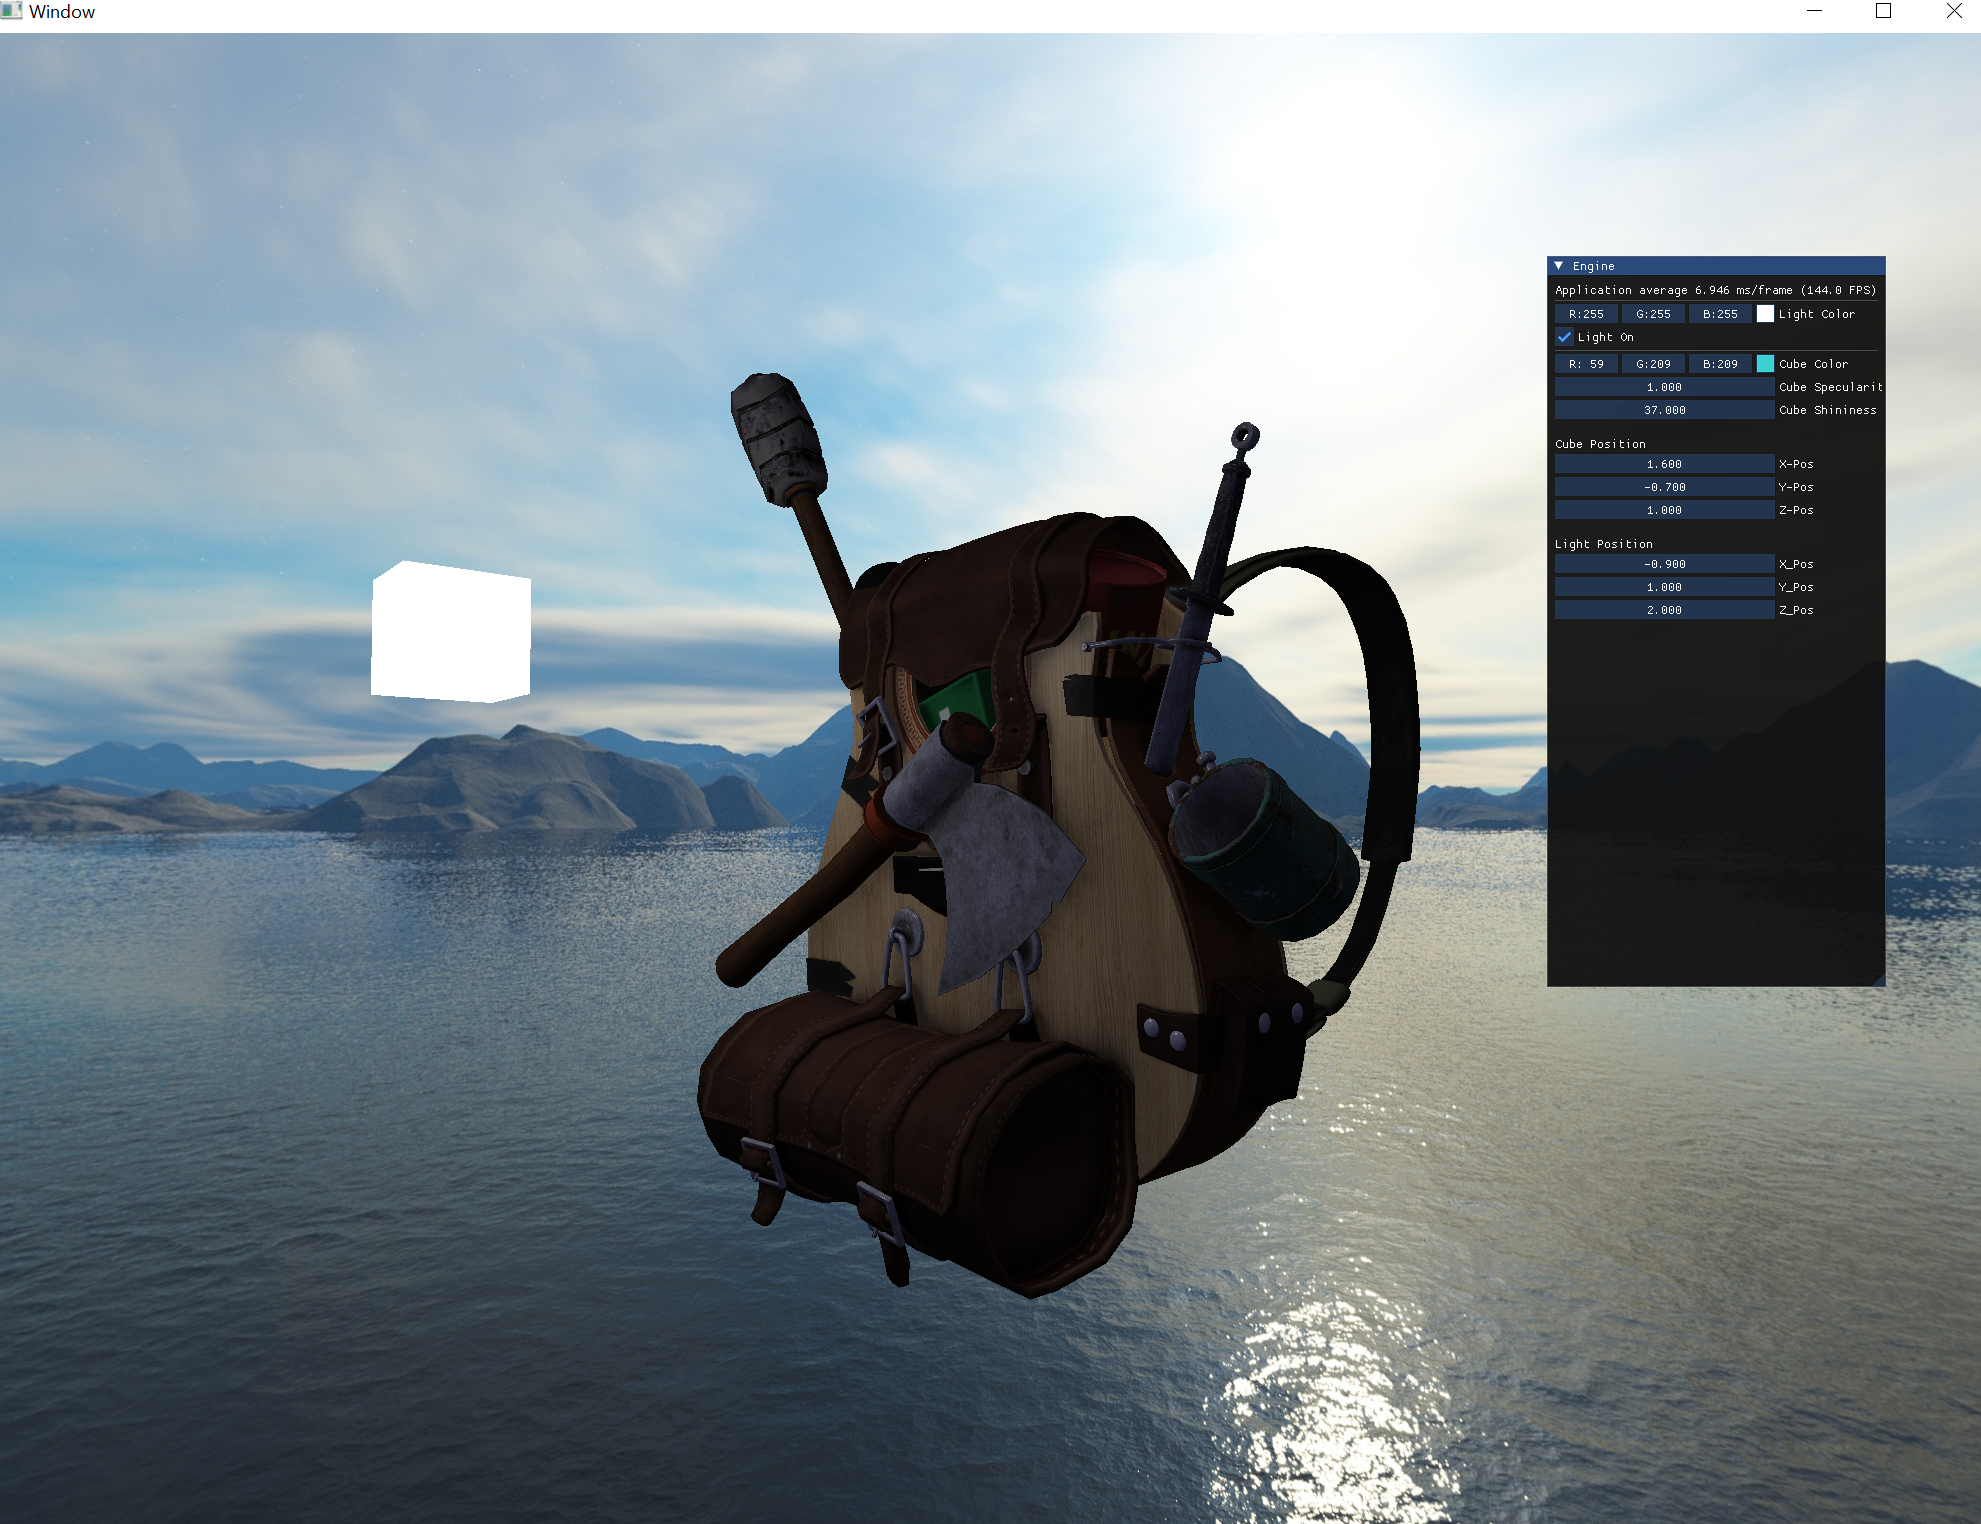
A C++ 3D graphics engine using OpenGL, GLFW, ImGUI, and Assimp. Features real-time scene editing, face culling for performance, deferred shading, and model loading/editing.
Explore the docs »
View Demo
·
Report Bug
·
Request Feature
Table of Contents
- Real-Time Scene Editing: Dynamic modification of scenes for efficient development.
- Face Culling: Improved rendering performance by skipping non-visible faces.
- Deferred Shading: Enhanced rendering efficiency with realistic lighting effects.
- Model Loading/Editing: Seamless 3D model integration and in-app editing with Assimp.
The following instructions are a general installation guide for MacOS/Linux. To install on windows, download visual studio and create a new project using this repo's code as existing files.
- Cmake
MacOS/Linux
brew install cmake
sudo apt-get install cmake
- Visual Studio (latest version) - Windows
- Community Version Download
- Clone the repo
git clone https://github.com/voidblob/RNDEngine.git
- Go into the Build directory and run the following commands
cmake ..
make
./main
- Create a new project with existing files (selecting the root folder of this repo)
- In solution settings, add all include directories, library directories, and source directories to the file path
To use the engine, load in your own models by putting them in /resources/model_folder_name/.
- Edit the model file path in Source.cpp
const string modelPath = "RNDEngine/resources/model_folder_name/model_name.obj";To change the skybox, load your cubemap texture by putting each face in resources/skybox/
- Edit the cubemap file path vector in Source.cpp
 vector<std::string> faces
    {
        "RNDEngine/resources/skybox/your_skybox/right.jpg",
        "RNDEngine/resources/skybox/your_skybox/left.jpg",
        "RNDEngine/resources/skybox/your_skybox/top.jpg",
        "RNDEngine/resources/skybox/your_skybox/bottom.jpg",
        "RNDEngine/resources/skybox/your_skybox/front.jpg",
        "RNDEngine/resources/skybox/your_skybox/back.jpg"

    };
If you want to change the code yourself (add more objects/create your own scene),
- You can create and load your own shaders using the Shader class:
 Shader MyShader(MyShaderPath);
//Set uniforms
 MyShader.SetVec3(some uniform);
 MyShader.setMat4(some uniform);
//Etc- You can create your own model and load it using the Model class:
 Model MyModel(MyModelPath);
//Draw model using built-in model shader or your own
 while(!window.shouldClose()){
 ...
 MyModel.draw(MyShader);
 ...

}- Better portability/build system
- More customizability by adding more configurable options in the ImGUI menu
- Level-generation
See the open issues for a full list of proposed features (and known issues).
Contributions are what make the open source community such an amazing place to learn, inspire, and create. Any contributions you make are greatly appreciated.
If you have a suggestion that would make this better, please fork the repo and create a pull request. You can also simply open an issue with the tag "enhancement". Don't forget to give the project a star! Thanks again!
- Fork the Project
- Create your Feature Branch (
git checkout -b feature/AmazingFeature) - Commit your Changes (
git commit -m 'Add some AmazingFeature') - Push to the Branch (
git push origin feature/AmazingFeature) - Open a Pull Request