The #1 most comprehensive OpenTelemetry tutorial from A to Z.
Presented @

PyCon US 2023
1:30pm-5pm. Thursday, April 20 2023.
Authored by Ron Nathaniel
A measure of how well internal states of a system
can be inferred from knowledge of its external outputs.
A person aging:

A star burning:

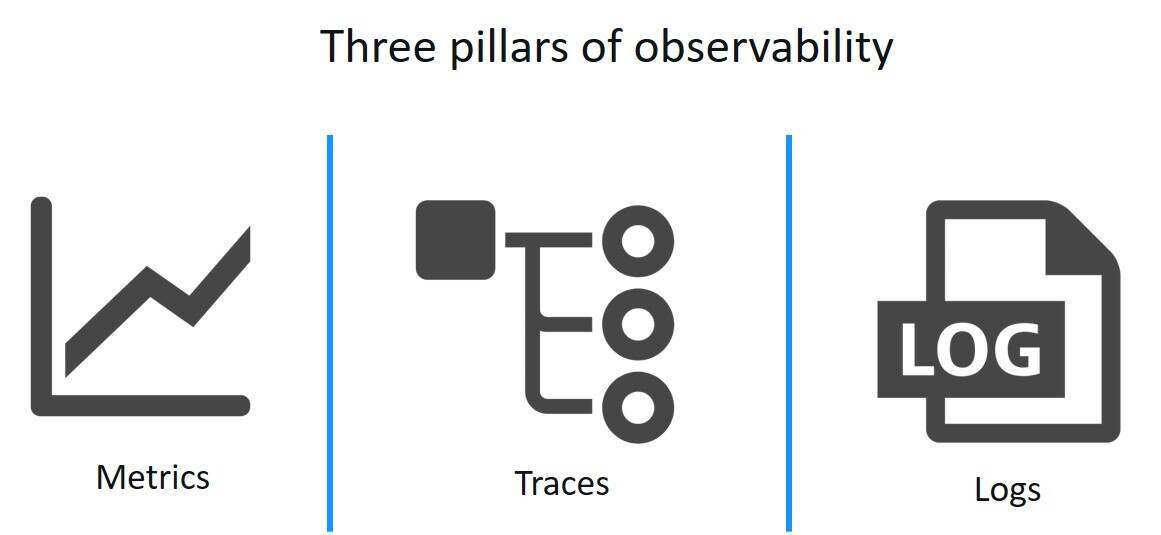
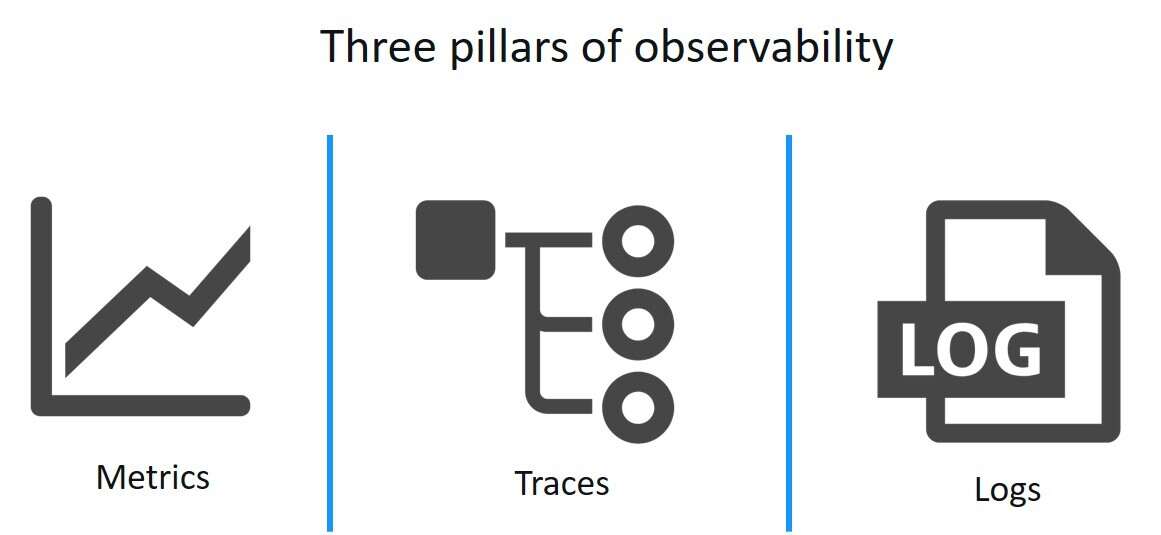
Three Pillars of Observability:

= MeLT. (a Telemetry Data stack).
A collection of tools, APIs, and SDKs
used to instrument, generate, collect, and export telemetry data.
At a high level:

In depth:
Preparing our Workstation:
- Pre-Reqs
- Step 1 - Getting the Collector
- Step 2 - Inspecting the Source Code
- Step 3 - Cleanup
- Step 4 - Running the Collector
- Step 5 - Monitoring with our Observability Tools
Base Case:
Manual Instrumentation Case:
- Step 8 - The MANUAL Instrumentation Case
- Step 9 - Testing The Manual Instrumentation Case
- Step 10 - Monitoring The Manual Instrumentation Case
Contrib Instrumentation Case:
- Step 11 - The CONTRIB Instrumentation Case
- Step 12 - Testing The Contrib Instrumentation Case
- Step 13 - Monitoring The Contrib Instrumentation Case
No-Code Instrumentation Case:
- Step 14 - The NO CODE Instrumentation Case
- Step 15 - Testing The No Code Instrumentation Case
- Step 16 - Monitoring The No Code Instrumentation Case
Conclusion
First clone this repository:
git clone https://github.com/ronnathaniel/pycon23-opentelemetry
cd pycon23-opentelemetry
And then make sure the following dependencies are installed:
All can be installed via HomeBrew / Yum / Rpm / Pacman / Apt-Get / Any OS Package Manager
Are you experienced in:
- Python?
- Flask or Web servers?
- OpenTelemetry or Observabilitity?
- 1 year?
- 5 years?
- 10 years?
Move into the OpenTelemetry Collector demo. In a Terminal, run:
cd collector-demoAt collector-demo/, read in order:
docker-compose.yaml
Brings up containers with the OpenTelemetry Collector and 3 observability tools: Jaeger, Zipkin, and Prometheus.
Side Note
(Main difference between Jaeger and Zipkin:
Zipkin runs as 1 single process, Including Collector, Storage, Querying Service, and UI.
Jaeger introduced the concept of splitting into different processes, one being the Collector, another being the UI, etc.Prompt: Can you guess why?)
otel-collector-config.yaml
Defines how we want to receive Telemetry (as OTLP GRPC requests)
How we want to process Telemetry (in Batches)
And how we want to export Telemetry (to Prometheus, Zipkin, and Jaeger)
prometheus.yaml
Defines where we want to gather Metrics Telemetry from (the Otel Collector)
Skip this section..... For now .....
Lets start the collector locally. In a Terminal, run:
docker compose upAnd voila, our collector and observability tools are up and running.
View the tools at:
-
Jaeger = localhost:16686
-
Zipkin = localhost:9411
-
Prometheus = localhost:9090
Create a Python file (flask_base.py) with the following:
from flask import Flask

app = Flask(__name__)


@app.route('/')
def hello():
    return 'Hello, World! from our plain Flask App\n'


@app.route('/error')
def error():
    1 / 0


if __name__ == '__main__':
    app.run(host='0.0.0.0', port=5000)
Let's install our dependencies with
pip3 install flaskAnd open 2 empty terminals side by side (CMD + D, move between with CMD + [ and CMD + ]).
In a main terminal, run with file with
python3 flask_base.pyAnd move to the other terminal.
-> For a successful response, call the server with:
curl localhost:5000-> For an unsuccessful response, call the server with:
curl localhost:5000/errorAnd I want you to tell me (as the client)
- what happened?
- why did the request fail?
- did the server crash?
- is the server still up and running?
- is my application still working or do I need to restart it?
OpenTelemetry to the rescue...
Manual Instrumentation is the hardest but safest of all instrumentations. The developer is in complete control over what gets instrumented, and how.
Create a Python file by duplicating flask_base.py with:
cp flask_base.py flask_instrumentation_manual.pyand let's install our dependencies:
pip3 install \
   opentelemetry-api \
   opentelemetry-sdk  \
   opentelemetry-exporter-otlp
And in our flask_instrumentation_manual.py file add some boilerplate at the top:
from opentelemetry import trace
from opentelemetry.sdk.trace import TracerProvider
from opentelemetry.sdk.trace.export import (
    BatchSpanProcessor, ConsoleSpanExporter
)
from opentelemetry.exporter.otlp.proto.grpc.trace_exporter import OTLPSpanExporter
from opentelemetry.sdk.resources import SERVICE_NAME, Resource


COLLECTOR_ENDPOINT = 'http://0.0.0.0:4317'
MY_SERVICE = 'MyFlaskAppInProductionManual'

resource = Resource(attributes={
    SERVICE_NAME: MY_SERVICE
})
provider = TracerProvider(resource=resource)

# exports to STDOUT
processor_console = BatchSpanProcessor(ConsoleSpanExporter())
provider.add_span_processor(processor_console)
# exports to Otel Collector
processor_grpc = BatchSpanProcessor(OTLPSpanExporter(endpoint=COLLECTOR_ENDPOINT))
provider.add_span_processor(processor_grpc)

trace.set_tracer_provider(provider)
tracer = trace.get_tracer(__name__)
and replace our hello() function at / route with
@app.route('/')
def hello():
    with tracer.start_as_current_span('root') as root:
        root.add_event('root_event')
        return 'Hello, World! from our Manually Instrumented Flask App\n'
and our error() function at /error with
@app.route('/error')
def error():
    with tracer.start_as_current_span('root') as root:
        root.add_event('root_event')
1 / 0In the first terminal, run with file with
python3 flask_instrumentation_manual.pyAnd move to your second terminal.
-> For a successful response, call the server with:
curl localhost:5000-> For an unsuccessful response, call the server with:
curl localhost:5000/errorView the tools at:
-
Jaeger = localhost:16686
-
Zipkin = localhost:9411
-
Prometheus = localhost:9090
Contributed packages include support for third party tools.
Restart our instrumentation with
cp flask_base.py flask_instrumentation_contrib.pyand Install the Flask contrib package with:
pip3 install opentelemetry-instrumentation-flaskOnly 2 sections are needed to instrument. The top-level import
import os
from opentelemetry.sdk.trace import TracerProvider
from opentelemetry.sdk.trace.export import (
    BatchSpanProcessor, ConsoleSpanExporter
)
from opentelemetry.sdk.resources import SERVICE_NAME, Resource
from opentelemetry.exporter.otlp.proto.grpc.trace_exporter import OTLPSpanExporter
from opentelemetry.instrumentation.flask import FlaskInstrumentor

os.environ['OTEL_INSTRUMENTATION_HTTP_CAPTURE_HEADERS_SERVER_REQUEST'] = '.*'
os.environ['OTEL_INSTRUMENTATION_HTTP_CAPTURE_HEADERS_SERVER_RESPONSE'] = '.*'

COLLECTOR_ENDPOINT = 'http://0.0.0.0:4317'
MY_SERVICE = 'MyFlaskAppInProductionContrib'

resource = Resource(attributes={
    SERVICE_NAME: MY_SERVICE
})
provider = TracerProvider(resource=resource)

# exports to STDOUT
processor_console = BatchSpanProcessor(ConsoleSpanExporter())
provider.add_span_processor(processor_console)
# exports to Otel Collector
processor_grpc = BatchSpanProcessor(OTLPSpanExporter(endpoint=COLLECTOR_ENDPOINT))
provider.add_span_processor(processor_grpc)
and
FlaskInstrumentor().instrument_app(app, tracer_provider=provider)given app is your flask app object.
In the first terminal, run with file with
python3 flask_instrumentation_contrib.pyAnd move to your second terminal.
-> For a successful response, call the server with:
curl localhost:5000-> For an unsuccessful response, call the server with:
curl localhost:5000/errorView the tools at:
-
Jaeger = localhost:16686
-
Zipkin = localhost:9411
-
Prometheus = localhost:9090
Our only dependency to install is:
pip3 install opentelemetry-distroand we must bootstrap it with:
opentelemetry-bootstrap -a install Our method of running our application must change to
opentelemetry-instrument --traces_exporter otlp,console --service_name MyFlaskAppInProductionAuto --exporter_otlp_endpoint http://localhost:4317 python3 flask_base.pyNow lets break that command ^ down.
-
opentelemetry-instrument= a command line tool which auto-instruments Python files. -
--traces_exporter otlp,console= flag to declare we will export our spans/traces via OTLP and our local Console (stdout). -
--service_name MyFlaskAppInProductionAuto= flag to declare our OpenTelemetry's Service name. -
--exporter_otlp_endpoint http://localhost:4317= a flag to declare exactly where we will send our OTLP spans. -
python3 flask_base.py= we tellopentelemetry-instrumenthow we usually run our application. This allows the CLI tool to run it for us.
Paste the command above into a file named flask_instrumentation_nocode.sh.
Be sure to chmod +x flask_instrumentation_nocode.sh to make it executable!
In the first terminal, run our new file with
./flask_instrumentation_nocode.sh
And move to your second terminal.
-> For a successful response, call the server with:
curl localhost:5000-> For an unsuccessful response, call the server with:
curl localhost:5000/errorView the tools at:
-
Jaeger = localhost:16686
-
Zipkin = localhost:9411
-
Prometheus = localhost:9090
Can you answer these questions:
-
What is Observability? -
What is OpenTelemetry? -
What App Observability tools exist? -
With what methods can I instrument my app with OpenTelemetry? -
When should I use each? -
What is the OpenTelemetry Collector?
And you're free to go. Have a good day!
Thanks for participating.


