-
Notifications
You must be signed in to change notification settings - Fork 13
Project Creation
bld was designed to make RIFE2 web application development as easy as
possible. When we achieved that, we realized that bld was also incredibly
useful for other Java projects and libraries. bld therefore provides
other create commands that you can use to start non-RIFE2 Java projects.
Now that bld is installed, let's start with a RIFE2
project because a blank project is merely a subset of that.
To create a RIFE2 web application with the package com.example, the project name
my-app and MyApp as the base name for the generated classes, type the following:
bld create-rife2 com.example my-app MyAppThe RIFE2 project template that is integrated into bld is now used to create
the complete structure of your application and the library dependencies
required to compile and run it are automatically downloaded. This is the only
time that any downloads happen without you telling bld to do so.
It will finish pretty quickly and tell you where your project is located, for instance:
The project was successfully created at '/Users/youruser/my-app'.
TIP:
bldautomatically creates an IDEA and vscode project structure. Simply open the newly created directory as a project in your IDE and you can build, run and test your code.
Let's take a look at the project structure:
├── .gitignore                             // standard git ignore setup
├── .idea                                  // generated IntelliJ IDEA project
├── .vscode                                // generated Visual Studio Code project
├── bld                                    // the bld wrapper script for Unix
├── bld.bat                                // the bld wrapper script for Windows
├── lib                                    // library files creating classpaths for different scopes
│   ├── bld                                // libraries for bld
│   │   └── bld-wrapper.properties         // declaration of bld extensions and options
│   ├── compile                            // libraries for compiling your project
│   │   └── modules                        // java modules for compiling your project
│   ├── provided                           // libraries for compiling, provided by a container
│   │   └── modules                        // java modules for compiling, provided by a container
│   ├── runtime                            // libraries for running your project
│   │   └── modules                        // java modules for running your project
│   ├── standalone                         // libraries for running your project standalone
│   │   └── modules                        // java modules for running your project standalone
│   └── test                               // libraries for testing your project
│       └── modules                        // java modules for testing your project
└── src                                    // all your project sources
    ├── bld                                // the sources of your build logic
    │   ├── java
    │   │   └── com
    │   │       └── example
    │   │           └── MyAppBuild.java    // your project's build file
    │   └── resources                      // resources that are used by your main build
    ├── main                               // the main sources of your project
    │   ├── java
    │   │   └── com
    │   │       └── example
    │   │           ├── MyAppSite.java     // the example web site that was generated
    │   │           └── MyAppSiteUber.java // the example web site for UberJar packaging
    │   ├── resources                      // resources that are used by your project
    │   │   └── templates                  // the RIFE2 templates for your project
    │   └── webapp                         // web application files (HTML, CSS, images, ...)
    │       ├── WEB-INF                    // standard Java web deployment files
    │       └── css                        // stylesheets used by your web application
    └── test                               // the test sources of your project
        ├── java
        │   └── com
        │       └── example
        │           └── MyAppTest.java     // the example tests that were generated
        └── resources                      // resources that are used by your test build
Most of this is standard and common practice amongst Java projects, except for
the bld directories. Since your project build logic is now regular pure Java,
it's treated as any other sources and can be managed in a fully analogous way.
NOTE: It's important to understand that your Java classpath entries are created by the mere presence of jar files in the
libdirectories. The files can either be downloaded by the dependency system, or put there manually.
The standard project structure that bld creates is designed to work well with
IDEs. bld already comes with support for
IntelliJ IDEA and
Visual Studio Code.
When your project is created, minimal project structures are also created for
the supported IDEs, for instance in the .idea and .vscode directories.
These project structures are designed to pick up all your libraries, have been
automatically adapted to your project package and project name, and have launch
targets to run and test your application. If you want javadoc support in your
IDE, please enable downloadSources in your bld project options. The
download sources jars will be automatically picked up by IDEA and vscode, and
provide a cleaner rendering than the javadoc artifacts that only contain HTML.
When you upgrade your bld project with the upgrade command of the global
execution mode, bld will also upgrade the IDE project files it created.
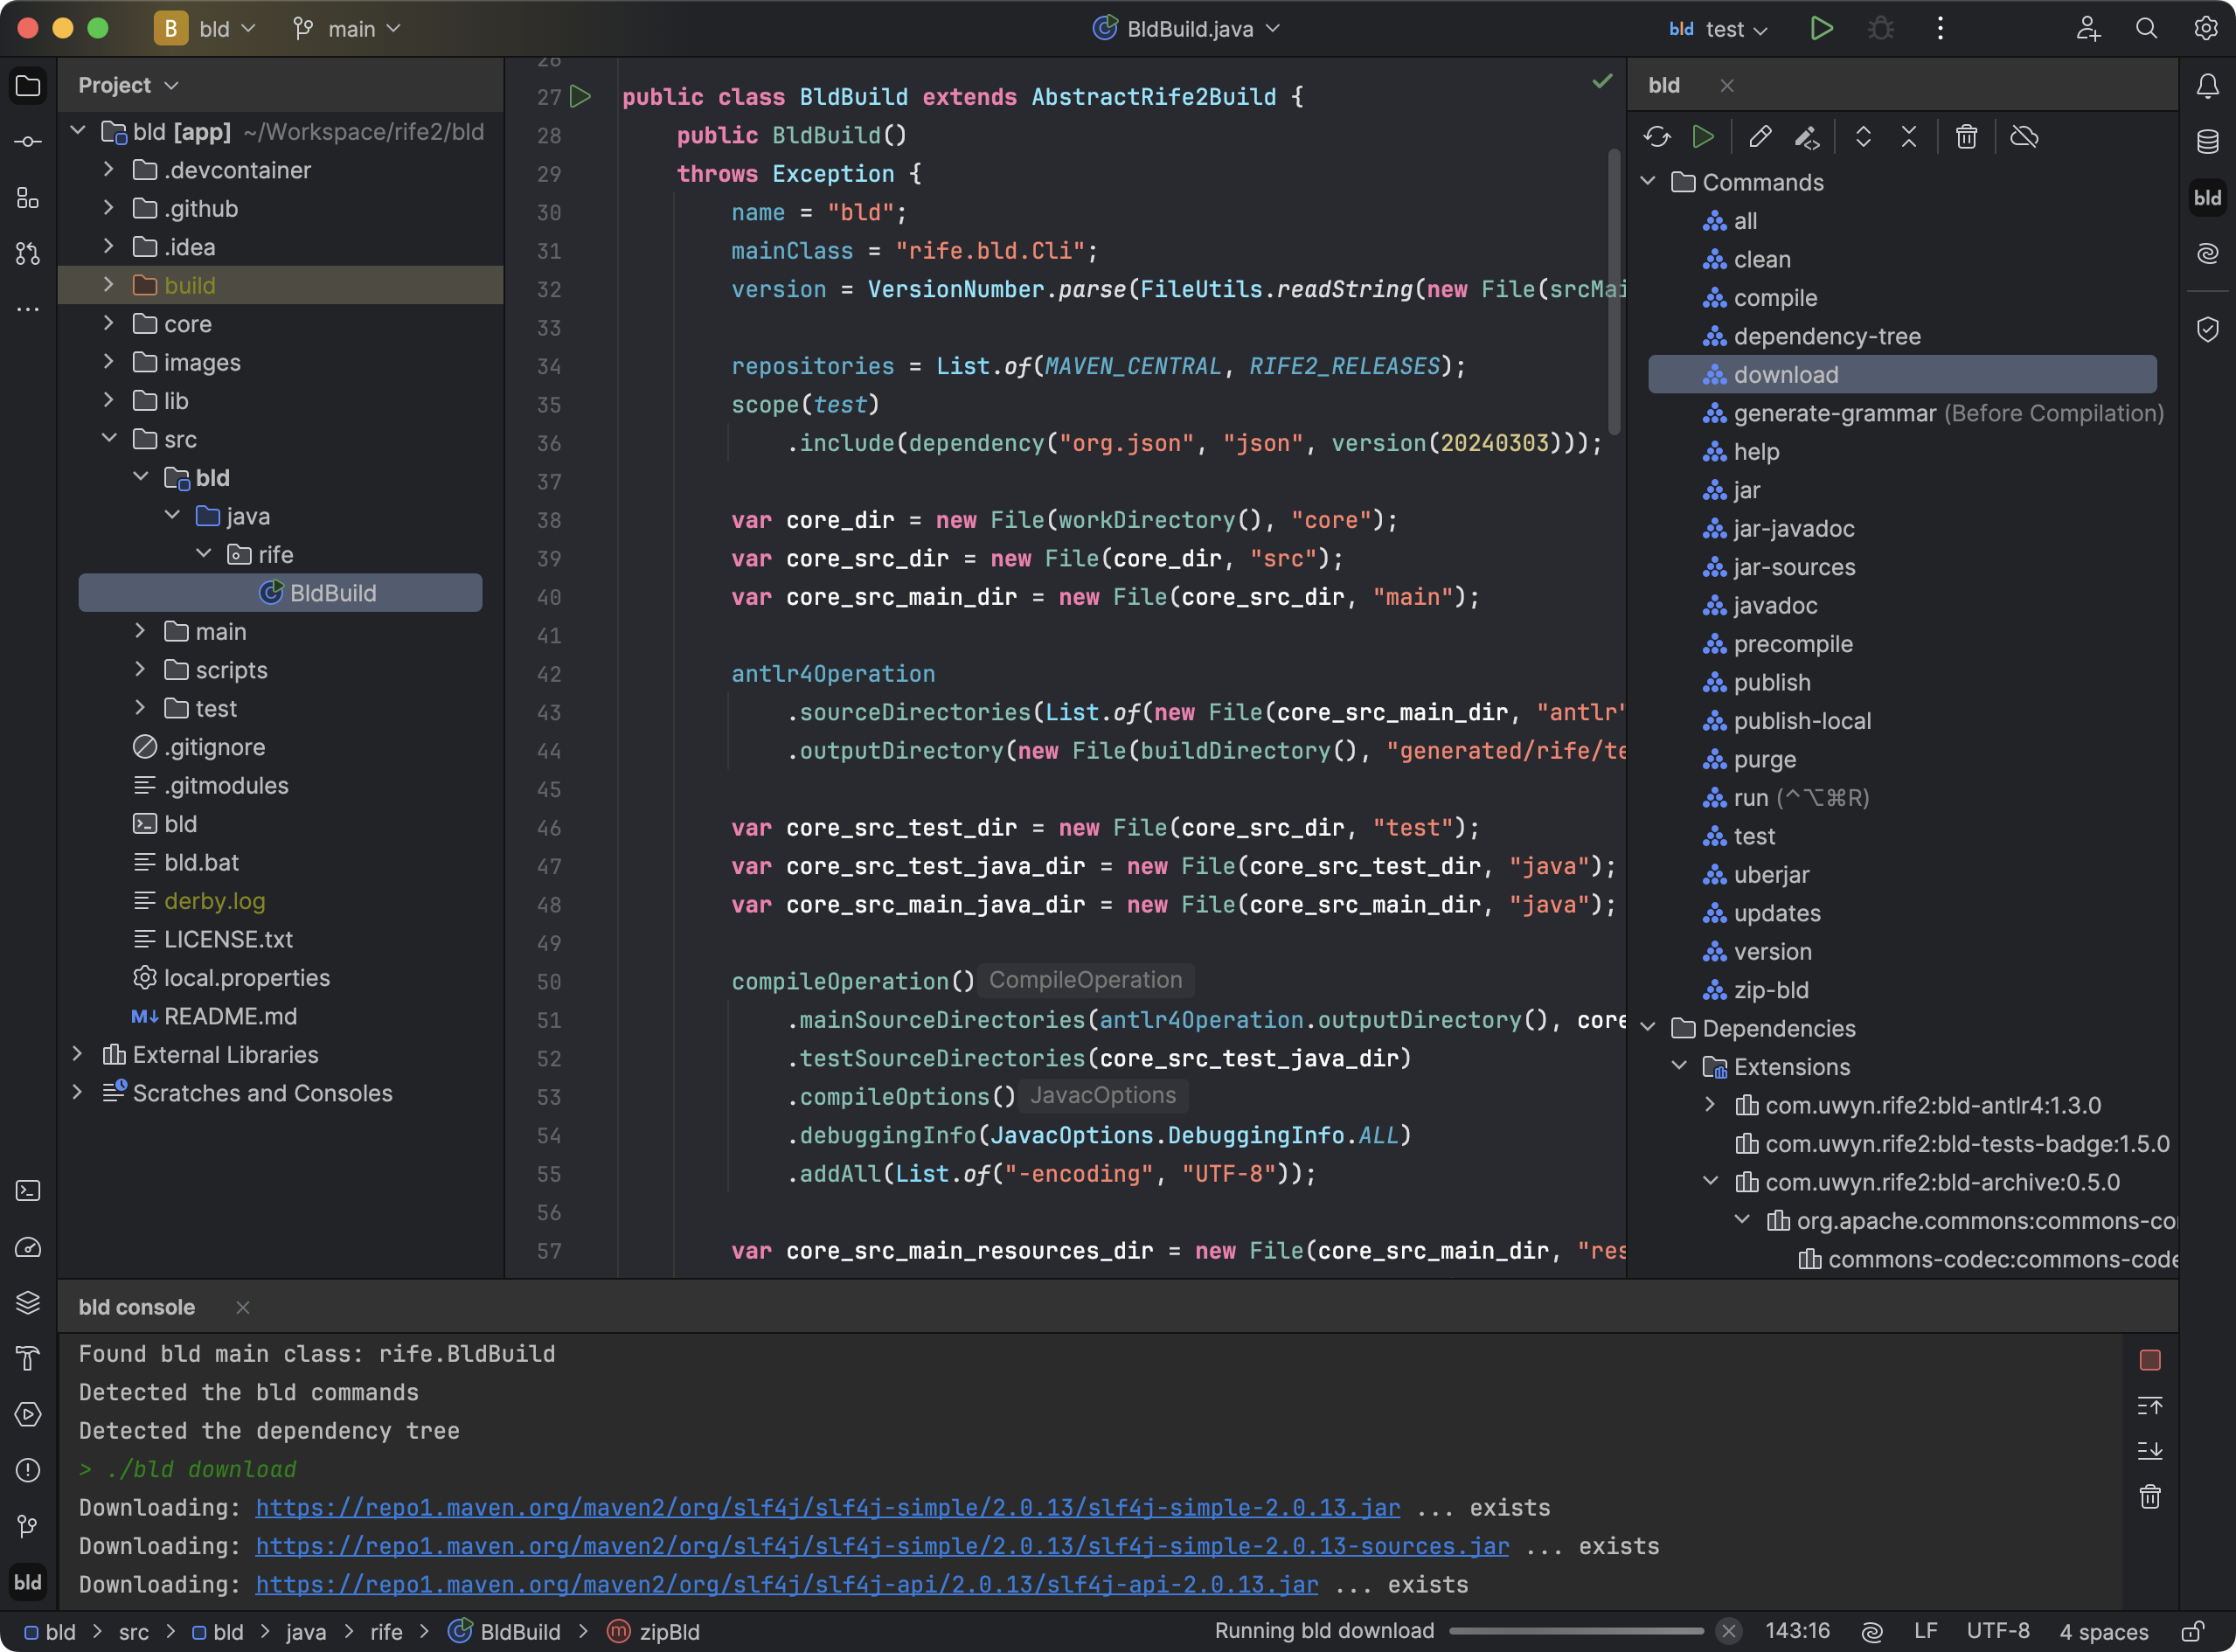
Since version 2.0, bld comes with its own IntelliJ IDEA plugin
that integrates with the standard IDEA features and flows. All your bld
commands are available through the IDE, you can trigger their execution with
IDEA's compilation, create custom run configurations, inspect your
dependencies, and much more ...
Next learn more about the Standard Commands
