A modern, feature-rich expense tracker built with MERN Stack
Vercel Link: https://expense-tracker-app-three-beryl.vercel.app/
FinanceFlow Pro is an advanced expense management system that goes beyond basic expense tracking. Built with the MERN stack, it offers intelligent budget management, personalized insights, and a stunning modern interface. The application features glassmorphism design, smart notifications, and comprehensive financial analytics to help users make better financial decisions.
1. Simplify expense tracking for individuals and organizations.

2. Provide detailed insights into spending patterns to enable better financial management.

3. Offer a platform for users to create, update, and delete expenses and categories.

4. Generate comprehensive reports based on user-defined time periods and categories.
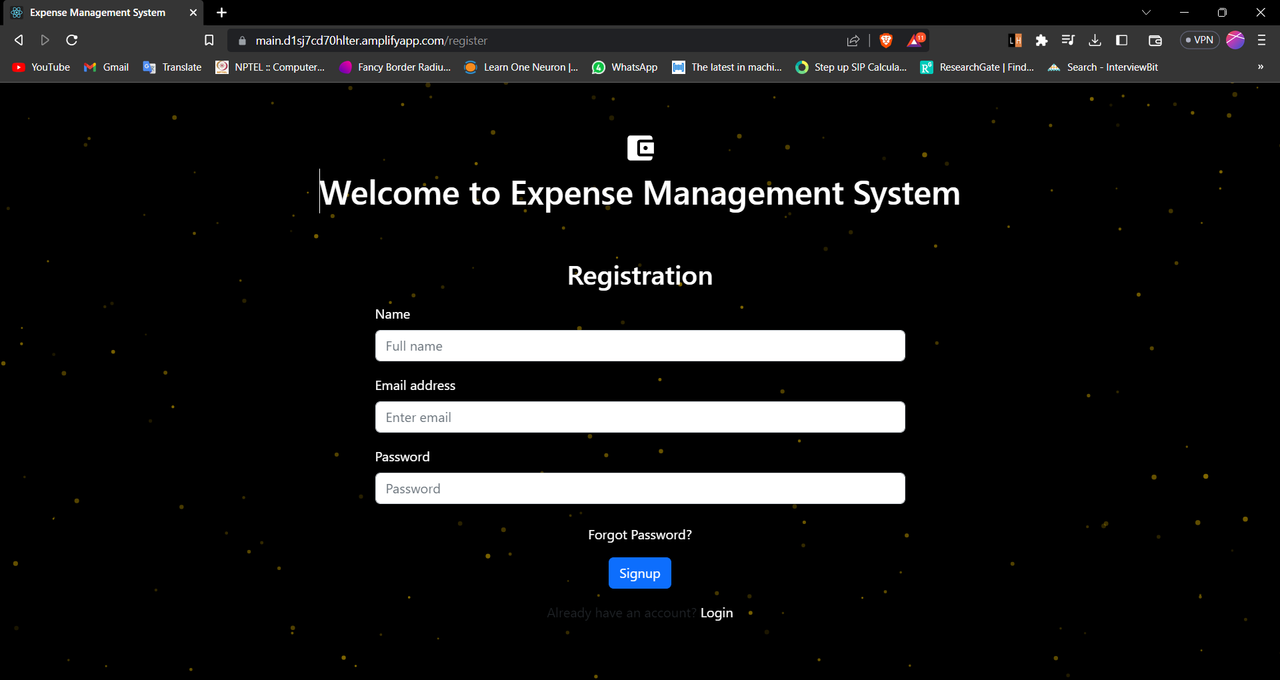
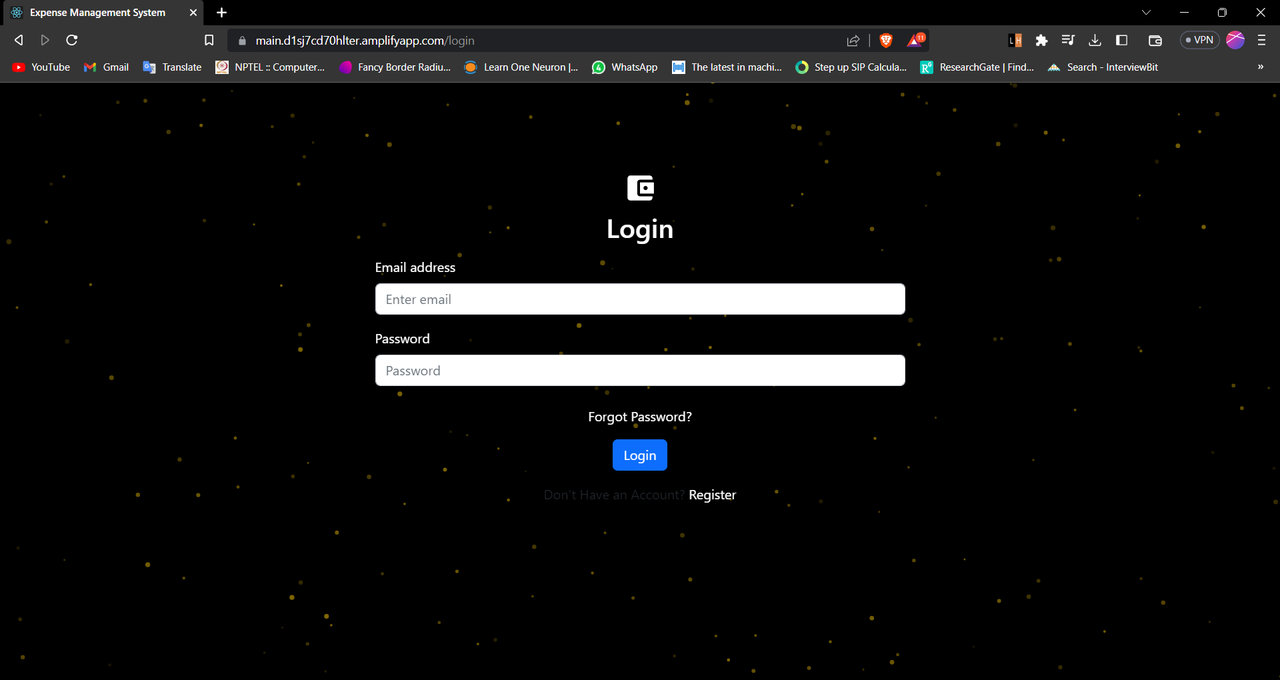
- User Authentication & Authorization: Secure login/signup with JWT tokens
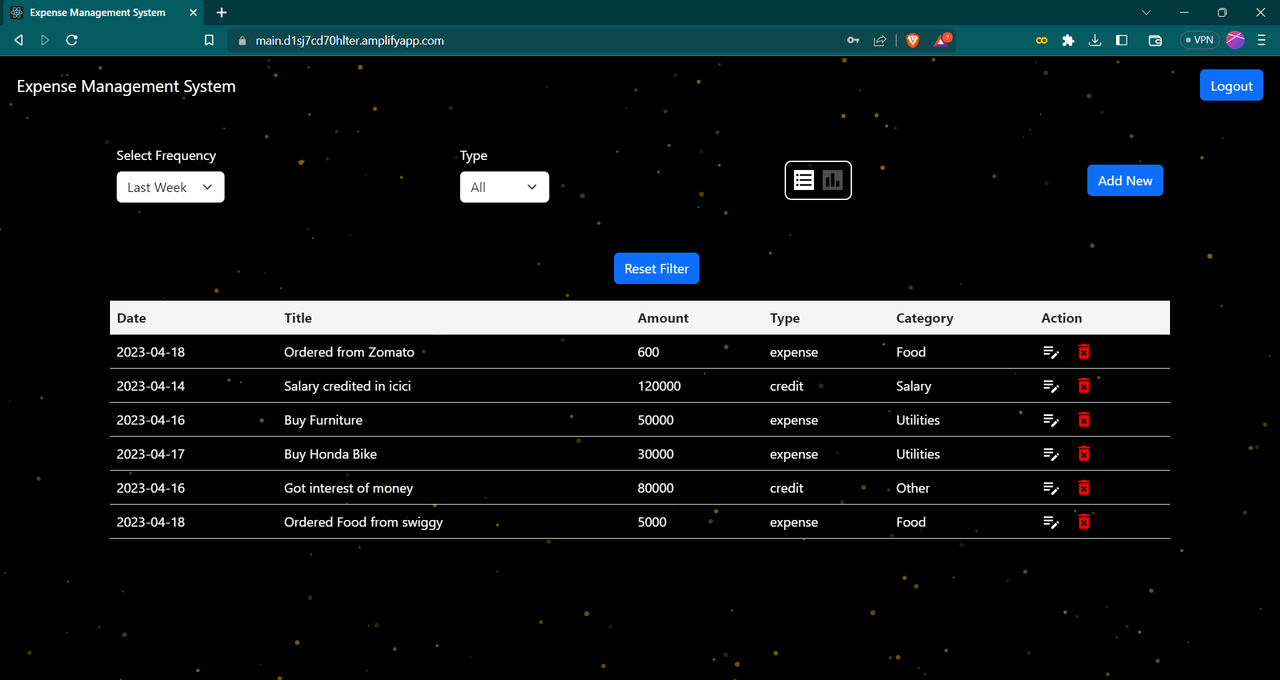
- Expense Management: Create, update, delete transactions with custom categories
- Advanced Filtering: Filter by date range, category, and transaction type
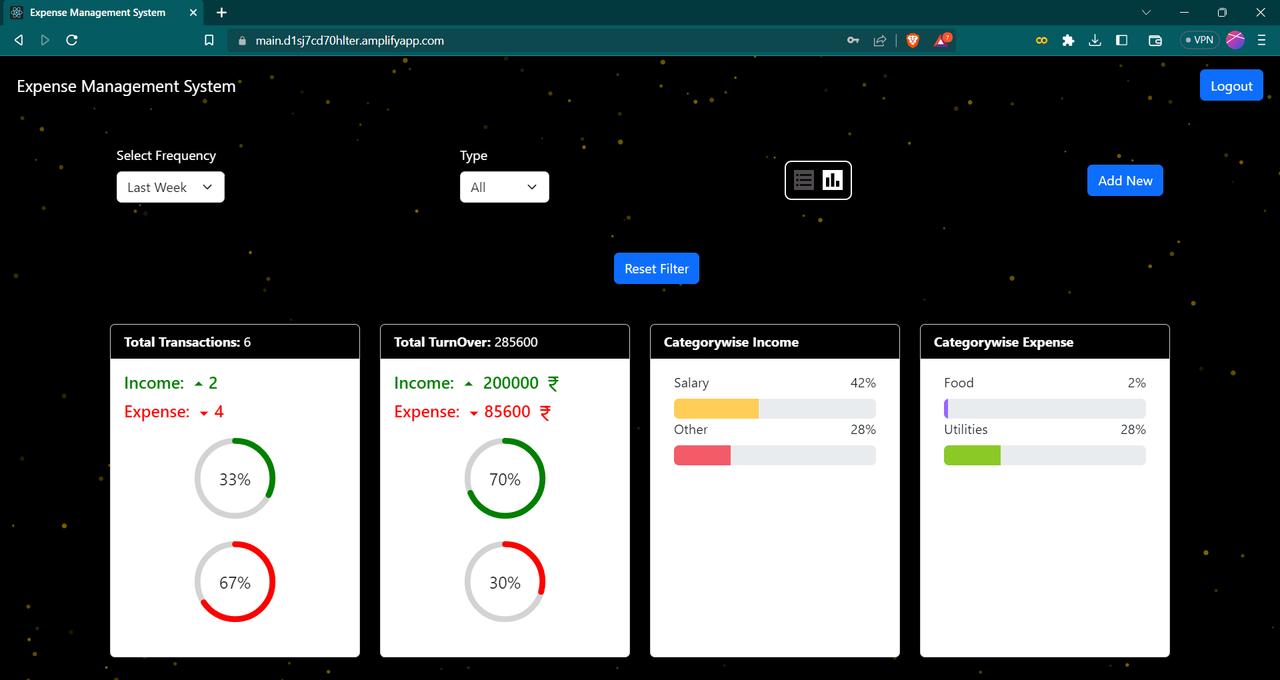
- Data Visualization: Interactive charts and analytics
- Set monthly budgets for each expense category
- Real-time progress tracking with visual indicators
- Smart alerts at 75% and 90% budget usage
- Budget vs actual spending comparisons
- Time-based personalized greetings
- Financial overview cards (Income, Expenses, Balance)
- Monthly spending trends and comparisons
- Top spending category insights
- Glassmorphism Design: Modern glass-like effects with backdrop blur
- Purple Gradient Theme: Beautiful purple-to-violet color scheme
- Dark/Light Mode: Toggle between themes with smooth transitions
- Animated Particles: Dynamic background with colorful particles
- Responsive Design: Perfect on all devices
- Budget alerts and warnings
- Large expense detection
- Spending streak notifications
- Achievement badges for good financial habits
- 15+ custom categories with emojis (🛒 Groceries, 🏠 Rent, etc.)
- Visual category selection
- Smart categorization suggestions
- Export transactions in JSON format
- Include user statistics and summaries
- Timestamped export files
- Glassmorphism UI: Modern design trend implementation
- Smart Notifications: AI-like expense insights
- Budget Intelligence: Proactive financial management
- Theme Customization: User preference storage
- Comprehensive Analytics: Deep spending insights
-
Frontend:
Utilize React.js for building the user interface, tsparticle library for awesome background effect and used other libraries like unique-names-generator, react-datepicker, moment
Implement responsive design using CSS frameworks like Bootstrap and Material-Icons.
-
Backend:
Use Node.js and Express.js to build a RESTful API for handling client requests and serving as the application's backend.
Implement authentication and authorization using JSON Web Tokens (JWT) and middleware to protect endpoints.
-
Database:
Store all data, including user information, expense entries, and categories, in MongoDB, a NoSQL database.
Implement Mongoose ORM for schema definition and validation.
-
Deployment:
Deploy the application to a cloud provider like AWS and render. frontend has deployed on AWS and backend on Render.
Set up Continuous Integration and Continuous Deployment (CI/CD) pipelines for automated builds and deployments.
Clone the project
git clone https://github.com/Priyanshu9898/Expense-Tracker-AppGo to the project directory
cd Expense-Tracker-AppGo to the frontend directory and Install dependencies
cd frontend npm installGo to the backend directory and Install dependencies
cd backend npm installStart the frontend server
npm startStart the backend server
npm run devTo run this project, you will need to add the following environment variables to your .env file in backend folder
create config folder and add config.env file in it and all all env variables there.
MONGO_URL : Your MongoDB Connection String
PORT: PORT number
Client: React, Redux, react-bootstrap, Material Icons, tsparticles
Server: Node, Express
Database: MongoDB

Add badges from somewhere like: shields.io
Insert gif or link to demo