In this project, I will launch a Amazon EC2 instance using Amazon Linux 2023, configure it as a web server with Apache (httpd), and create a customized webpage with a simple, but modern design. The setup will be automated using User Data to ensure that the web server and webpage is configured automatically upon instance startup.
Being able to securely create an AWS account, manage IAM users, and deploy an Apache web server on EC2 is foundational to building reliable cloud infrastructure. These skills ensure engineers can provision resources safely, follow least-privilege and MFA best practices, and quickly deploy scalable services that support real applications. Mastery here reduces misconfigurations, improves security posture, and enables faster delivery of production-ready workloads.
Understanding how teams securely deploy infrastructure on AWS helps managers reduce operational risk while increasing delivery speed. Proper IAM usage and standardized EC2 deployments prevent costly security incidents, enable repeatable environments, and support predictable timelines. These capabilities allow teams to move faster without sacrificing governance, compliance, or reliability.
Secure cloud deployment capabilities directly impact business agility, cost control, and risk reduction. When teams can rapidly and securely launch infrastructure, the organization can scale products faster, respond to market demands, and avoid outages or security breaches that damage trust and revenue. This foundation enables cloud investments to translate into measurable business outcomes rather than technical debt.
- Signed in to my AWS Management Console and accessed IAM.
- Created an IAM
adminuser and added them toAdminsgroup- Programmatic + Console access
- Attach AdministratorAccess to
Adminsgroup - Forced new User to create a new password instead of using the autogenerated password from AWS.
- Assigned
MFA devicesto both therootuser and IAMadminuser. - Logged out of
rootand usedadminaccount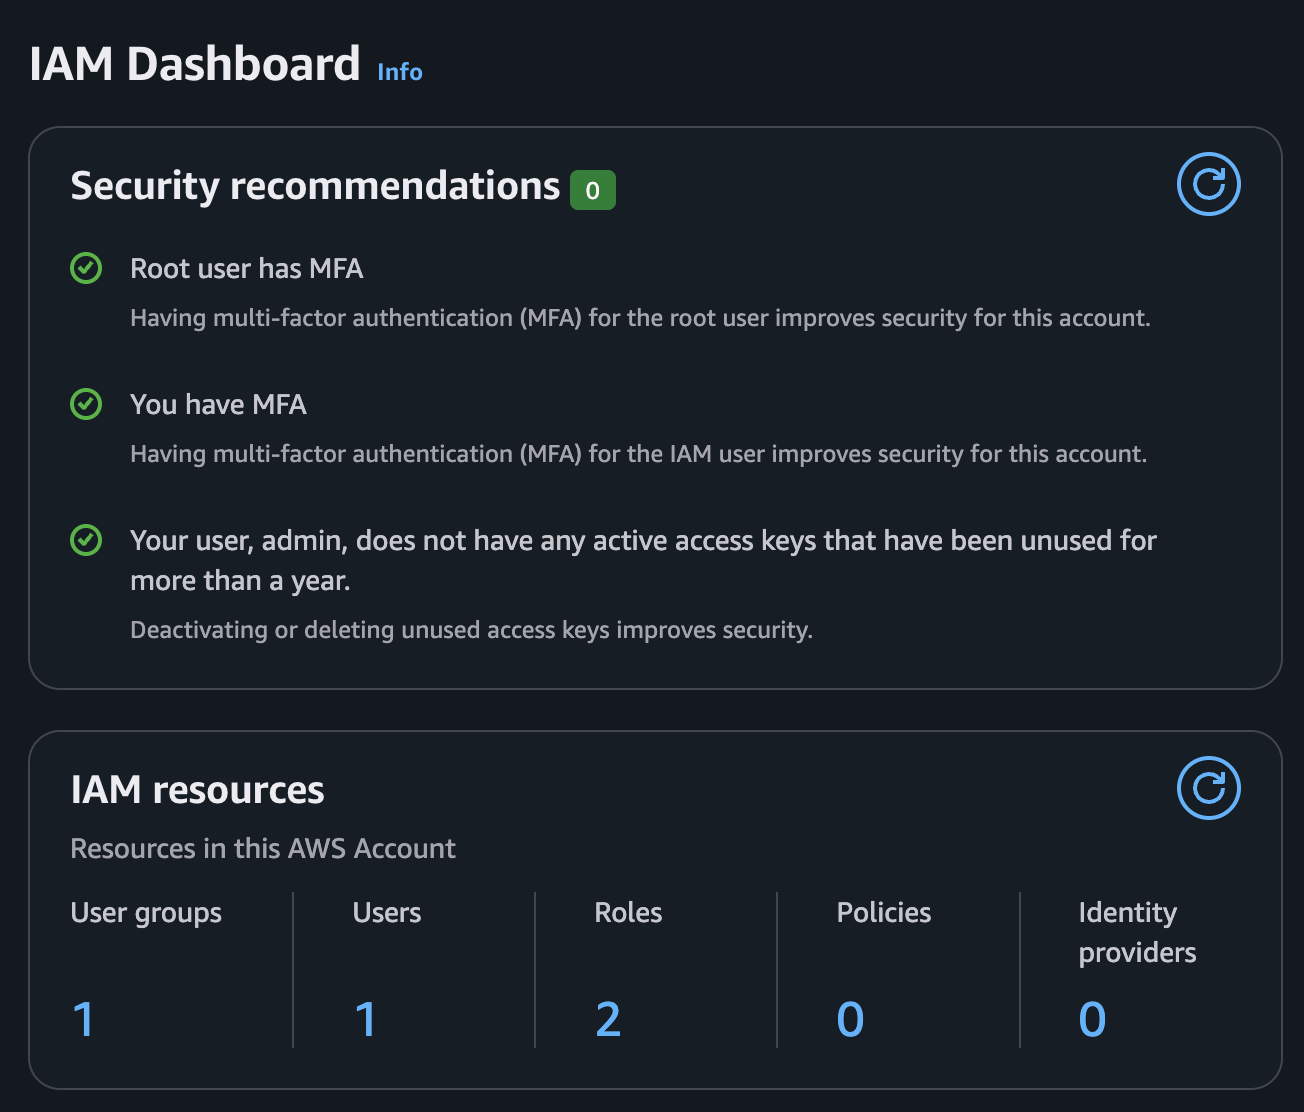
Note: Doing this follows the recommended security practices for AWS accounts.
-
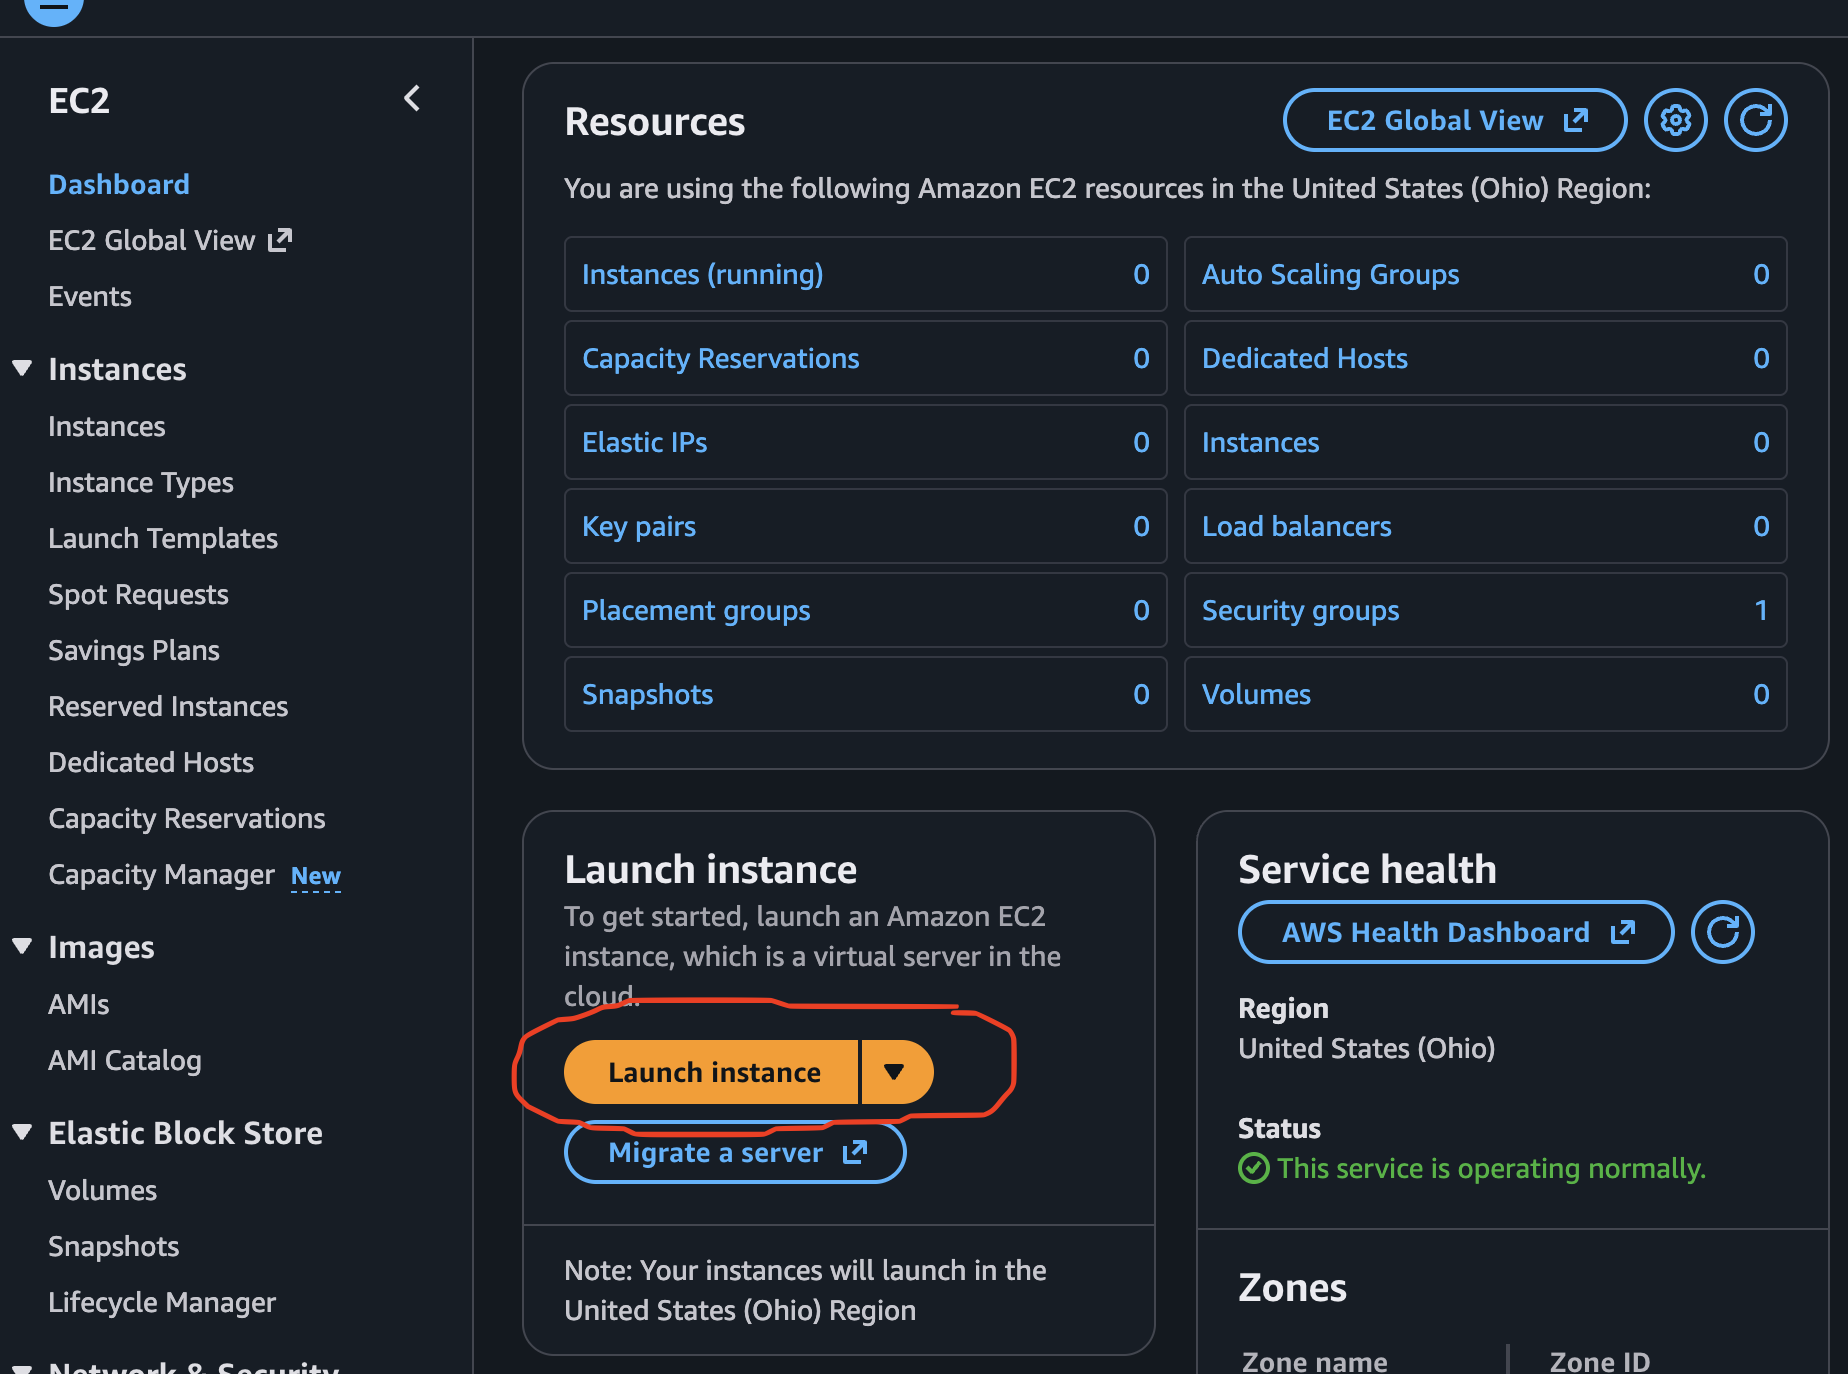
Accessed the EC2 Dashboard by clicking on EC2 located under services and clicked on Launch Instance:
-
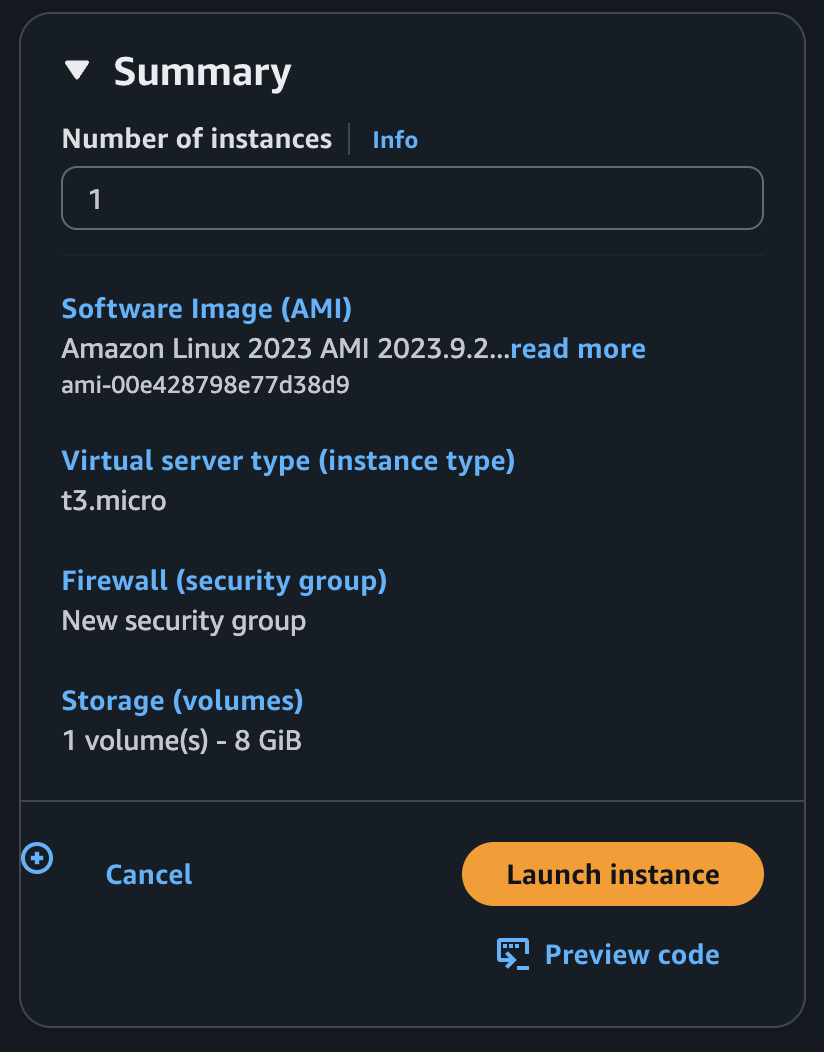
Input/selected the following for the instance:
-
Name:
Custom-Apache-Web-Server -
AMI: Amazon Linux 2023 kernel-6.1 AMI
-
Instance Type:
t3.micro -
Key Pair: Proceed without a key pair
-
Network Settings:
- Ensured Auto-assign Public IP was enabled
- Created a new security group with the following rules:
- Allow SSH (22) to be able to connect to instance.
- Allowed HTTP (80) traffic to display content.
-
User Data: Added the following script to automate the installation of Apache and deploy a custom webpage:
#!/bin/bash
# Updates the package list on the instance and installs Apache
dnf update -y
dnf install -y httpd

# Starts and enables Apache service
systemctl enable --now httpd

# Sets the permissions for Apache root directory
chown -R ec2-user:ec2-user /var/www/html

# Creates a custom index.html page showing a simple message
cat <<EOF > /var/www/html/index.html
<!DOCTYPE html>
<html lang="en">
<head>
    <meta charset="UTF-8">
    <meta name="viewport" content="width=device-width, initial-scale=1.0">
    <title>J Lew's My Custom Apache Server</title>
    <style>
        body {
            font-family: Arial, sans-serif;
            background-color: #f4f4f4;
            text-align: center;
            padding: 50px;
        }
        .container {
            background: white;
            padding: 20px;
            border-radius: 10px;
            box-shadow: 0px 0px 10px rgba(0, 0, 0, 0.1);
            display: inline-block;
        }
        h1 {
            color: #333;
        }
        p {
            color: #666;
        }
    </style>
</head>
<body>
    <div class="container">
        <h1>J Lew's Custom Apache Web Server!</h1>
        <p>Hosted on an Amazon Linux 2023 EC2 Instance.</p>
        <p>This page was deployed automatically using AWS User Data.</p>
    </div>
</body>
</html>
EOF

# Restarts Apache to apply changes so they show.
systemctl restart httpd
-
-
Clicked Launch Instance.
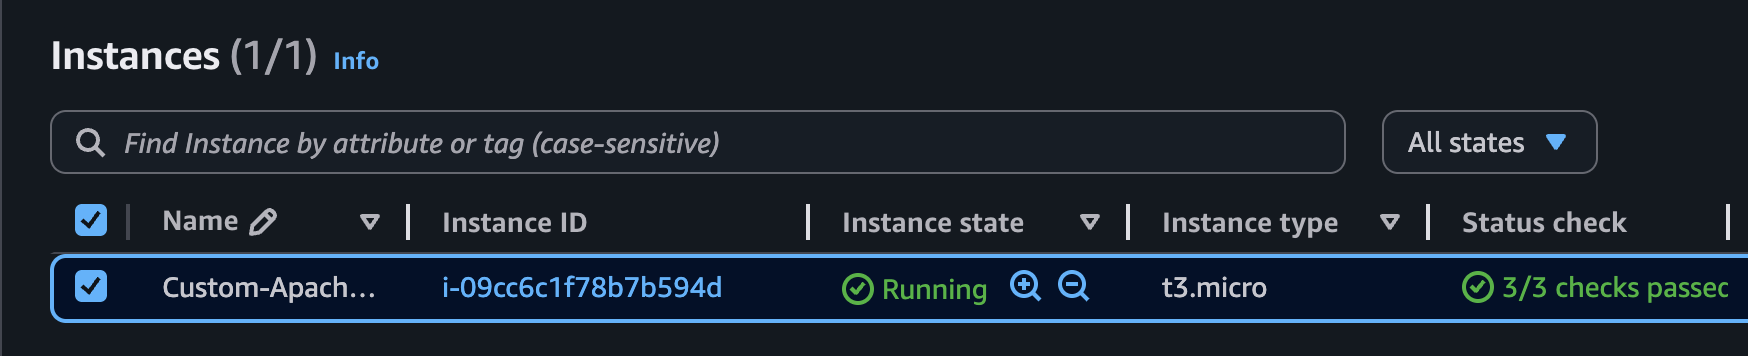
- Clicked on Instances to find my instance that was created and waited until the Status Check showed that it passed.
- Next, I decided to connect to my AMI instance to confirm that my user data was added to the
/var/www/htmldirectory: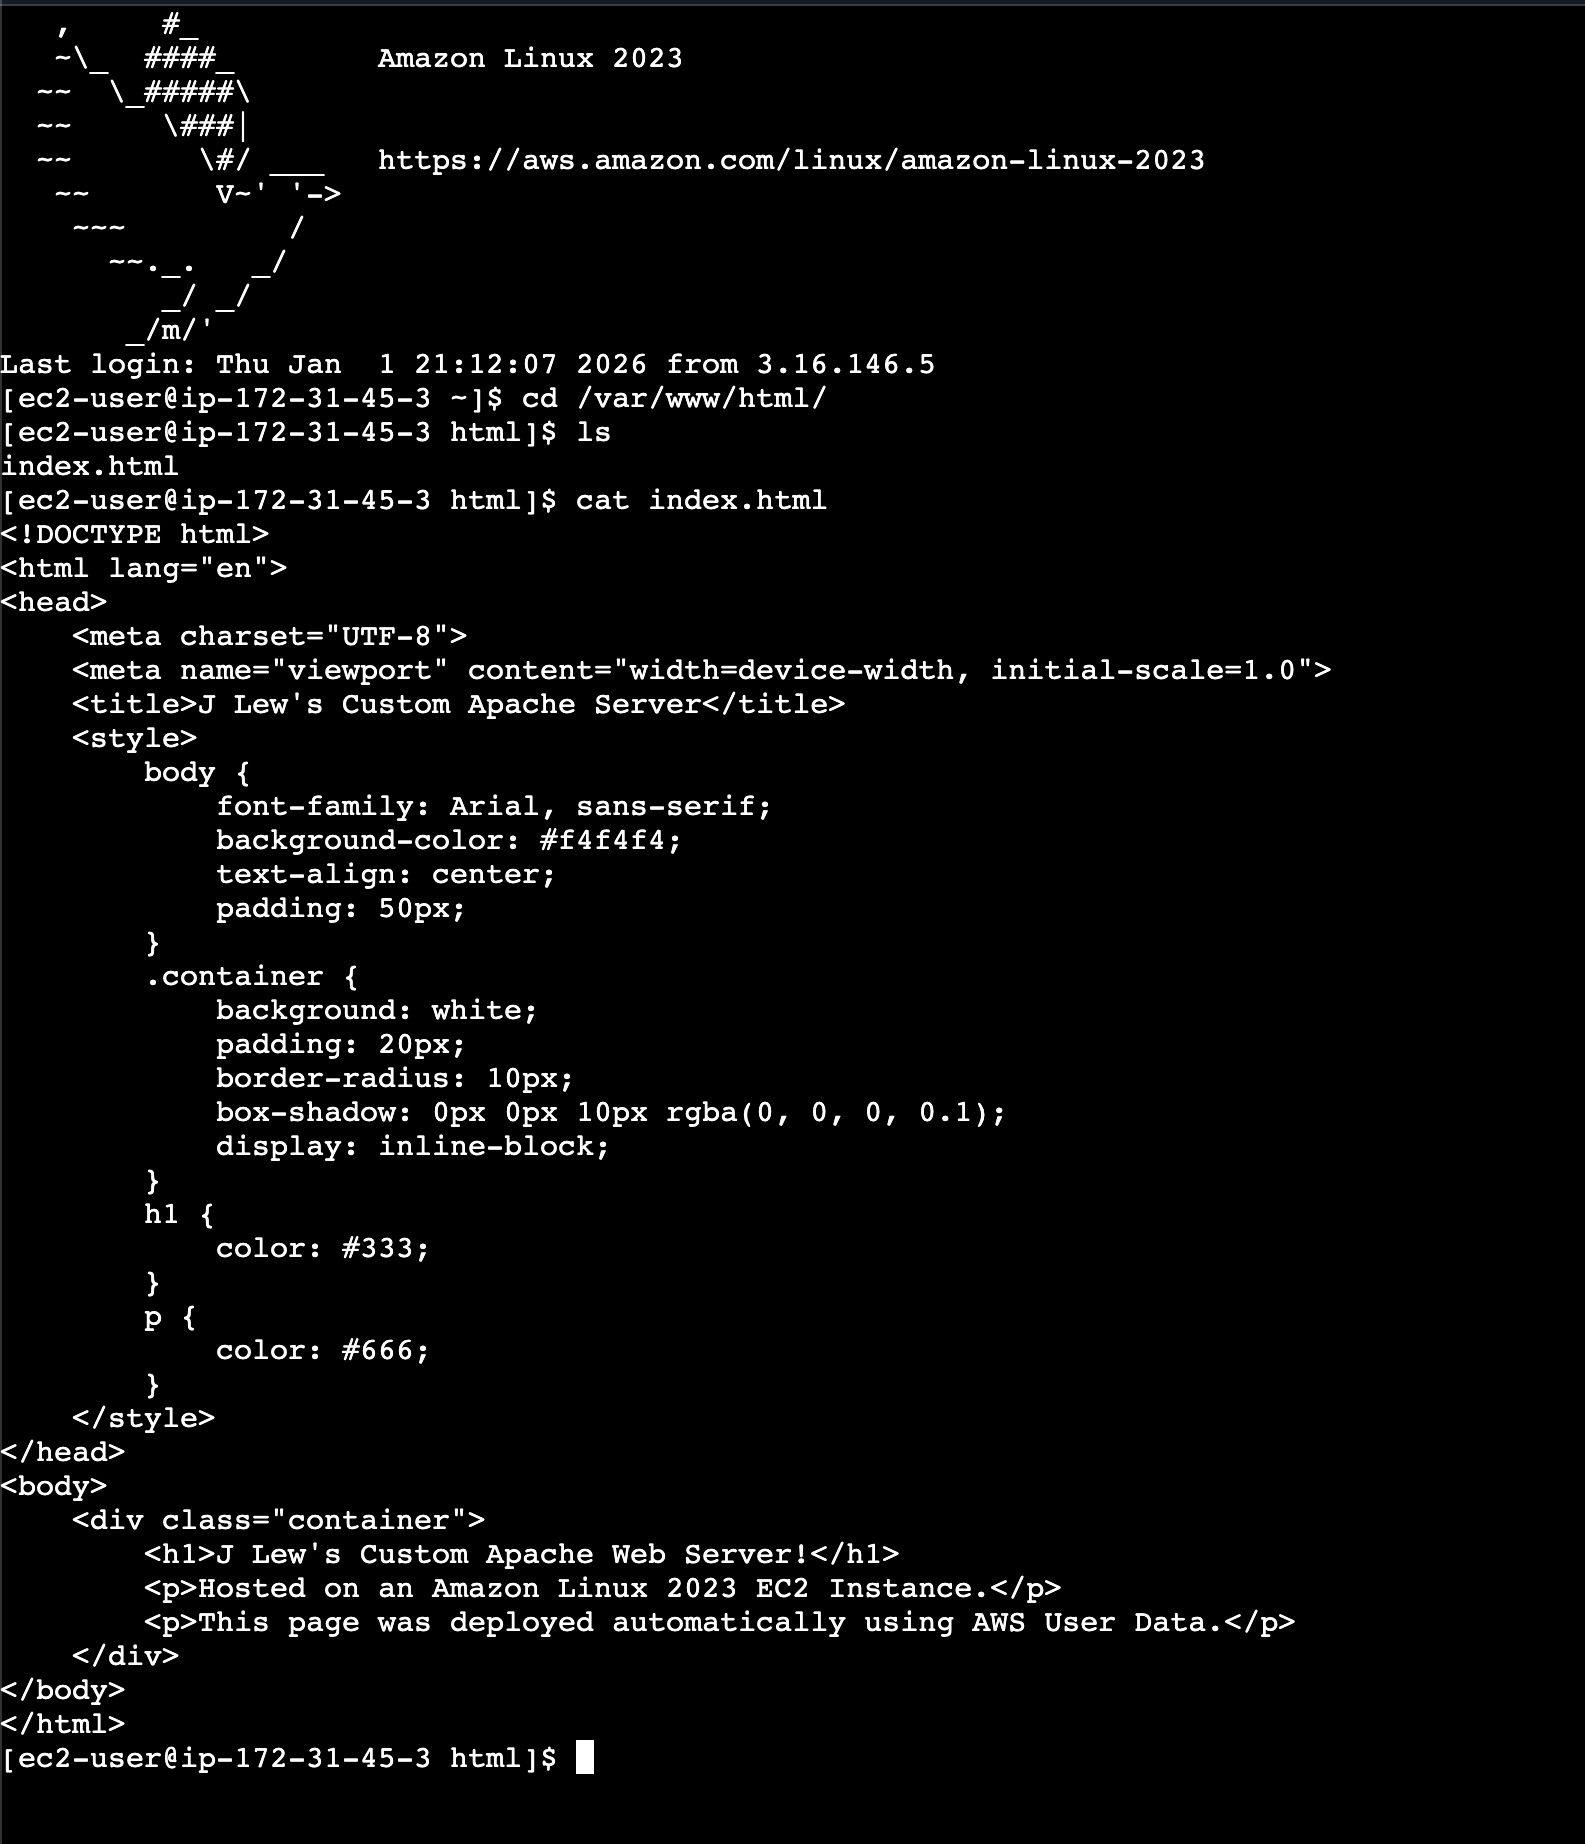
- Copied my Public IPv4 Address and pasted it into my web browser
http://18.222.96.241/(This link is not active anymore since I terminated the instance).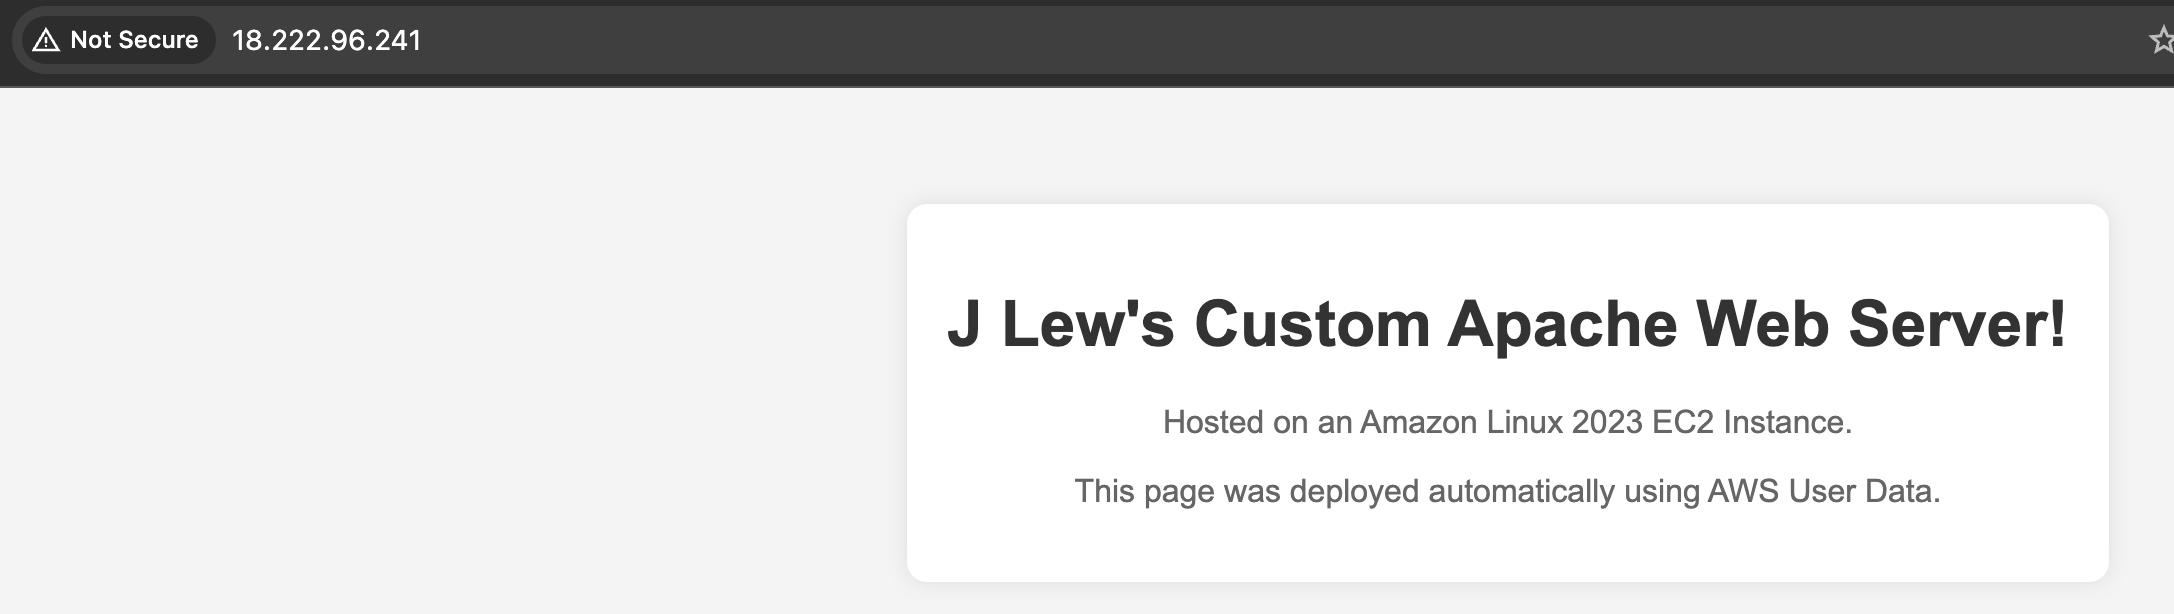
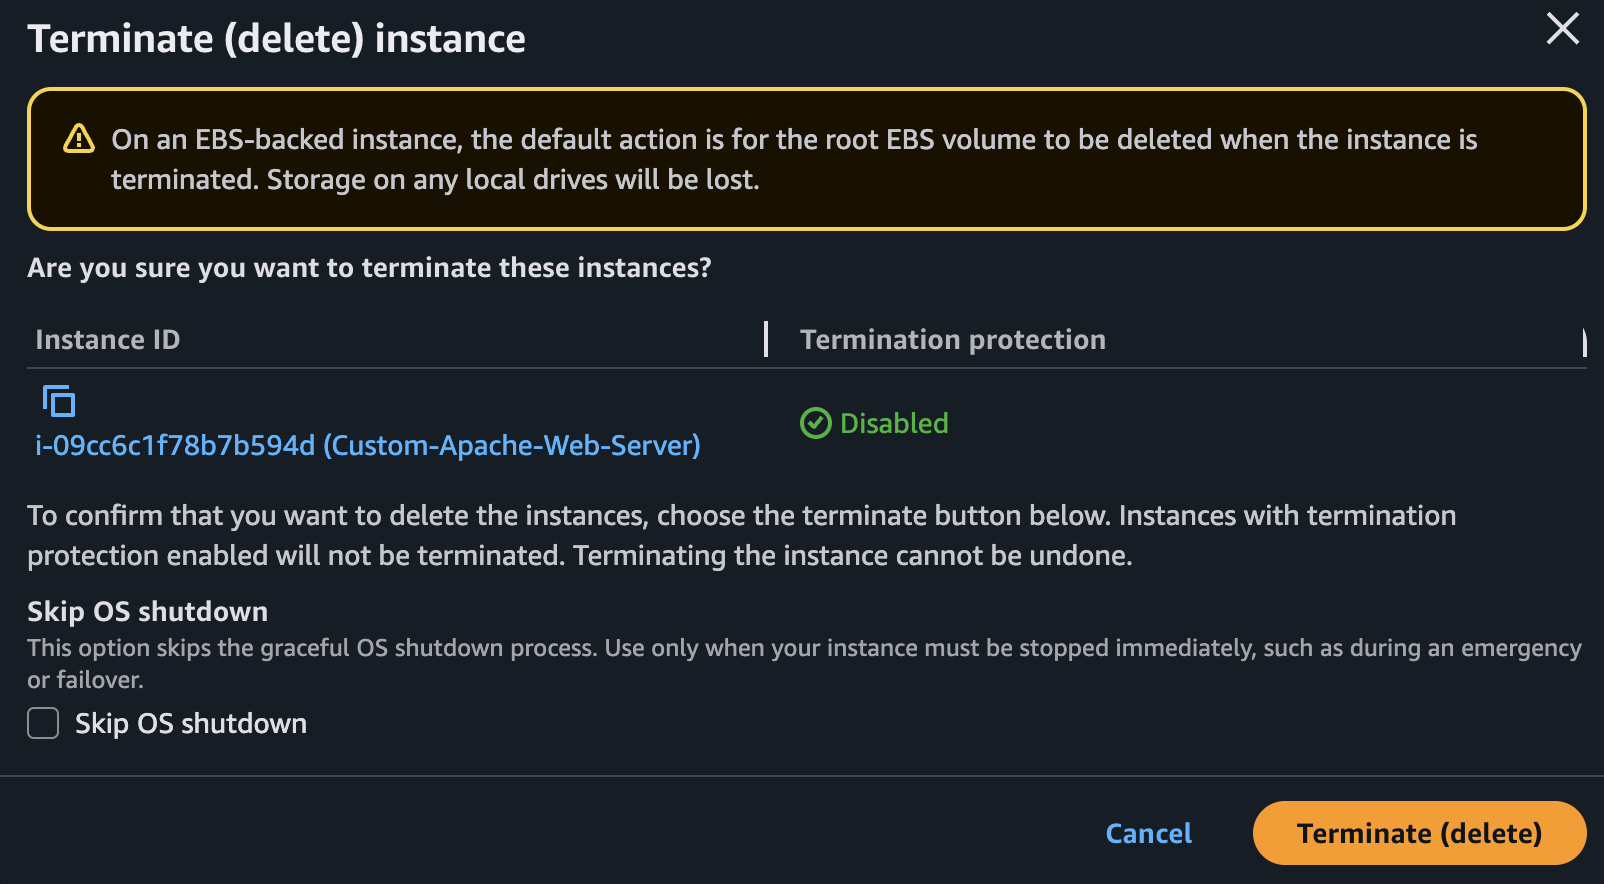
- Once I confirmed I could see my webcontent, I Terminated the instance to avoid incurring any additional cost.