-
-
Notifications
You must be signed in to change notification settings - Fork 251
Homebridge on TrueNAS Scale 24.10 or later
Warning
This guide does only apply for TrueNAS Scale 24.10 or later versions. If you are running an earlier version, please follow this guide.
This guide provides step-by-step instructions to show you how to install Homebridge on TrueNAS Scale as a using Docker.
- TrueNAS Scale ≥ 24.10
From the Storage section of the TrueNAS application, create a new dataset that will be used to store your Homebridge config and plugins.
There are a few technical details that you must collect before configuring homebridge.
- What is your subnet (CIDR notation)? In this guide, we will use
10.42.42.0/24as our subnet. - What is your gateway? In this guide, we will use
10.42.42.1as our gateway. - The path of your homebridge dataset. In this guide, we will use
/mnt/apps/homebridgeas our dataset path. - Pick an IPv4 address in your subnet that you want to use for homebridge. The address should not be occupied by another tenant in the network. In this guide, we will use
10.42.42.10as our IPv4 address. - The ID of the NIC your TrueNAS is using. Navigate to the network section. In the interface block, you will find the names of the used interfaces. In this guide, we will use
enp3s0as our NIC.
- Navigate to the "Apps" section.
- Click on "Discover Apps".
- Click on the three dots next to the "Custom App" button. Then click on "Install via YAML".
- Specify a name, e.g. "homebridge"
- In the custom config field, paste the config from below. Adjust lines 5, 8, 9, 21, 24 according to your environment.
- If required, you can modify the resource limits as well. However, the default ones below whould work just fine for most setups.
- Click "Save"
networks:
  homebridge_net:
    driver: macvlan
    driver_opts:
      parent: enp3s0 # your NIC
    ipam:
      config:
        - gateway: 10.42.42.1 # gateway of your LAN
          subnet: 10.42.42.0/24 # subnet of your LAN
services:
  homebridge:
    container_name: homebridge
    deploy:
      resources:
        limits:
          cpus: '2.5'
          memory: 3072M
    image: homebridge/homebridge:latest
    networks:
      homebridge_net:
        ipv4_address: 10.42.42.10 # homebridge IPv4
    restart: unless-stopped
    volumes:
- /mnt/apps/homebridge:/homebridge # homebridge datasetHomebridge should now be able to communicate with HomeKit on your home network. You can access the Homebridge UI using http://IP_ADDRESS:8581.
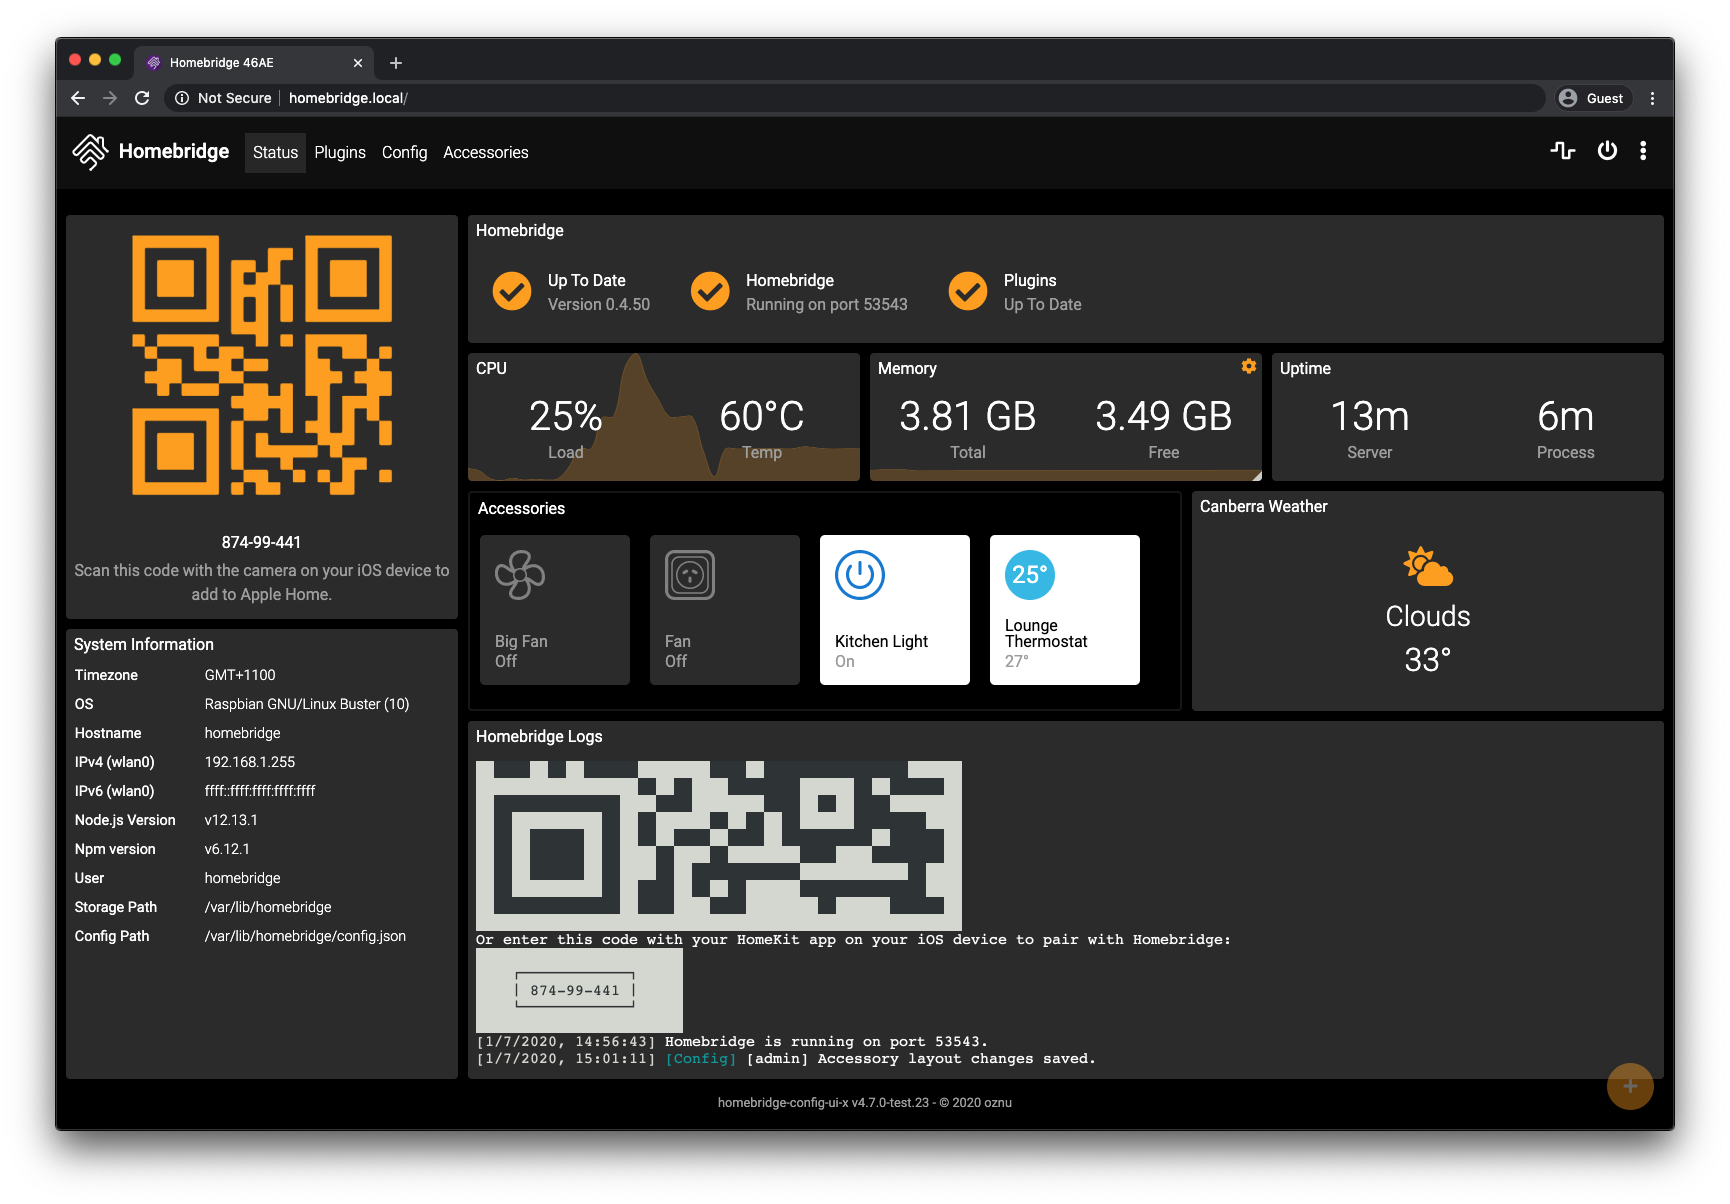
The Homebridge UI web interface will allow you to install, remove and update plugins, and modify the Homebridge config.json and manage other aspects of your Homebridge service.

This table contains important information about your setup. You can use the information provided here as a reference when configuring or troubleshooting your environment after setting up Homebridge using the instructions below.
| File Location / Command | |
|---|---|
| Config File Path |
/homebridge/config.json (inside container) |
| Storage Path |
/homebridge (inside container) |
| Plugin Path |
/homebridge/node_modules (inside container) |
| Update Node CMD | hb-service update-node |