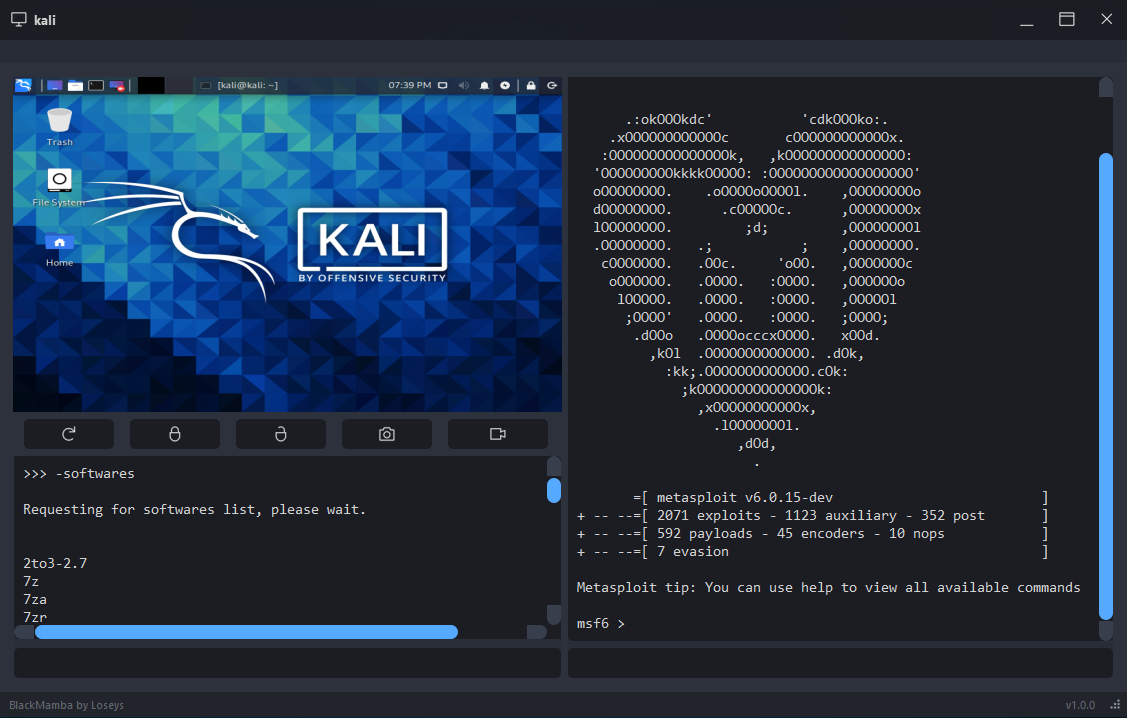
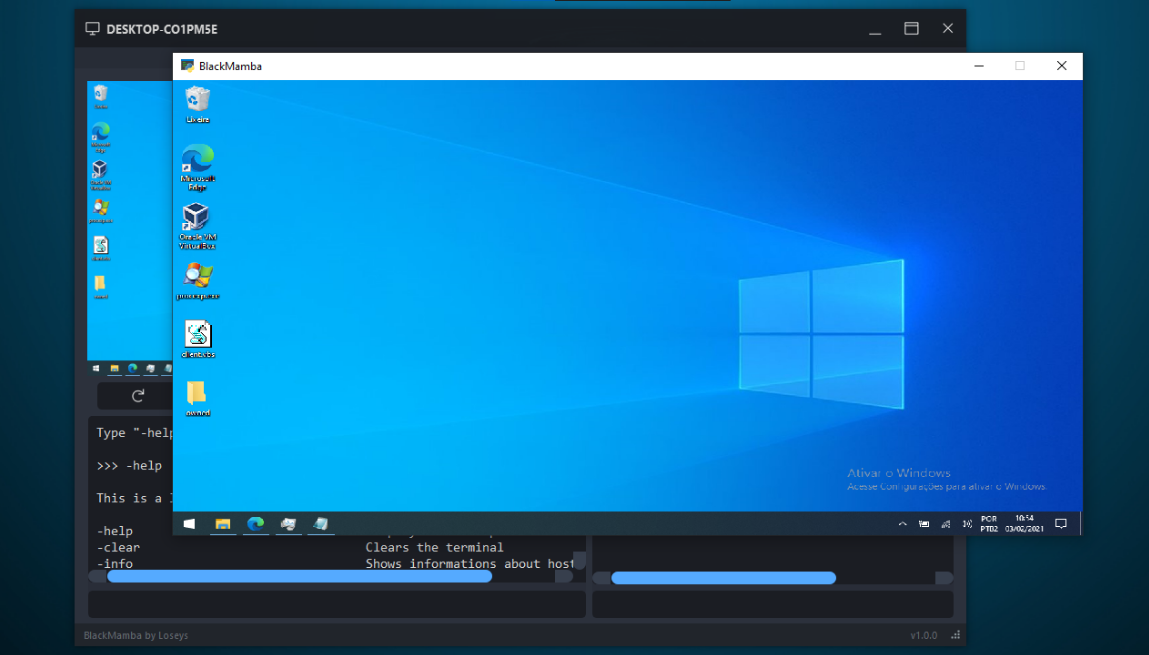
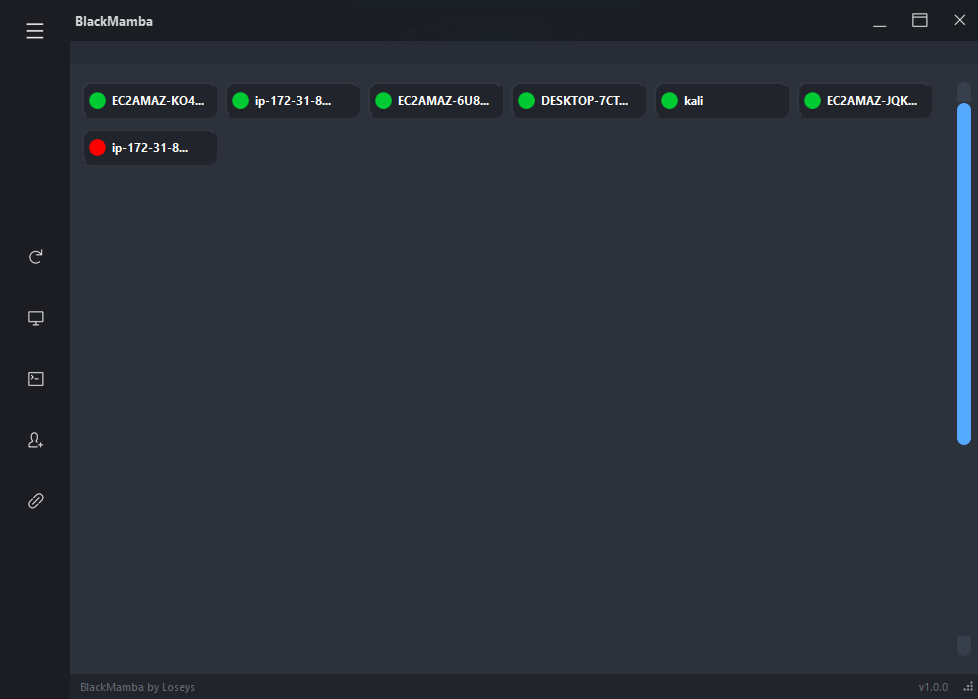
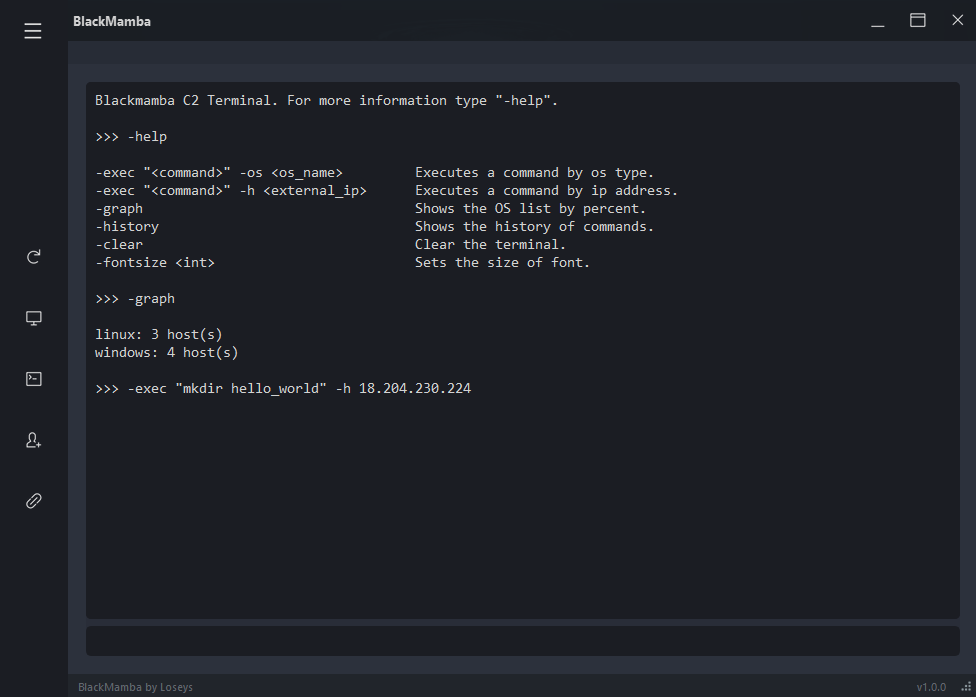
Black Mamba is a Command and Control (C2) that works with multiple connections at same time. It was developed with Python and with Qt Framework and have multiples features for a post-exploitation step.
- Multiple clients.
- Real-time communication.
- Encrypted communication
- Screenshot gathering.
- Real-time video capture.
- Locking of client mouse.
- Download and upload of files.
- Keylogger.
- Web downloader.
Hey, before you go to gallery you need to know that the BlackMamba is a open project, so, if you finds this tool useful and wants to add some functionality, improve the code performance or improve something in the BlackMamba, the best way to get it added is to submit a pull request <3
1º - Download the BlackMamba;
2º - Install the PIP packages;
pip install -r requirements.txt
3º - Open the port 65000 and 65005 in your Gateway or Router (the port number is optional);
4º - Create an exception in the firewall for BlackMamba or disable it;
5ª - Go to "BlackMamba/bin/profile/socket.txt" and input the port number opened;
 SERVER_IP=0.0.0.0
 PORT=65000
 PORT_VIDEO=65005
IMPORTANT: Do not change the 0.0.0.0.
6º (OPTIONAL) - Go to the BlackMamba folder and open the "keygen.py" file. Copy the resulting key and paste in the "BlackMamba/bin/profile/crypt_key.py" ;
The BlackMamba uses a default cryptography key. It is interesting that you change it.
7º - Back to BlackMamba root folder and open the "main.py" file;
WINDOWS
python main.py

KALI LINUX
(sudo chmod 777 main.py)
(sudo python3 main.py)

ANOTHER LINUX
sudo chmod 777 main.py
sudo python3.8 main.py
8º - Click on the button that has a person icon and plus signal;
9º - Input the path where the Python file will be created, input both port numbers and the IP address (external or local) of your host, then click on the "Create" button.
After creating the Client script, you'll need to open the script in the host target:
WINDOWS
python script.py
GNU/LINUX
1º Download the packages:
scrot -y
python3-pip -y
python3-tk -y
python3-dev -y
2º sudo python3.8 script.py
KALI LINUX
(sudo python3 script.py)
IMPORTANT: The script of the client does not have persistence. If you want to do persistence, you'll need to make it by yourself. Another important point is that the client script maybe delay some seconds or few minutes for connect/reconnect.
Gustavo (Loseys)
(In no particular order)


