-
Notifications
You must be signed in to change notification settings - Fork 0
Installation MacOS
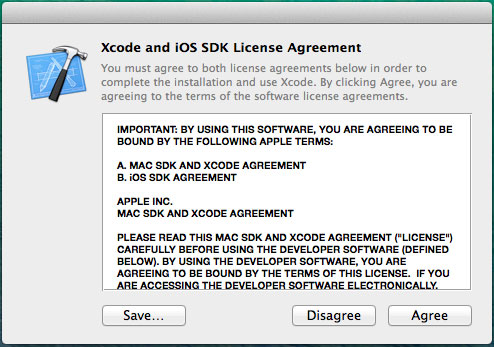
- Install Xcode from the AppStore.
(Note: This is a big download (~6.5 GB) that can take a while even with a fast internet connection.)

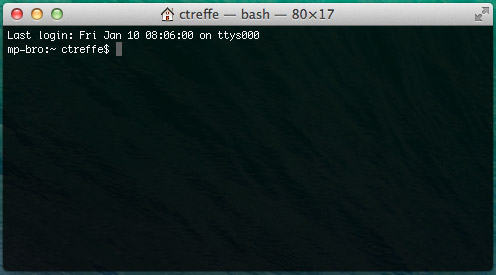
- Open the terminal app. You can find it by typing "terminal" into your spotlight search.
It should look like this:
- Install the homebrew package manager by executing the following command in terminal:
ruby -e "$(curl -fsSL https://raw.githubusercontent.com/Homebrew/install/master/install)"Attention: You might be asked to install the Xcode command line tools. The installation process will be started automatically and before you can proceed to install the Alfred dependencies the command line tools must be installed.
- Install the latest version of Python 2.7 and some required packages by executing the following commands in terminal:
brew install python@2
brew install cmake gcc libpng libtiff freetype- Install the package qt 4 by executing the following commands in terminal.
brew tap cartr/qt4
brew tap-pin cartr/qt4
brew install qt@4
At the end of the installation process, you get a little note, saying that qt-webkit 2.3 was not installed due to security issues. Still, we need this component. To install it, execute the following command:
brew install [email protected](Note: Currently, there is no other way to install Alfred on your Mac but to use qt4 and qt-webkit 2.3 in spite of potential security issues. Were are working on a solution.)
- Update the pip package, install pyside 1.2.2, update the setuptools and install the package virtualenv by executing the following commands in terminal:
pip install -U pip
pip install pyside==1.2.2
pip install -U setuptools
pip install virtualenv- Create a virtual python environment named Alfred by executing the following command in terminal:
virtualenv --system-site-packages $HOME/.virtualenvs/alfred- Activate virtual environment by executing the following command in terminal:
source $HOME/.virtualenvs/alfred/bin/activateAttention: Your terminal must now show the activated alfred environment on the left side of the prompt. It should look like this:
- Now we need to install additional packages and finish the installation of pyside inside this virtual environment with these commands:
pip install xmltodict jinja2 couchdb pymongo==2.6 flask
pyside_postinstall.py -install- We are now ready to install Alfred. First, download Alfred (link: alfred-0.2b5.tar.gz) and extract the archive by double-clicking on it. Then switch to the path of your extracted folder in terminal and execute setup.py via python by pasting the following commands into terminal:
(Hint: You can easily copy the path to the folder by right-clicking on it and then pressing theoptionkey. Now you can see thatCopy "filename"turns intoCopy "filename" as Pathname.)
cd PATH-TO-FOLDER
python setup.py installNow you should test your Alfred installation. Download the test experiment (link: test_experiment.zip) and extract the archive. Now, inside your still activated Alfred virtual environment, switch to the path of the extracted folder and execute run.py via python by pasting the following commands into terminal:
cd PATH-TO-FOLDER
python run.py
The experiment should start in a new window and look like this:
Congratulations! You have now succesfully installed Alfred on your machine.
If you use an IDE and need to configure your python interpreter you can find the correct python executable located under the following path:
~/.virtualenvs/alfredOtherwise, you can always enter the Alfred virtual environment by executing:
source $HOME/.virtualenvs/alfred/bin/activateIf you have trouble getting your code to work, you can contact our support via [email protected]. Please make sure to test your code diligently before asking for help.


