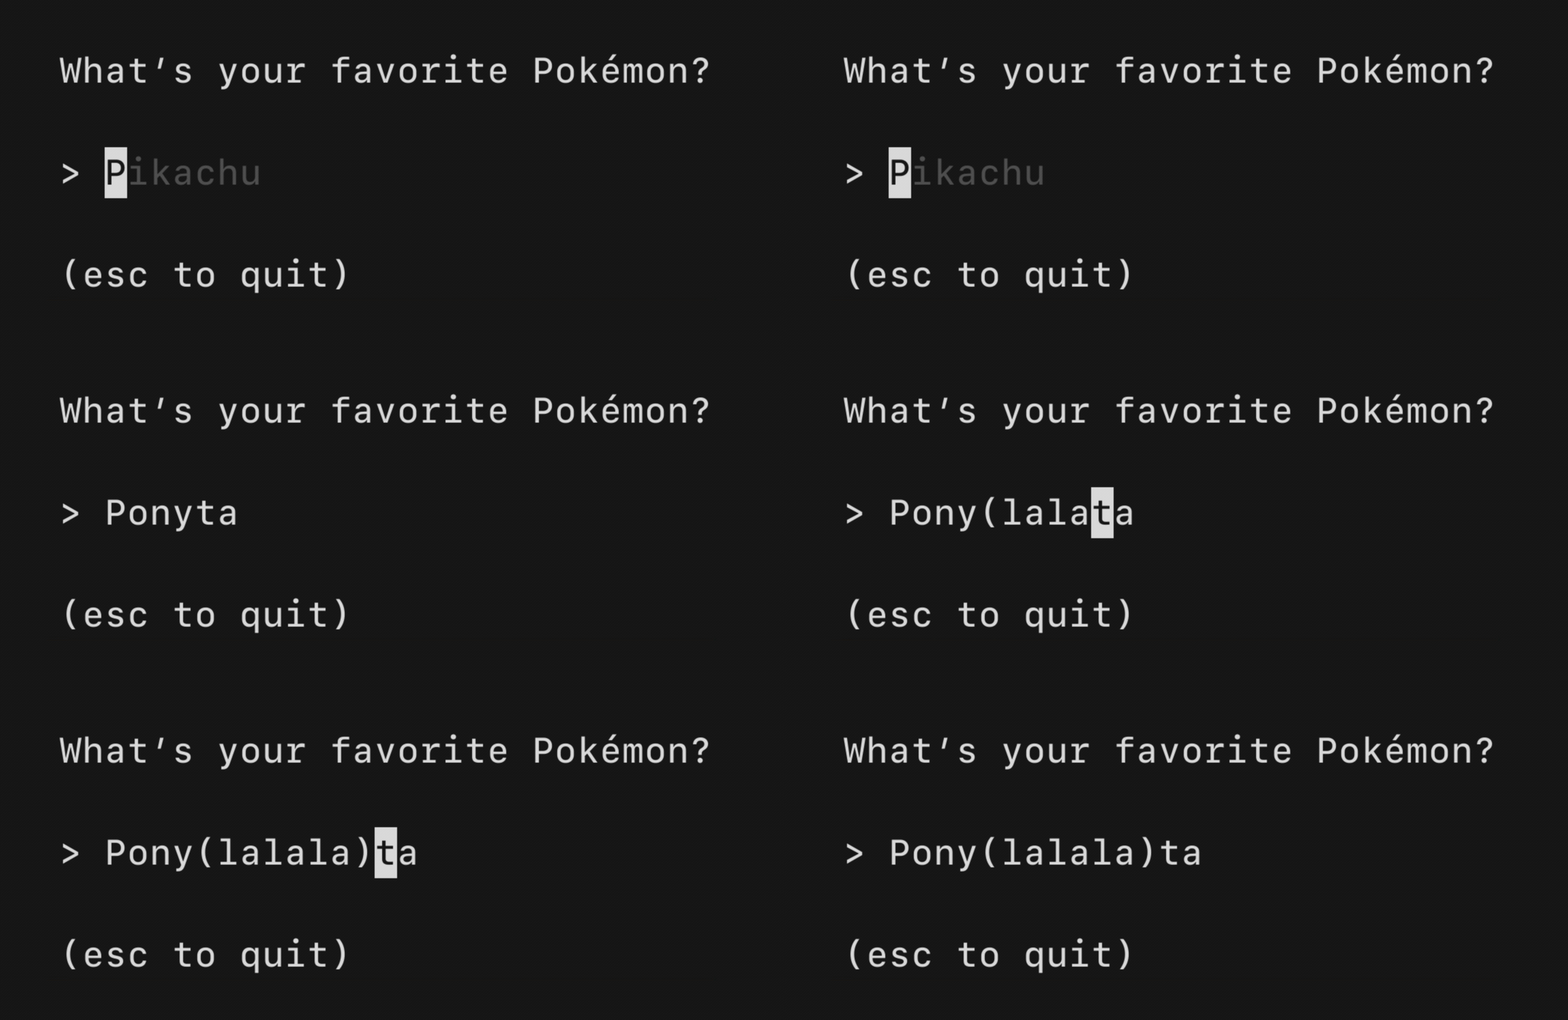
The fun, functional and stateful way to build terminal apps. A Go framework based on The Elm Architecture. Bubble Tea is well-suited for simple and complex terminal applications, either inline, full-window, or a mix of both.
Bubble Tea is in use in production and includes a number of features and performance optimizations we’ve added along the way. Among those is a framerate-based renderer, mouse support, focus reporting and more.
To get started, see the tutorial below, the examples, the docs, the video tutorials and some common resources.
Be sure to check out Bubbles, a library of common UI components for Bubble Tea.
Bubble Tea is based on the functional design paradigms of The Elm Architecture, which happens to work nicely with Go. It's a delightful way to build applications.
This tutorial assumes you have a working knowledge of Go.
By the way, the non-annotated source code for this program is available on GitHub.
For this tutorial, we're making a shopping list.
To start we'll define our package and import some libraries. Our only external
import will be the Bubble Tea library, which we'll call tea for short.
package main

// These imports will be used later on the tutorial. If you save the file
// now, Go might complain they are unused, but that's fine.
// You may also need to run `go mod tidy` to download bubbletea and its
// dependencies.
import (
    "fmt"
    "os"

    tea "github.com/charmbracelet/bubbletea"
)
Bubble Tea programs are comprised of a model that describes the application state and three simple methods on that model:
- Init, a function that returns an initial command for the application to run.
- Update, a function that handles incoming events and updates the model accordingly.
- View, a function that renders the UI based on the data in the model.
So let's start by defining our model which will store our application's state.
It can be any type, but a struct usually makes the most sense.
type model struct {
    choices  []string           // items on the to-do list
    cursor   int                // which to-do list item our cursor is pointing at
    selected map[int]struct{}   // which to-do items are selected
}Next, we’ll define our application’s initial state. In this case, we’re defining a function to return our initial model, however, we could just as easily define the initial model as a variable elsewhere, too.
func initialModel() model {
	return model{
		// Our to-do list is a grocery list
		choices:  []string{"Buy carrots", "Buy celery", "Buy kohlrabi"},

		// A map which indicates which choices are selected. We're using
		// the  map like a mathematical set. The keys refer to the indexes
		// of the `choices` slice, above.
		selected: make(map[int]struct{}),
	}
}
Next, we define the Init method. Init can return a Cmd that could perform
some initial I/O. For now, we don't need to do any I/O, so for the command,
we'll just return nil, which translates to "no command."
func (m model) Init() tea.Cmd {
    // Just return `nil`, which means "no I/O right now, please."
    return nil
}Next up is the update method. The update function is called when ”things
happen.” Its job is to look at what has happened and return an updated model in
response. It can also return a Cmd to make more things happen, but for now
don't worry about that part.
In our case, when a user presses the down arrow, Update’s job is to notice
that the down arrow was pressed and move the cursor accordingly (or not).
The “something happened” comes in the form of a Msg, which can be any type.
Messages are the result of some I/O that took place, such as a keypress, timer
tick, or a response from a server.
We usually figure out which type of Msg we received with a type switch, but
you could also use a type assertion.
For now, we'll just deal with tea.KeyMsg messages, which are automatically
sent to the update function when keys are pressed.
func (m model) Update(msg tea.Msg) (tea.Model, tea.Cmd) {
    switch msg := msg.(type) {

    // Is it a key press?
    case tea.KeyMsg:

        // Cool, what was the actual key pressed?
        switch msg.String() {

        // These keys should exit the program.
        case "ctrl+c", "q":
            return m, tea.Quit

        // The "up" and "k" keys move the cursor up
        case "up", "k":
            if m.cursor > 0 {
                m.cursor--
            }

        // The "down" and "j" keys move the cursor down
        case "down", "j":
            if m.cursor < len(m.choices)-1 {
                m.cursor++
            }

        // The "enter" key and the spacebar (a literal space) toggle
        // the selected state for the item that the cursor is pointing at.
        case "enter", " ":
            _, ok := m.selected[m.cursor]
            if ok {
                delete(m.selected, m.cursor)
            } else {
                m.selected[m.cursor] = struct{}{}
            }
        }
    }

    // Return the updated model to the Bubble Tea runtime for processing.
    // Note that we're not returning a command.
    return m, nil
}
You may have noticed that ctrl+c and q above return
a tea.Quit command with the model. That’s a special command which instructs
the Bubble Tea runtime to quit, exiting the program.
At last, it’s time to render our UI. Of all the methods, the view is the
simplest. We look at the model in its current state and use it to return
a string. That string is our UI!
Because the view describes the entire UI of your application, you don’t have to worry about redrawing logic and stuff like that. Bubble Tea takes care of it for you.
func (m model) View() string {
    // The header
    s := "What should we buy at the market?\n\n"

    // Iterate over our choices
    for i, choice := range m.choices {

        // Is the cursor pointing at this choice?
        cursor := " " // no cursor
        if m.cursor == i {
            cursor = ">" // cursor!
        }

        // Is this choice selected?
        checked := " " // not selected
        if _, ok := m.selected[i]; ok {
            checked = "x" // selected!
        }

        // Render the row
        s += fmt.Sprintf("%s [%s] %s\n", cursor, checked, choice)
    }

    // The footer
    s += "\nPress q to quit.\n"

    // Send the UI for rendering
    return s
}The last step is to simply run our program. We pass our initial model to
tea.NewProgram and let it rip:
func main() {
    p := tea.NewProgram(initialModel())
    if _, err := p.Run(); err != nil {
        fmt.Printf("Alas, there's been an error: %v", err)
        os.Exit(1)
    }
}This tutorial covers the basics of building an interactive terminal UI, but in the real world you'll also need to perform I/O. To learn about that have a look at the Command Tutorial. It's pretty simple.
There are also several Bubble Tea examples available and, of course, there are Go Docs.
Since Bubble Tea apps assume control of stdin and stdout, you’ll need to run delve in headless mode and then connect to it:
# Start the debugger
$ dlv debug --headless --api-version=2 --listen=127.0.0.1:43000 .
API server listening at: 127.0.0.1:43000

# Connect to it from another terminal
$ dlv connect 127.0.0.1:43000
If you do not explicitly supply the --listen flag, the port used will vary
per run, so passing this in makes the debugger easier to use from a script
or your IDE of choice.
Additionally, we pass in --api-version=2 because delve defaults to version 1
for backwards compatibility reasons. However, delve recommends using version 2
for all new development and some clients may no longer work with version 1.
For more information, see the Delve documentation.
You can’t really log to stdout with Bubble Tea because your TUI is busy occupying that! You can, however, log to a file by including something like the following prior to starting your Bubble Tea program:
if len(os.Getenv("DEBUG")) > 0 {
	f, err := tea.LogToFile("debug.log", "debug")
	if err != nil {
		fmt.Println("fatal:", err)
		os.Exit(1)
	}
	defer f.Close()
}
To see what’s being logged in real time, run tail -f debug.log while you run
your program in another window.
- Bubbles: Common Bubble Tea components such as text inputs, viewports, spinners and so on
- Lip Gloss: Style, format and layout tools for terminal applications
- Harmonica: A spring animation library for smooth, natural motion
- BubbleZone: Easy mouse event tracking for Bubble Tea components
- ntcharts: A terminal charting library built for Bubble Tea and Lip Gloss
There are over 10,000 applications built with Bubble Tea! Here are a handful of ’em.
- chezmoi: securely manage your dotfiles across multiple machines
- circumflex: read Hacker News in the terminal
- gh-dash: a GitHub CLI extension for PRs and issues
- Tetrigo: Tetris in the terminal
- Signls: a generative midi sequencer designed for composition and live performance
- Superfile: a super file manager
- Microsoft Azure – Aztify: bring Microsoft Azure resources under Terraform
- Daytona – Daytona: open source dev environment manager
- Cockroach Labs – CockroachDB: a cloud-native, high-availability distributed SQL database
- Truffle Security Co. – Trufflehog: find leaked credentials
- NVIDIA – container-canary: a container validator
- AWS – eks-node-viewer: a tool for visualizing dynamic node usage within an EKS cluster
- MinIO – mc: the official MinIO client
- Ubuntu – Authd: an authentication daemon for cloud-based identity providers
- Glow: a markdown reader, browser, and online markdown stash
- Huh?: an interactive prompt and form toolkit
- Mods: AI on the CLI, built for pipelines
- Wishlist: an SSH directory (and bastion!)
For more applications built with Bubble Tea see Charm & Friends. Is there something cool you made with Bubble Tea you want to share? PRs are welcome!
See contributing.
We’d love to hear your thoughts on this project. Feel free to drop us a note!
Bubble Tea is based on the paradigms of The Elm Architecture by Evan Czaplicki et alia and the excellent go-tea by TJ Holowaychuk. It’s inspired by the many great Zeichenorientierte Benutzerschnittstellen of days past.
Part of Charm.
Charm热爱开源 • Charm loves open source • نحنُ نحب المصادر المفتوحة


