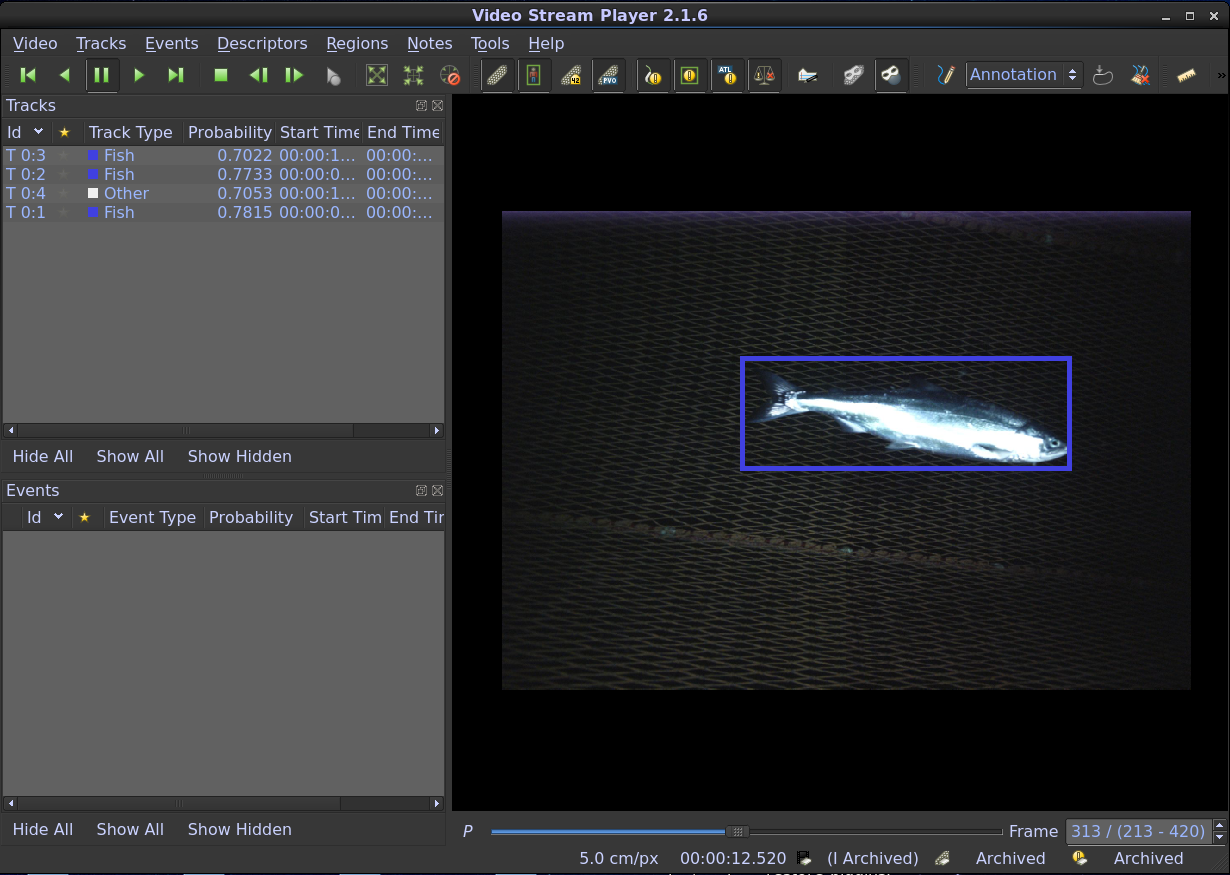
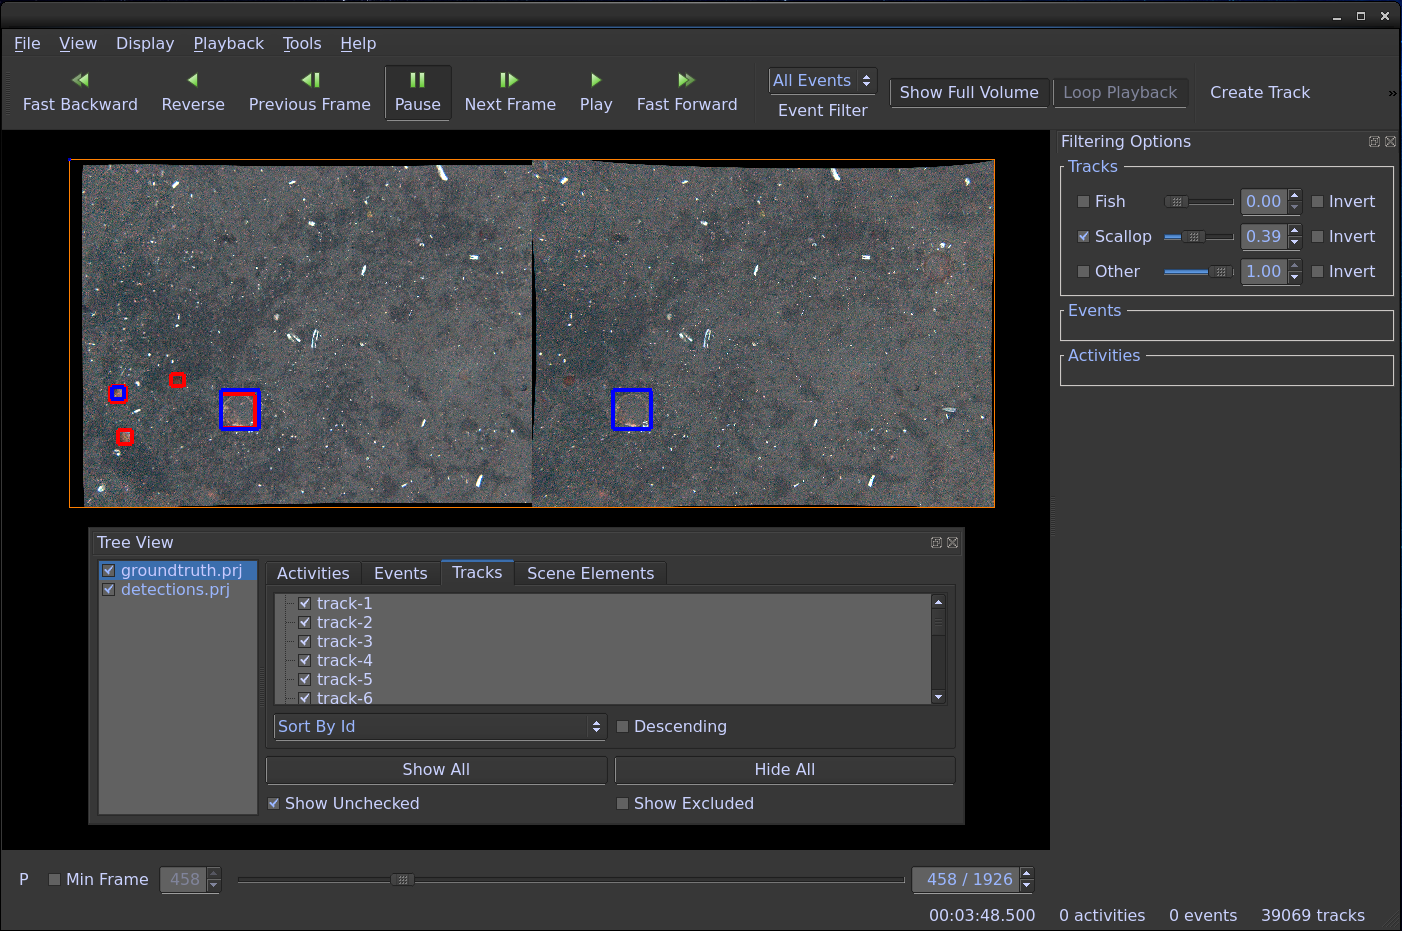
VIAME is a computer vision library designed to integrate several image and video processing algorithms together in a common distributed processing framework, majorly targeting marine species analytics. It is also useful as a general computer vision toolkit, as it contains many common algorithms and compiles several other popular repositories together as a part of its build process. The core infrastructure connecting different system components is currently the KWIVER library, which can connect C/C++, python, and matlab nodes together in a graph-like pipeline architecture. For more information about KWIVER's capabilities, please see here. Alongside the pipelined image processing system are a number of standalone utilties for model training, output detection visualization, and detector/tracker evaluation (a.k.a. scoring).
Build and Install Guide > > > Tips and Tricks > > > Known Issues
Running Detectors > > > Pipeline Run Examples > > > CXX Usage Examples
How to Integrate Your Own Plugin > > > Examples > > > Templates
Graphical User Interfaces for Visualization > > > Examples
Scoring and Evaluation of Detectors > > > Parameters and Output Elaboration > > > Examples
KWIVER Documentation > > > Examples
Windows binaries require an install of either Anaconda2 (preferred) or a comparable Python2.7 with multiple packages.
Windows 7/8/10, 64-Bit, GPU Version
Windows 7/8/10, 64-bit, CPU Version
The matlab plugins in the above releases were built using matlab r2016. They may or may not work with other versions. They were also moved to an "experimental" folder in the plugin directory, and can either be moved back into the main plugin directory or added to your path to use them.
Ubuntu 14.04, 64-Bit, GPU Version
More in-depth build instructions can be found here, with additional tips here, and common issues here.
VIAME itself can be built either as a super-build, which builds most of its dependencies alongside itself, or standalone. To build VIAME requires, at a minimum, Git, CMake, and a C++ compiler. If using the command line, run the following commands, only replacing [source-directory] and [build-directory] with locations of your choice:
git clone https://github.com/Kitware/VIAME.git [source-directory]

cd [source-directory] && git submodule update --init --recursive
Next, create a build directory and run the following cmake command (or alternatively
use the cmake GUI if you are not using the command line interface):
mkdir [build-directory] && cd [build-directory]

cmake -DCMAKE_BUILD_TYPE:STRING=Release [source-directory]
Once your cmake command has completed, you can configure any build flags you want
using 'ccmake' or the cmake GUI, and then build with the following command on Linux:
make -j8
Or alternatively by building it in Visual Studio or your compiler of choice on Windows. The '-j8' tells the build to run multi-threaded using 8 threads, this is useful for a faster build though if you get an error it can be difficult to know where it was, in which case running just 'make' might be more helpful. For Windows, currently VS2013 thru VS2017 is supported. If using CUDA, version 8.0 is desired, along with Python 2.7. Other versions have yet to be tested extensively. On Windows it can also be beneficial to use Anaconda to get multiple python packages. Boost Python (turned on by default when Python is enabled) requires Numpy and a few other dependencies.
There are several optional arguments to viame which control which plugins get built, such as those listed below. If a plugin is enabled that depends on another dependency (such as OpenCV) then the dependency flag will be forced to on.
| Flag | Description |
|---|---|
| VIAME_ENABLE_OPENCV | Builds OpenCV and basic OpenCV processes (video readers, simple GUIs) |
| VIAME_ENABLE_VXL | Builds VXL and basic VXL processes (video readers, image filters) |
| VIAME_ENABLE_CAFFE | Builds Caffe and basic Caffe processes (pixel classifiers, FRCNN dependency) |
| VIAME_ENABLE_PYTHON | Turns on support for using python processes |
| VIAME_ENABLE_MATLAB | Turns on support for and installs all matlab processes |
| VIAME_ENABLE_SCALLOP_TK | Builds Scallop-TK based object detector plugin |
| VIAME_ENABLE_YOLO | Builds YOLO (Darknet) object detector plugin |
| VIAME_ENABLE_FASTER_RCNN | Builds Faster-RCNN based object detector plugin |
| VIAME_ENABLE_BURNOUT | Builds Burn-Out based pixel classifier plugin |
| VIAME_ENABLE_UW_CLASSIFIER | Builds UW fish classifier plugin |
And a number of flags which control which system utilities and optimizations are built, e.g.:
| Flag | Description |
|---|---|
| VIAME_ENABLE_CUDA | Enables CUDA (GPU) optimizations across all processes (OpenCV, Caffe, etc...) |
| VIAME_ENABLE_CUDNN | Enables CUDNN (GPU) optimizations across all processes |
| VIAME_ENABLE_VIVIA | Builds VIVIA GUIs (tools for making annotations and viewing detections) |
| VIAME_ENABLE_KWANT | Builds KWANT detection and track evaluation (scoring) tools |
| VIAME_ENABLE_DOCS | Builds Doxygen class-level documentation for projects (puts in install share tree) |
| VIAME_BUILD_DEPENDENCIES | Build VIAME as a super-build, building all dependencies (default behavior) |
| VIAME_INSTALL_EXAMPLES | Installs examples for the above modules into install/examples tree |
| VIAME_DOWNLOAD_MODELS | Downloads pre-trained models for use with the examples and training new models |
If you already have a checkout of VIAME and want to switch branches or update your code, it is important to re-run:
git submodule update --init --recursive
After switching branches to ensure that you have on the correct hashes of sub-packages within the build (e.g. fletch or KWIVER). Very rarely you may also need to run:
git submodule sync
Just in case the address of submodules has changed. You only need to run this command if you get a "cannot fetch hash #hashid" error.
If building from the source, all final compiled binaries are placed in the [build-directory]/install directory, which is the same as the root directory in the pre-built binaries. This will hereby be refered to as the [install-directory].
One way to test the system is to see if you can run the examples in the [install-directory]/examples folder, for example, the pipelined object detectors. There are some environment variables that need to be set up before you can run on Linux or Mac, which are all in the install/setup_viame.sh script. This script is sourced in all of the example run scripts, and similar paths are added in the generated windows .bat example scripts.
Another good initial test is to run the [install-directory]/bin/plugin_explorer program. It will generate a prodigious number of log messages and then list all the loadable algorithms. The output should look as follows:
---- Algorithm search path

Factories that create type "image_object_detector"
---------------------------------------------------------------
Info on algorithm type "image_object_detector" implementation "darknet"
  Plugin name: darknet      Version: 1.0
    Description:        Image object detector using darknet
    Creates concrete type: kwiver::arrows::darknet::darknet_detector
    Plugin loaded from file: /user/viame/build/install/lib/modules/kwiver_algo_darknet_plugin.so
    Plugin module name: arrows.darknet

Factories that create type "track_features"
---------------------------------------------------------------
Info on algorithm type "track_features" implementation "core"
  Plugin name: core      Version: 1.0
    Description:        Track features from frame to frame using feature detection, matching, and
    loop closure.
    Creates concrete type: kwiver::arrows::core::track_features_core
    Plugin loaded from file: /user/viame/build/install/lib/modules/kwiver_algo_core_plugin.so
    Plugin module name: arrows.core

Factories that create type "video_input"
---------------------------------------------------------------
Info on algorithm type "video_input" implementation "vxl"
  Plugin name: vxl      Version: 1.0
    Description:        Use VXL (vidl with FFMPEG) to read video files as a sequence of images.
    Creates concrete type: kwiver::arrows::vxl::vidl_ffmpeg_video_input
    Plugin loaded from file: /user/viame/build/install/lib/modules/kwiver_algo_vxl_plugin.so
    Plugin module name: arrows.vxl

etc...
The plugin loaded line represents the shared objects that have been detected and loaded. Each shared object can contain multiple algorithms. The algorithm list shows each concrete algorithm that could be loaded and declared in pipeline files. Check the log messages to see if there are any libraries that could not be located.
Each algorithm listed consists of two names. The first name is the type of algorithm and the second is the actual implementation type. For example the entry image_object_detector:hough_circle_detector indicates that it implements the image_object_detector interface and it is a hough_circle_detector.
Algorithms can be instantiated in any program and use a configuration based approach to select which concrete implementation to instantiate.
For a simple pipeline test, go to -
cd [install-directory]/examples/hello_world_pipeline/
or
cd [install-directory]/examples/detector_pipelines/
In those directories, run one of the detector pipelines. Which ENABLE_FLAGS you enabled will control which detector pipelines you can run, and only pipeline files with all required dependencies enabled will show up in the install tree. They can be run via one of the scripts placed in the directory, or via:
pipeline_runner -p [pipeline-file].pipe
Output detections can then be viewed in the GUI, e.g., see:
[install-directory]/examples/visualizing_detections_in_gui/


