-
Notifications
You must be signed in to change notification settings - Fork 3
Getting Started
- A PC and VR headset capable of running/streaming SteamVR (Windows/Linux)
- Optionally, you can instead use OSC in SlimeVR to forward the data to a standalone HMD (e.g. Quest, Pico, etc).
- A supported set of HaritoraX trackers (see this for the supported models)
- Latest version of SlimeTora
- Latest version of SlimeVR server
- New to SlimeVR and SlimeVR server? Read the SlimeVR basics wiki page here.
- Latest version of HaritoraConfigurator or Shiftall VR Manager
- The trackers must be paired/connected via the software at least once (and to make sure connections are working).
- This isn't necessary for people using Bluetooth on the
HaritoraX WiredorHaritoraX Wireless. - (NOTE) Since
v1.3.0,HaritoraX Wirelessusers with theGX(6/2)dongles can now pair the trackers in-app, removing the need for the official software.- Treat it as a beta however. If something goes wrong (or doesn't work), use the official software.
This only applies to Linux users. If on Windows, skip this section.
Depending on how you are connecting your trackers, you will need to follow these steps to allow SlimeTora (more specifically, the backend haritorax-interpreter) to communicate with your trackers:
- Run the following commands in your terminal:
sudo usermod -a -G dialout $USERsudo usermod -a -G tty $USER-
sudo usermod -a -G uucp $USER(for Arch-based distros)
- Restart your computer
See https://github.com/chrvadala/node-ble/tree/main?tab=readme-ov-file#provide-permissions for more info
- Create a new dbus rule (e.g.
/etc/dbus-1/system.d/node-ble.conf) - Insert the following as the contents, changing
%userid%with your user
<!DOCTYPE busconfig PUBLIC "-//freedesktop//DTD D-BUS Bus Configuration 1.0//EN"
  "http://www.freedesktop.org/standards/dbus/1.0/busconfig.dtd">
<busconfig>
  <policy user="%userid%">
   <allow own="org.bluez"/>
    <allow send_destination="org.bluez"/>
    <allow send_interface="org.bluez.GattCharacteristic1"/>
    <allow send_interface="org.bluez.GattDescriptor1"/>
    <allow send_interface="org.freedesktop.DBus.ObjectManager"/>
    <allow send_interface="org.freedesktop.DBus.Properties"/>
  </policy>
</busconfig>
- Restart your computer
- Download the latest release of SlimeTora in the releases tab.
- Extract the zip archive into its own folder and run the program (
SlimeTora[.exe]).- On Linux, make sure to mark the binary as executable:
chmod +x ./SlimeTora
- On Linux, make sure to mark the binary as executable:
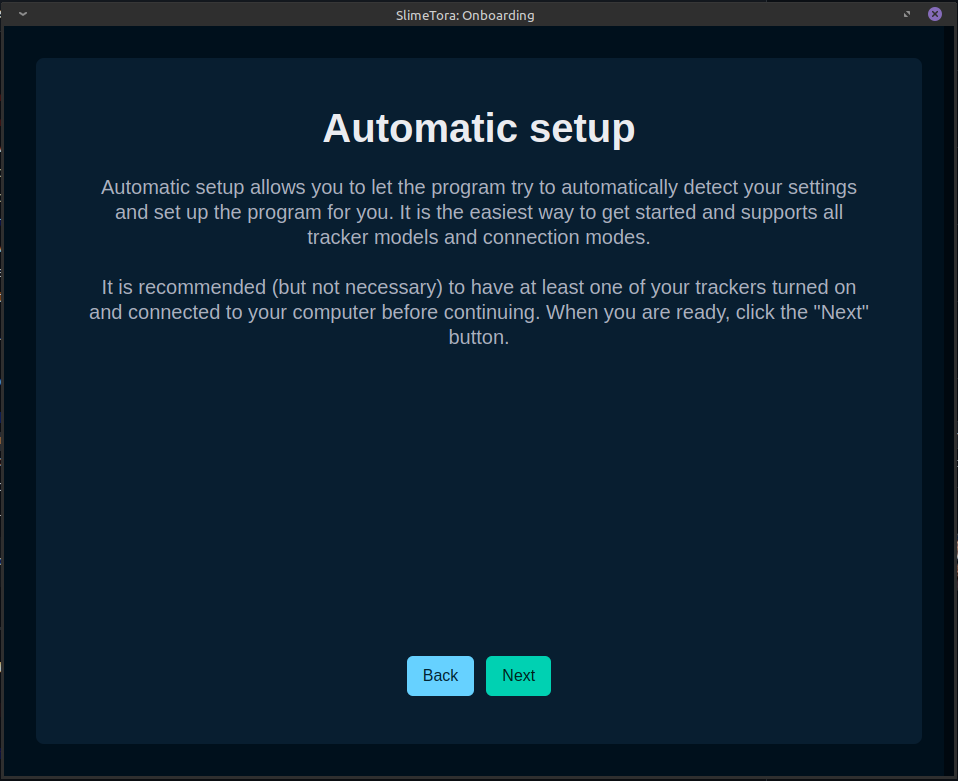
- The "onboarding" screen will appear. Choose how you want to set up SlimeTora, automatic or manual.
- Automatic setup is recommended and will guide you through the setup process in-app. You may skip the following instructions and focus on the app's instructions instead.
- If you would like to set it up manually (or automatic setup does not work for whatever reason), read on to
Manual setup.
- Press "Automatic setup" and follow the instructions that follow in the app
-
Press "Manual setup (skip)" and scroll down to "Program settings":
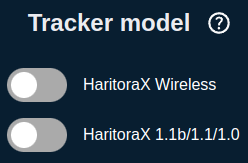
- Select the model of HaritoraX trackers you have under "Tracker model" (
HaritoraX Wireless/HaritoraX 1.1b/1.1/1.0).
- Select the supported connection mode you want to use to connect to your trackers (
Bluetooth/COM / GX(6/2)).- These two modes can also be used at the same time if on
HaritoraX Wireless.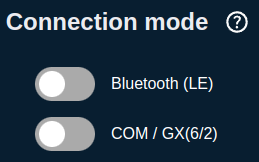
- These two modes can also be used at the same time if on
- (
COM/HaritoraX 1.1b/1.1/1.0) Select the COM port your bluetooth adapter has assigned the trackers to.- The port for the
HaritoraX 1.1b/1.1/1.0(wired) trackers can be found in HaritoraConfigurator's "communication settings".
- The port for the
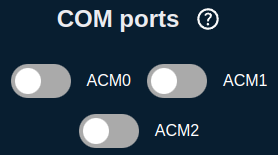
- (
COM/GX(6/2)/HaritoraX Wireless) Select up to 4 COM ports that your trackers are on (3 if only using GX6, 4 if using GX6+GX2).- Usually, this is the first four (consecutive) available ports. Some COM ports (e.g.
COM1) are usually already used by other devices like your motherboard, so the ports are likelyCOM2,COM3,COM4(andCOM5for GX2). - Check
Device Managerto see what ports are being used by the trackers asUSB Serial Devices.
- Usually, this is the first four (consecutive) available ports. Some COM ports (e.g.
- Select the model of HaritoraX trackers you have under "Tracker model" (
- Change the program's settings to your liking (see this for explanations).
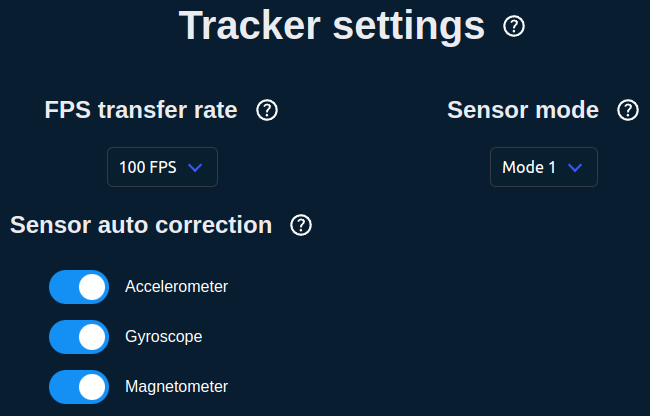
- Continue to SlimeVR setup.
It is highly recommended to make sure your trackers are paired/can be connected to HaritoraConfigurator/VR Manager before using the app to make it easier to troubleshoot if you experience issues.
On SlimeVR server
v0.13.0, there is a bug where you may not be able to pass the "IMU calibration" screen. It has been fixed withv0.13.1, so please make sure to update to the latest version!
- Install and run SlimeVR server, turn on your trackers, and press
Start connectionin SlimeTora.
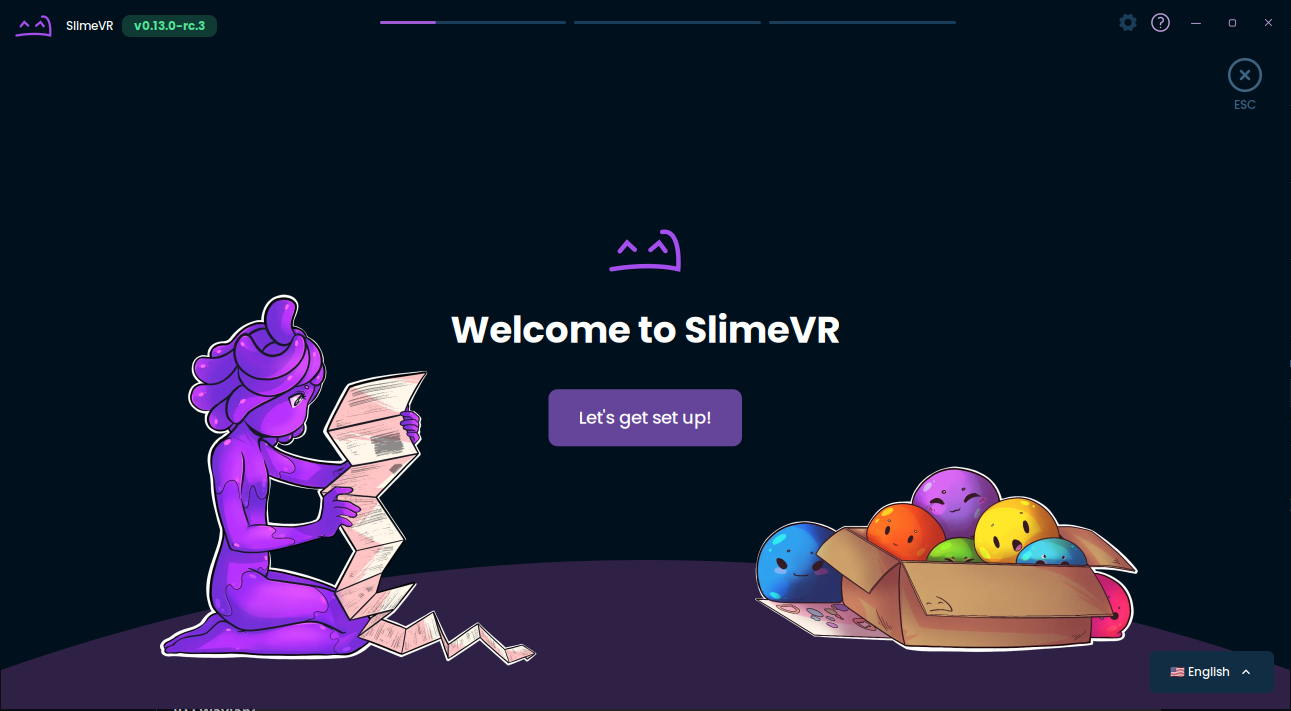
- If running SlimeVR server for the first time, go through the initial setup:
- Accept all popups that mention a "new tracker" was detected at any point during the setup (these are your trackers!)
- Skip the
Input Wi-Fi credentialsscreen by pressingSkip Wi-Fi settings. - Press
I put stickers and straps!. - Assign the trackers to your body (shake to identify the trackers, or physically double tap them).
- Perform
Automatic Mountingto calibrate the mounting positions.- Manual mounting seems to be quite finicky and you may need to mess with it to get it right (which is why automatic is recommended)
- Choose a proportion calibration method (automatic/manual).
- If this isn't your first time (or skipped initial setup):
- Accept all popups that mention a "new tracker" was detected (these are your trackers!)
- Assign the trackers to your body (shake to identify the trackers, or physically double tap them) in
Tracker Assignment. - Perform an
Automatic Mountingcalibration or amounting reset(you should be in the ski pose).
- Check out the rest of SlimeVR and its settings, and you're done!
Note that SlimeVR's resets differ to HaritoraConfigurator's and has three different resets (yaw/full/mounting) which are used for different reasons. Please check the SlimeVR Basics page in this wiki for more information, specifically the
Resets & calibrationsection.
If you experience any issues (e.g. tracking), make sure to check out the troubleshooting wiki page.