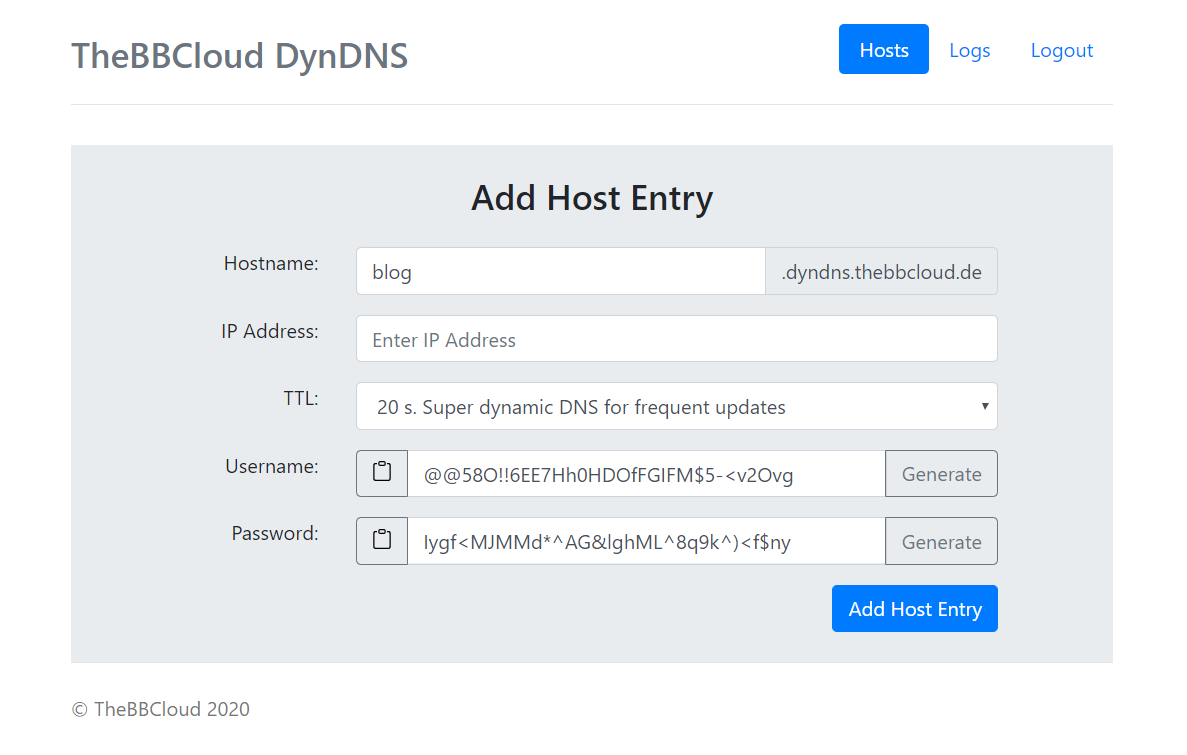
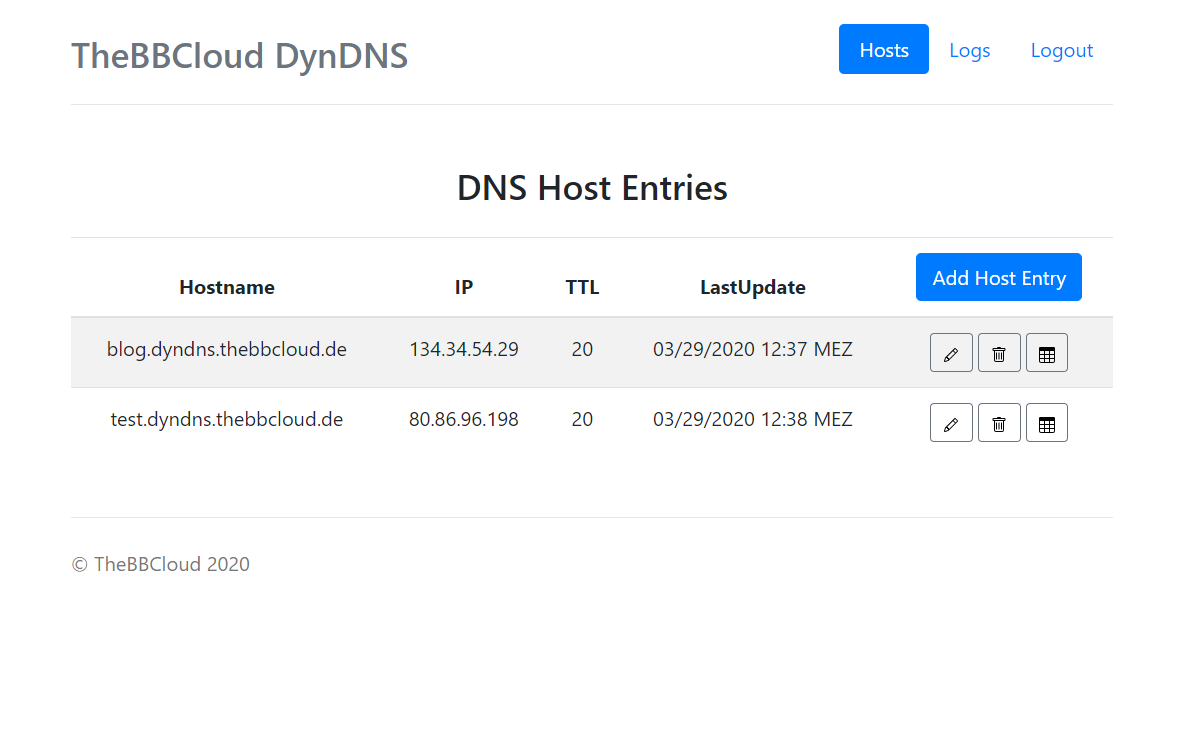
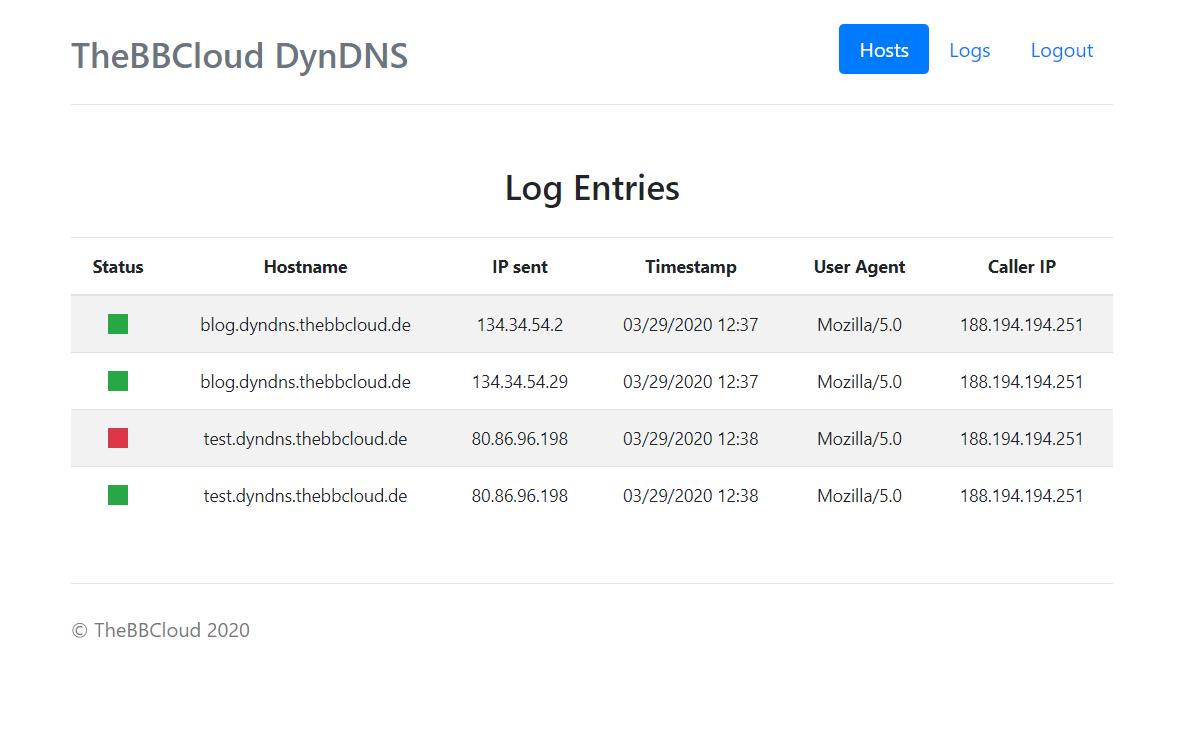
With docker-ddns-server you can setup your own dynamic DNS server. This project is inspired by https://github.com/dprandzioch/docker-ddns . In addition to the original version, you can setup and maintain your dyndns entries via simple web ui.
You can either take the docker image or build it on your own.
Just customize this to your needs and run:
docker run -it -d \
    -p 8080:8080 \
    -p 53:53 \
    -p 53:53/udp \
    -v /somefolder:/var/cache/bind \
    -v /someotherfolder:/root/database \
    -e DDNS_ADMIN_LOGIN=admin:123455546. \
    -e DDNS_DOMAINS=dyndns.example.com \
    -e DDNS_PARENT_NS=ns.example.com \
    -e DDNS_DEFAULT_TTL=3600 \
    --name=dyndns \
    bbaerthlein/docker-ddns-server:latest
You can also use Docker Compose to set up this project. For an example docker-compose.yml, please refer to this file: https://github.com/benjaminbear/docker-ddns-server/blob/master/deployment/docker-compose.yml
DDNS_ADMIN_LOGIN is a htpasswd username password combination used for the web ui. You can create one by using htpasswd:
htpasswd -nb user password
If you want to embed this into a docker-compose.yml you have to double the dollar signs for escaping:
echo $(htpasswd -nb user password) | sed -e s/\\$/\\$\\$/g
DDNS_DOMAINS are the domains of the webservice and the domain zones of your dyndns server (see DNS Setup) i.e. dyndns.example.com,dyndns.example.org (comma separated list)
DDNS_PARENT_NS is the parent name server of your domain i.e. ns.example.com
DDNS_DEFAULT_TTL is the default TTL of your dyndns server.
If your parent domain is example.com and you want your dyndns domain to be dyndns.example.com,
an example domain of your dyndns server would be blog.dyndns.example.com.
You have to add these entries to your parent dns server:
dyndns                   IN NS      ns
ns                       IN A       <put ipv4 of dns server here>
ns                       IN AAAA    <optional, put ipv6 of dns server here>
After you have added a host via the web ui you can setup your router. Example update URL:
http://dyndns.example.com:8080/update?hostname=blog.dyndns.example.com&myip=1.2.3.4
or
http://username:[email protected]:8080/update?hostname=blog.dyndns.example.com&myip=1.2.3.4
this updates the host blog.dyndns.example.com with the IP 1.2.3.4. You have to setup basic authentication with the username and password from the web ui.
If your router doensn't support sending the ip address (OpenWRT) you don't have to set myip field:
http://dyndns.example.com:8080/update?hostname=blog.dyndns.example.com
or
http://username:[email protected]:8080/update?hostname=blog.dyndns.example.com
The handler will also listen on:
- /nic/update
- /v2/update
- /v3/update


