To get started with the Vuln Cost Security Scanner extension for Visual Studio Code (VSCode), you must first install the Vuln Cost - Security Scanner by snyk-security.vscode-vuln-cost from the Extensions Marketplace. You may need to restart VSCode to see warnings.
You can tell the extension is successfully installed by opening your package.json or equivalent. You should see Scanning for vulns… appear next to all of your dependencies. If a dependency version doesn’t match known vulnerable versions in Snyk’s database, the message will disappear. If the version matches a known-vulnerable one, the text will change to show the number of vulnerabilities in a message like 2 vulns (click to fix). You can’t actually click to fix until you authorize your account, though, and the text saying (click to fix) is not clickable.
Click within the name of a dependency that lists a number of vulns, and a blue extension icon will appear in the left margin of VSCode. When you click the extension icon, a dropdown appears with two options: Fix Vulns or Learn about this package.
If you select Fix Vulns, VSCode asks if you would like to go to the external webpage. If you haven’t authorized Snyk CLI since installing the extension, you will need to authorize your account to actually see fix options. If you don't have an account yet, you can create a free account to authorize. If you have already authorized Snyk CLI, the Output panel lists direct and indirect vulnerabilities known to affect your package version, as well as a version to upgrade to for possible remediation.
If you select Learn about this package, VSCode asks if you would like to go to the external webpage, and agreeing takes you to the Snyk Advisor page for that package.
The first time you use the Vuln Cost Security Scanner on a new device, you will need to authorize it by logging into your Snyk account before seeing remediation advice.
- First, find a package with known vulnerabilities in your
package.jsonor equivalent. - Click in the name of that package, then click the blue extension icon that appears in the left margin. A dropdown menu opens.
- Select Fix Vulns from the dropdown.
VSCode will ask if you want to open the External Link. You must open the external link to continue.

- Click Open.
An Authenticate for CLI prompt appears. The Snyk CLI authorization flow will be used when you authenticate, and your VulnCost use will appear as an instance of the Snyk CLI Client in the Snyk web interface, if you also use that.
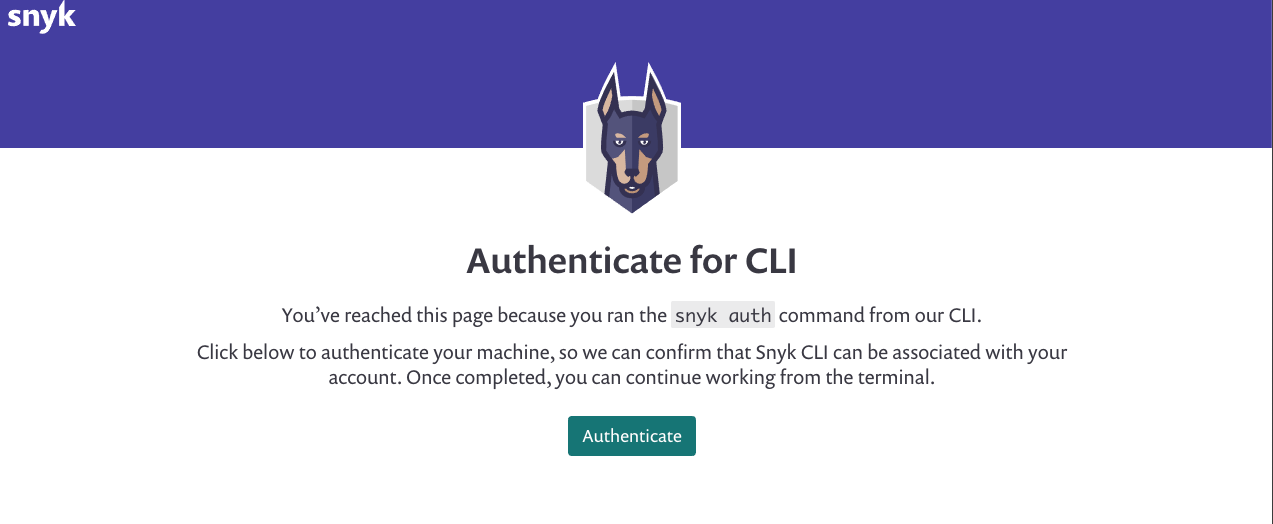
- Click Authenticate to allow the Snyk CLI to scan your package versions.
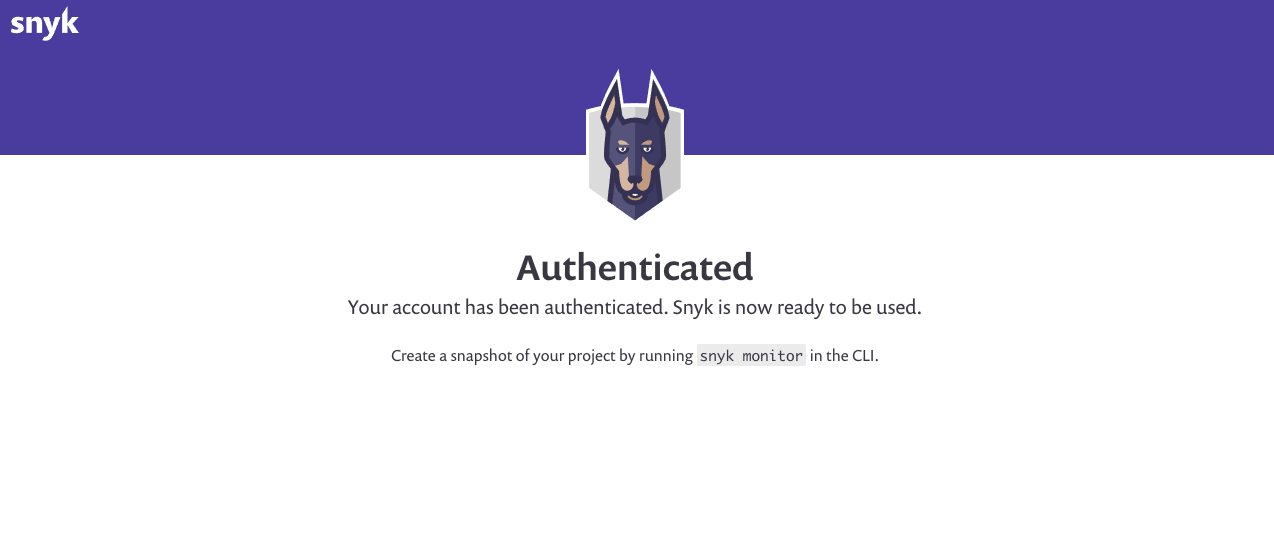
An Authenticated screen should appear. If it doesn’t, reload the page and try again.
- Click in the name of your package and select Fix Vulns again, and you will now see direct and indirect vulnerabilities known to affect your package version, as well as a version to upgrade to for possible remediation in the Output panel of VSCode.