If really you don't want to use the CLI (😢) then you can still use SwiftyMocky with a Sourcery configuration, described below. This is the "old" way of integrating our library.
Summing up, you need SwiftyMocky framework in the runtime, and sourcery binary with a configuration pointing to our template for the mocks generation.
SwiftyMocky is available through CocoaPods. To install it, simply add the following line to your Podfile:
pod "SwiftyMocky"Then add mocky.yml and Rakefile (or build script phase) to your project root directory, as described in below. See full [setup][link-docs-setup] instructions.
For Carthage install instructions, see full [documentation][link-docs-installation].
One of the boilerplate part of testing and development is writing and updating mocks accordingly to newest changes. SwiftyMocky is capable of generating mock implementations (with configurable behavior), based on protocol definition.
During development process it is possible to use SwiftyMocky in a watcher mode, which will observe changes in you project files, and regenerate files on the fly.
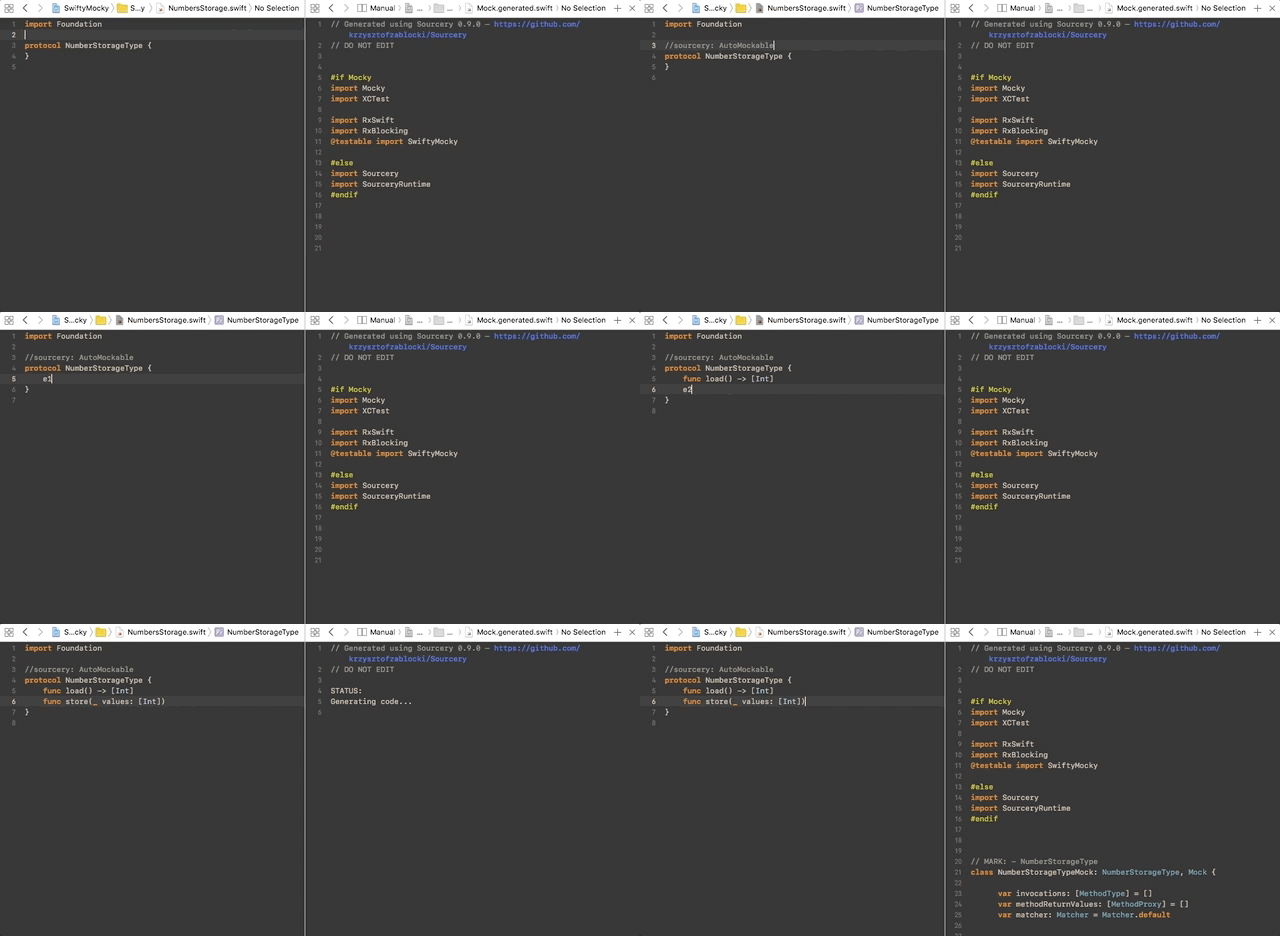
By default, all protocols marked as AutoMockable (inheriting from dummy protocol AutoMockable or annotated with //sourcery: AutoMockable) are being subject of mock implementation generation. All mocks goes to Mock.generated.swift, which can be imported into test target.
Mocks generation is based on mocky.yml file.
First, create file in your project root directory with following structure:
sources:
  include:
    - ./ExampleApp
    - ./ExampleAppTests
templates:
  - ./Pods/SwiftyMocky/Sources/SwiftyMocky
output:
  ./ExampleApp
args:
  testable:
    - ExampleApp
  import:
    - RxSwift
    - RxBlocking
  excludedSwiftLintRules:
    - force_cast
    - function_body_length
    - line_length
- vertical_whitespace- sources: all directories you want to scan for protocols/files marked to be auto mocked, or inline mocked. You can use
exclude, to prevent from scanning particular files (makes sense for big*.generated.swiftfiles) - templates: path to SwiftyMocky sourcery templates, in Pods directory
- output: place where
Mock.generated.swiftwill be placed - testable: specify imports for Mock.generated, that should be marked as
@testable(usually tested app module) - import: all additional imports, external libraries etc. to be placed in Mock.generated
- excludedSwiftLintRules: if using swift SwiftLint.
If you are already using Sourcery with your own templates and you have configured sourcery.yml file, you can extend it to add support for SwiftyMocky. Click [here][link-guides-installation] for details.
- manually: by triggering:
Pods/Sourcery/bin/sourcery --config mocky.yml
- in
watchmode: changed methods will be reflected in mocks, after generation of mock, by triggering:
Pods/Sourcery/bin/sourcery --config mocky.yml --watch
!!! In case of incompatibile swift module versions error - check Known issues section in guides or docs
Don't forget to add Mock.generated.swift to your test target :)
Please Note! Most convenient way is to put generation in some kind of script - like Rakefile below. Just create file named Rakefile - generation is triggered by
rake mock# Rakefile task :mock do sh "Pods/Sourcery/bin/sourcery --config mocky.yml" end task :mock_watcher do sh "Pods/Sourcery/bin/sourcery --config mocky.yml --watch" end
We know that Sourcery is a powerful tool and you are likely to use it already. You can easily integrate SwiftyMocky with your project with keeping all already written templates working.
All you have to do is add path (note that path can be different for Carthage/manual installation) to SwiftyMocky templates in your sourcery.yml file:
sources:
    - ./ExampleApp
    - ./ExampleAppTests
templates:
    - <templates path> # Path to already written Sourcery templates
    - ./Pods/SwiftyMocky/Sources/SwiftyMocky # <- SwiftyMocky templates
output:
    ./ExampleApp
args:
  testable:
    - ExampleApp
  import:
    - RxSwift
    - RxBlocking
  excludedSwiftLintRules:
    - force_cast
    - function_body_length
    - line_length
    - vertical_whitespace
You can use all arguments (like testable, import, etc.) in the same way as in mocky.yaml, under args key.
This is a helper script allowing to obtain Sourcery binary compiled for usage with SwiftyMocky. It can be used with both: legacy configurations and new Mockfile (specify path to binary in Mockfile sourceyCommand)
[[ $# > 0 ]] && VERSION="$1" || VERSION="5.0"
[[ $# > 1 ]] && OUTPUT="$2" || OUTPUT="./Pods/Sourcery/bin"
SOURCERY_VERSION="0.16.0" # The version of Sourcery that is associated with this SwiftyMocky version

echo "CLONE SOURCERY $SOURCERY_VERSION FOR Swift $VERSION INTO $OUTPUT"
rm -r -f "$OUTPUT"
git clone -b "sourcery/$SOURCERY_VERSION-swift$VERSION" --single-branch --depth 1 https://github.com/MakeAWishFoundation/SwiftyMocky.wiki.git "$OUTPUT"
Note! This script is also shipped with SwiftyMocky when installing via cocoapods You can use it from project root like
sh ./Pods/SwiftyMocky/get_sourcery.sh 4.2Version is optional, if you don't specify it, script will use latest supported (5.0 in that case)
Note 2! If you use Carthage, you should specify your custom output location for sourcery binary. Please have in mind, that script clears output dir, so don't point it to
~/or something ;)
