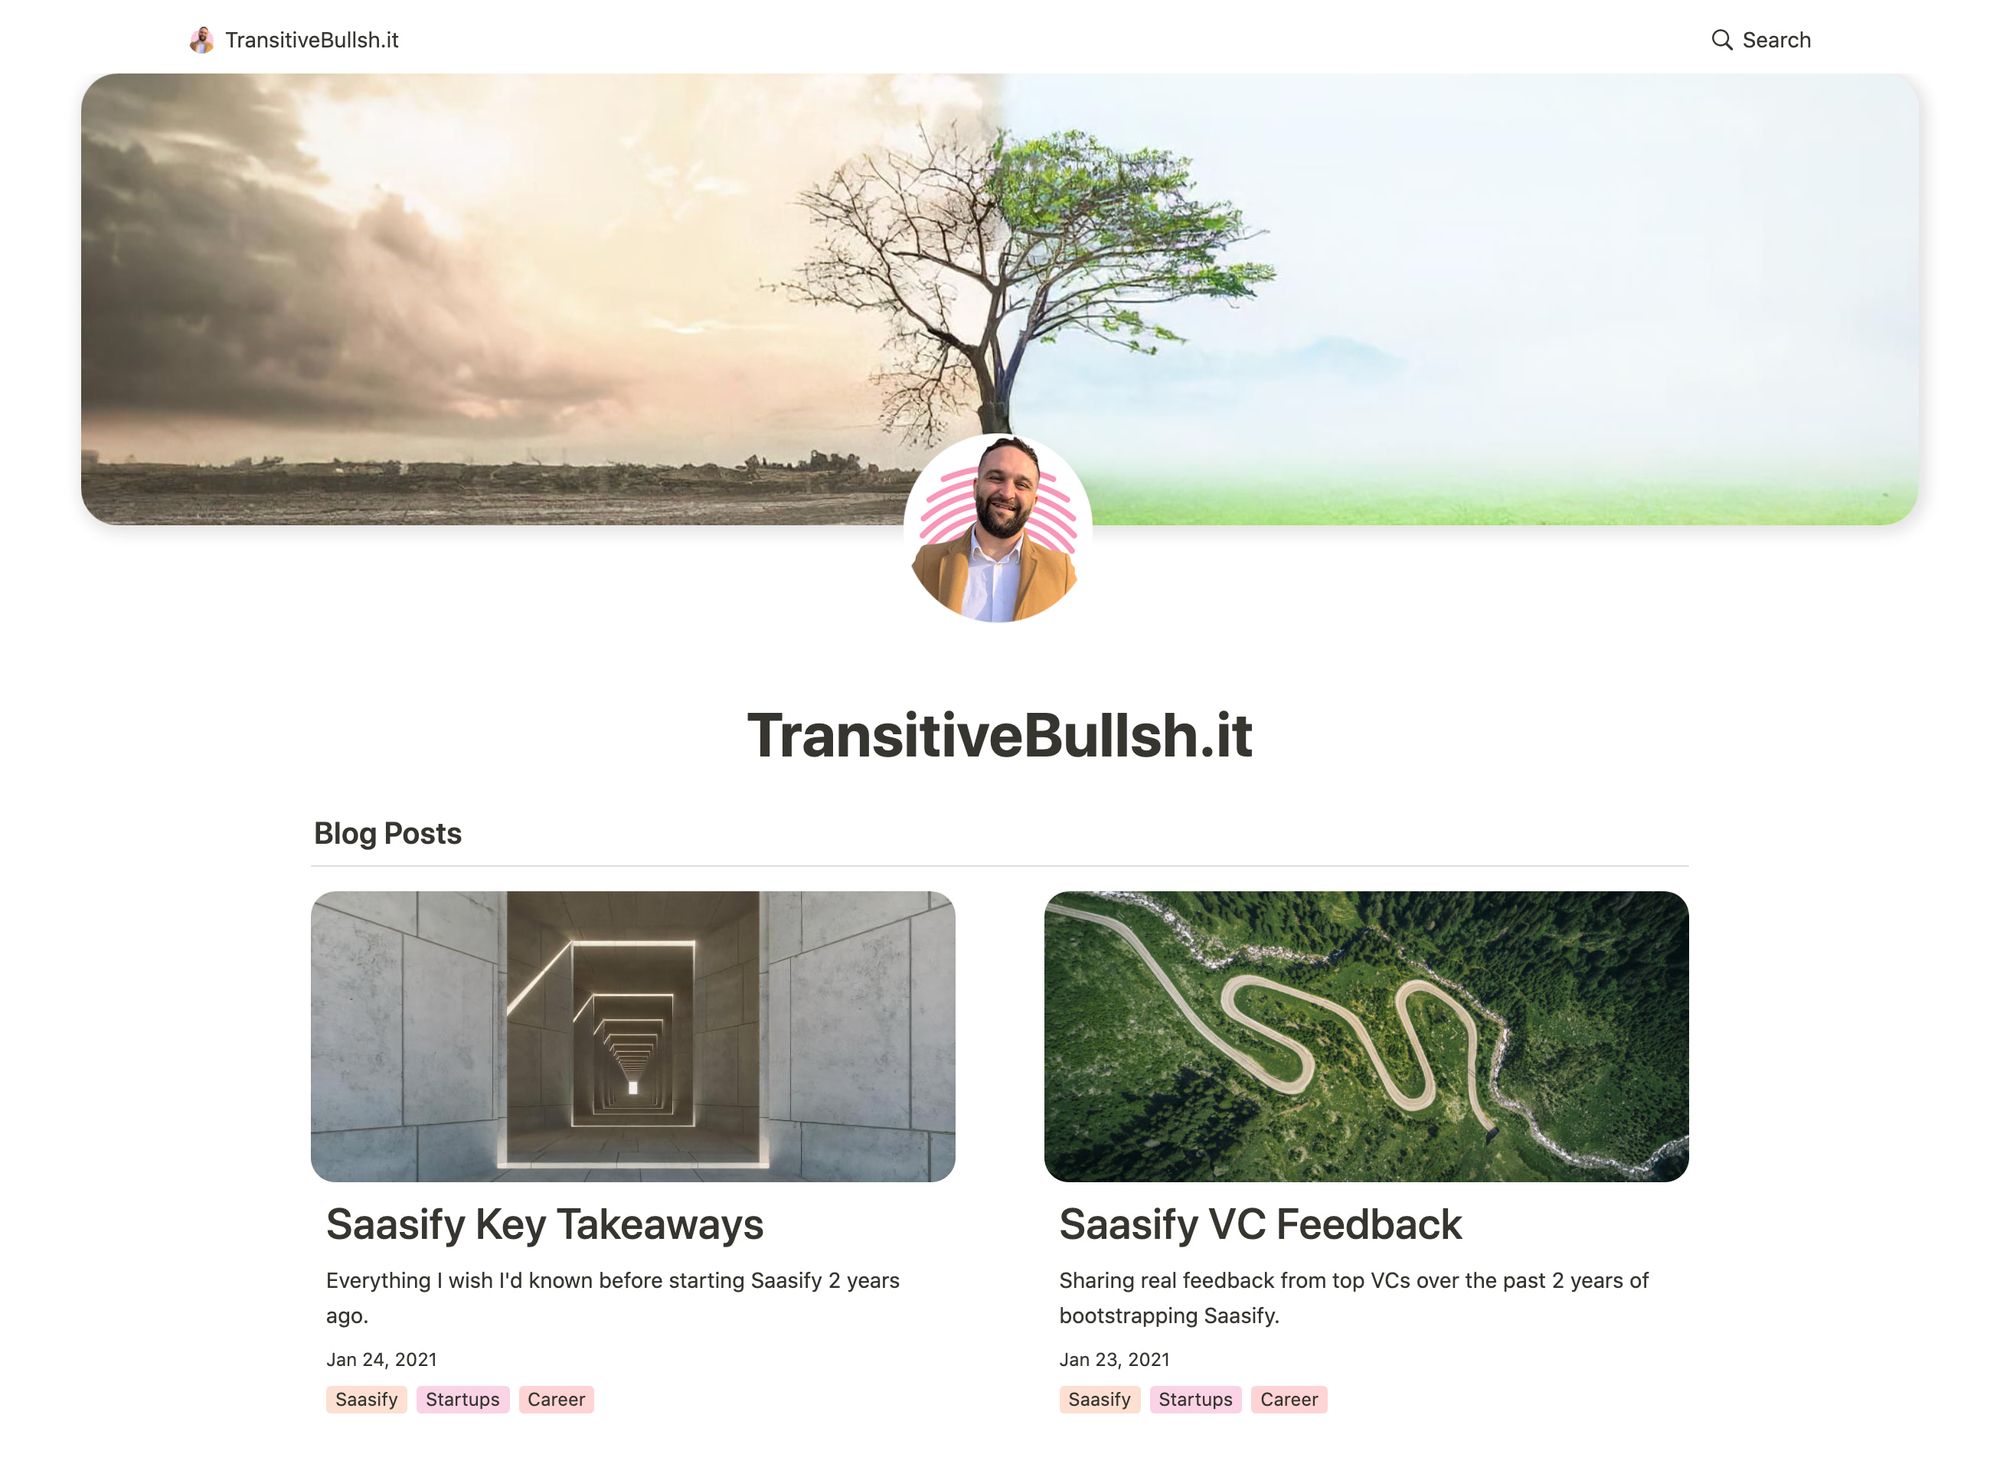
The perfect starter kit for building websites with Next.js and Notion.
This repo is what I use to power my personal blog and portfolio site transitivebullsh.it.
It uses Notion as a CMS, react-notion-x, Next.js, and Vercel.
- Setup only takes a few minutes (single config file) 💪
- Robust support for Notion content via react-notion-x
- Built using Next.js, TS, and React
- Excellent page speeds
- Smooth image previews
- Automatic social images
- Automatic pretty URLs
- Automatic table of contents
- Full support for dark mode
- Quick search via CMD+K / CMD+P
- Responsive for different devices
- Optimized for Next.js and Vercel
- Default demo - Deployed from the
mainbranch - My site - Deployed from the
transitive-bullshitbranch
All config is defined in site.config.ts.
This project requires a recent version of Node.js (we recommend >= 16).
- Fork / clone this repo
- Change a few values in site.config.ts
npm installnpm run devto test locallynpm run deployto deploy to vercel 💪
I tried to make configuration as easy as possible — All you really need to do to get started is edit rootNotionPageId.
We recommend duplicating the default page as a starting point, but you can use any public notion page you want.
Make sure your root Notion page is public and then copy the link to your clipboard. Extract the last part of the URL that looks like 7875426197cf461698809def95960ebf, which is your page's Notion ID.
In order to find your Notion workspace ID (optional), just load any of your site's pages into your browser and open up the developer console. There will be a global variable that you can access called block which is the Notion data for the current page. If you enter block.space_id, it will print out your page's workspace ID.
I recommend setting up a collection on your home page that contains all of your articles / projects / content. There are no structural constraints on your Notion workspace, however, so feel free to add content as you normally would in Notion.
The app defaults to slightly different URL paths in dev vs prod (though pasting any dev pathname into prod will work and vice-versa).
In development, it will use /nextjs-notion-blog-d1b5dcf8b9ff425b8aef5ce6f0730202 which is a slugified version of the page's title suffixed with its Notion ID. I've found that it's really useful to always have the Notion Page ID front and center during local development.
In production, it will use /nextjs-notion-blog which is a bit nicer as it gets rid of the extra ID clutter.
The mapping of Notion ID to slugified page titles is done automatically as part of the build process. Just keep in mind that if you plan on changing page titles over time, you probably want to make sure old links will still work, and we don't currently provide a solution for detecting old links aside from Next.js's built-in support for redirects.
See mapPageUrl and getCanonicalPageId for more details.
You can override the default slug generation on a per-page basis by adding a Slug text property to your database. Any page which has a Slug property will use that as its slug.
NOTE: if you have multiple pages in your workspace with the same slugified name, the app will throw an error letting you know that there are duplicate URL pathnames.
We use next/image to serve images efficiently, with preview images optionally generated via lqip-modern. This gives us extremely optimized image support for sexy smooth images.
Preview images are enabled by default, but they can be slow to generate, so if you want to disable them, set isPreviewImageSupportEnabled to false in site.config.ts.
If you want to cache generated preview images to speed up subsequent builds, you'll need to first set up an external Redis data store. To enable redis caching, set isRedisEnabled to true in site.config.ts and then set REDIS_HOST and REDIS_PASSWORD environment variables to point to your redis instance.
You can do this locally by adding a .env file:
REDIS_HOST='TODO'
REDIS_PASSWORD='TODO'
If you're not sure which Redis provider to use, we recommend Redis Labs, which provides a free plan.
Note that preview images and redis caching are both optional features. If you’d rather not deal with them, just disable them in your site config.
All CSS styles that customize Notion content are located in styles/notion.css. They mainly target global CSS classes exported by react-notion-x styles.css.
Every notion block gets its own unique classname, so you can target individual blocks like this:
.notion-block-260baa77f1e1428b97fb14ac99c7c385 {
  display: none;
}
Dark mode is fully supported and can be toggled via the sun / moon icon in the footer.
All Open Graph and social meta tags are generated from your Notion content, which makes social sharing look professional by default.
Social images are generated automatically using Vercel OG Image Generation. You can tweak the default React template for social images by editing api/social-images.tsx.
You can view an example social image live in production here.
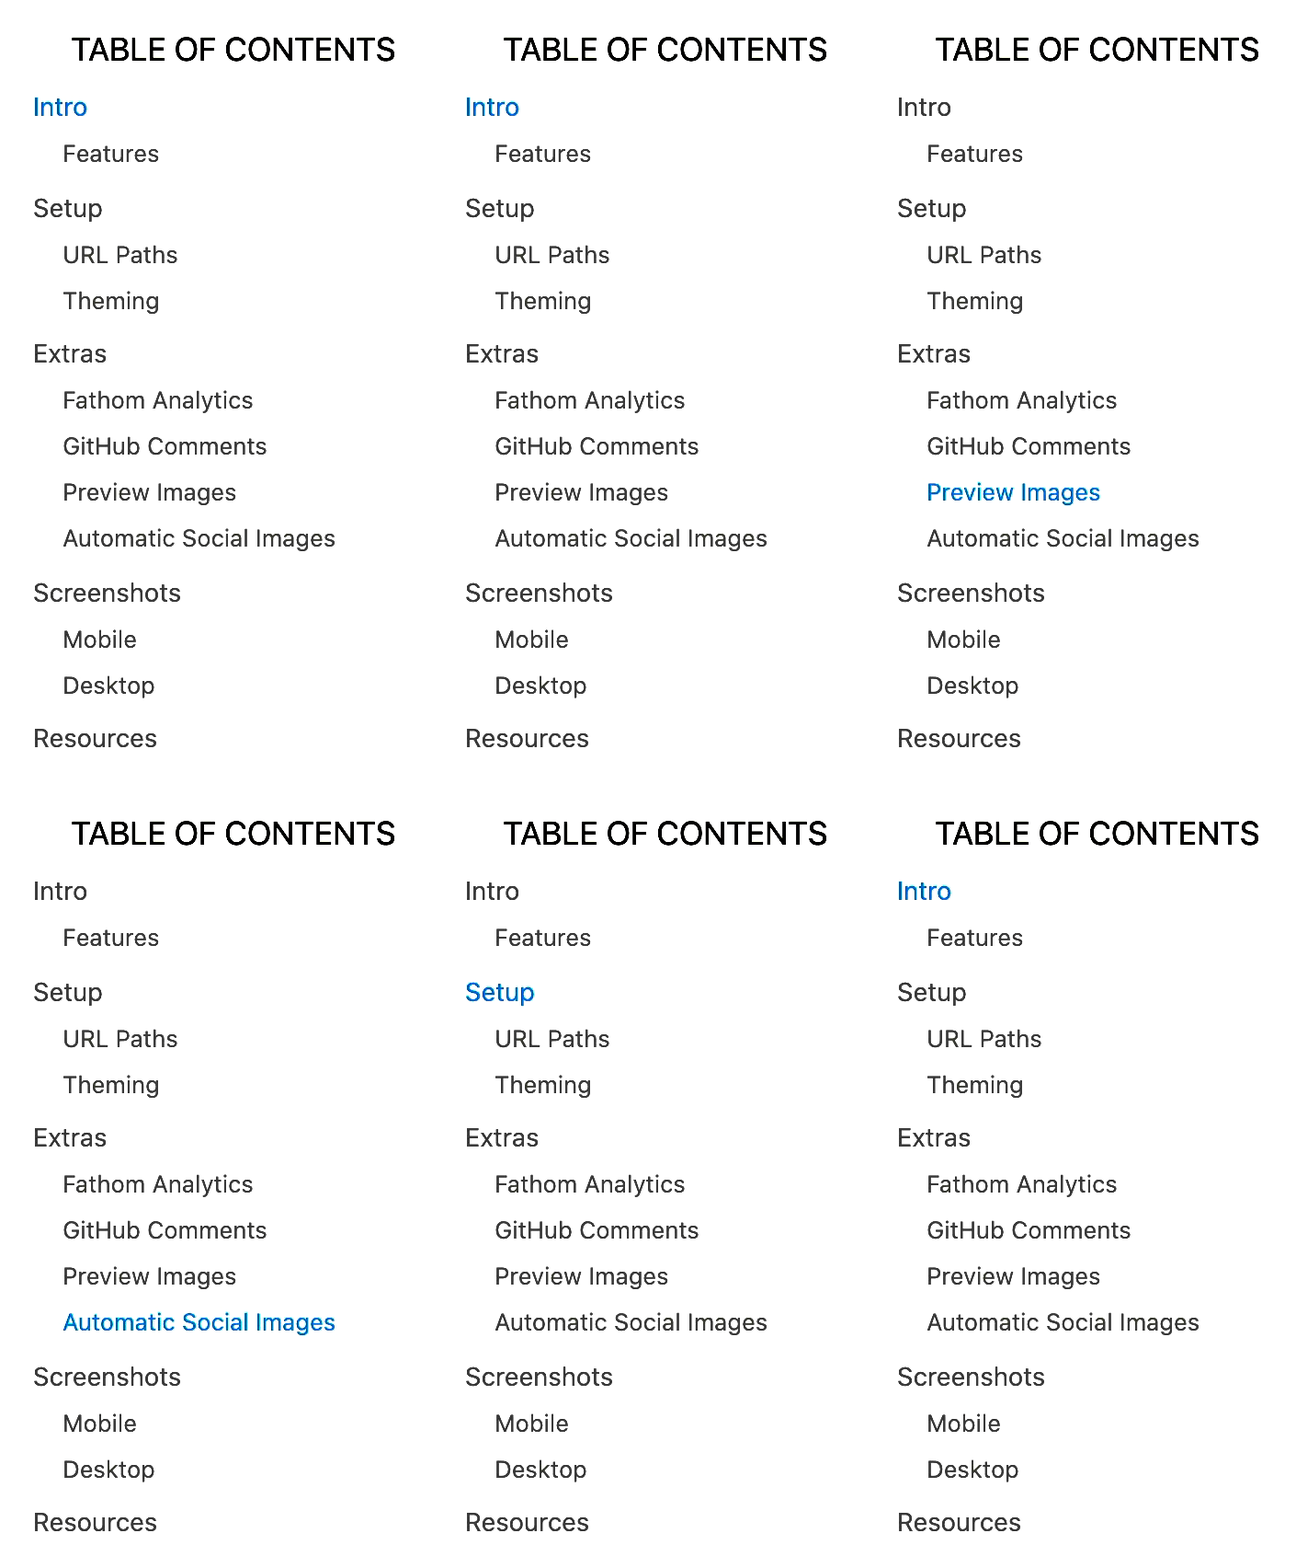
By default, every article page will have a table of contents displayed as an aside on desktop. It uses scrollspy logic to automatically update the current section as the user scrolls through your document, and makes it really easy to jump between different sections.
If a page has less than minTableOfContentsItems (default 3), the table of contents will be hidden. It is also hidden on the index page and if the browser window is too small.
This table of contents uses the same logic that Notion uses for its built-in Table of Contents block (see getPageTableOfContents for the underlying logic).
All pages are designed to be responsive across common device sizes.
Analytics are an optional feature that are easy to enable if you want.
Fathom provides a lightweight alternative to Google Analytics.
To enable, just add a NEXT_PUBLIC_FATHOM_ID environment variable, which will only be used in production.
PostHog provides a lightweight, open source alternative to Google Analytics.
To enable, just add a NEXT_PUBLIC_POSTHOG_ID environment variable, which will only be used in production.
If you're using Redis, analytics, or any other feature which requires environment variables, then you'll need to add them to your Vercel project.
If you want to test your redis builds with GitHub Actions, then you'll need to edit the default build action to add REDIS_HOST and REDIS_PASSWORD. Here is an example from my personal branch. You'll also need to add these environment variables to your GitHub repo as repository secrets.
See the contribution guide and join our amazing list of contributors!
MIT © Travis Fischer
Support my open source work by following me on twitter


-opt.jpg?table=block&id=23b11fe5-d6df-422d-9674-39cf7f547523&spaceId=fde5ac74-eea3-4527-8f00-4482710e1af3&width=2000&userId=&cache=v2)


