Project template for the Godot Game Engine taking care of things so you can focus on the game.
🔔 The Toolbox project is now a godot editor plugin and available on the Asset Library. You can either install the plugin and configure it in the editor and config or you can fork/download this repo for a pre-configured version along with a demo game.
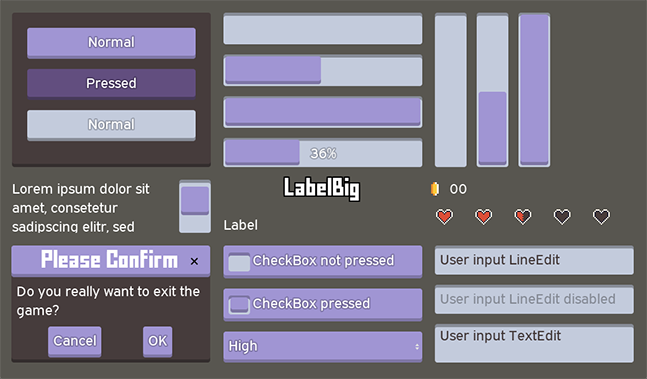
The Godot Toolbox project features a main menu, extensive settings, in-game UI, a custom and easy-to-change theme and some demo levels.
Additionally there are some re-usable components for UI, state management, persistent storage, and the game itself.
Joypad and mobile device support is taken care of.
1️⃣ If you are starting a new project, you can download or fork this repository. It contains a pre-configured version of the plugin along with a demo game with levels.
2️⃣ If you have a pre-existing project you want to add this plugin to, you can install the plugin. In that case you need to configure it yourself and then add your game into the menu structure.
Download or fork this entire project to get started.
You will find the already installed plugin in [addons/toolbox-project] along with a demo game, found in [game/] and [assets/].
You should be able to directly start the project. Explore the menus and settings options, play the game for a run or two and make yourself familiar with the features of the UI.
After that, check out the bottom control panel labelled "Toolbox Project". It guides you through configurations and shows you important scenes and resources. Check out the next section for more about the panel.
Both the plugin and the demo game are under MIT license, so you can download, modify and publish your version however you want. But make sure to credit the artist of the used assets, though it is not needed. Mention of me and this project would be appreciated, but not required either.
If you are not interested in the example game or if you are adding the plugin to an already existing project, you only need to copy the [addons/toolbox-project] directory.
Download the file here or on the Godot Asset Library, move it to [addons/toolbox-project] in your projects root directory and enable it in Project Settings > Plugins. You will probably be getting a lot of errors, re-opening the project will solve that.
Before you can hit play, you need to configure the Toolbox Project. To do so, click the bottom control panel labelled "Toolbox Project".
It helps performing all necessary configuration steps. Make sure you do the following:
- Under Screens, click Create all screens to copy all the menu Screens to [screens/].
- Under Screens, click Make ScreenSplash main scene to set the splash screen to the projects main scene.
- Under Config, click Create default. This will create and open the config file.
- Under Bus Layout, click Set default BusLayout. This is necessary in order to use the sound settings.
After these steps, you should be able to run the project and navigate the menus. Check out the config file to customize everything to your liking.
To add you game into the menu structure, simply drag your game root scene into [screens/ScreenGame.tscn].
After exporting the project, you might encounter some issues with the config files not being loaded since they are cfg files (not being Godot resource files). This can easily be fixed by adding "*.cfg" to Export > Resources > Filters to export non-resource files/folders.
The Menu, the GameUI and all sub-components use a single theme resource. It is globally used and can be found in [addons/toolbox_project/assets/theme.tres].
Changing the looks is easy, just modify this theming atlas. It contains all graphics used in the theme.
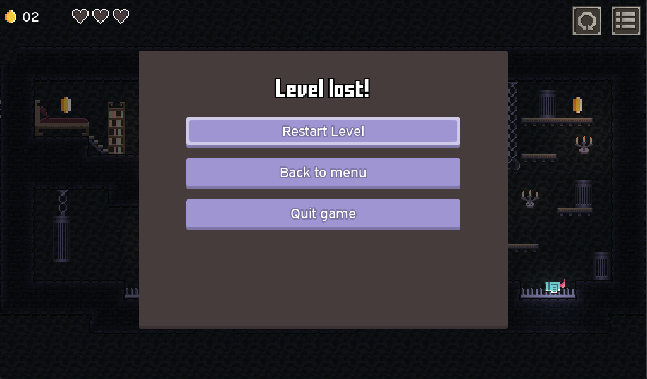
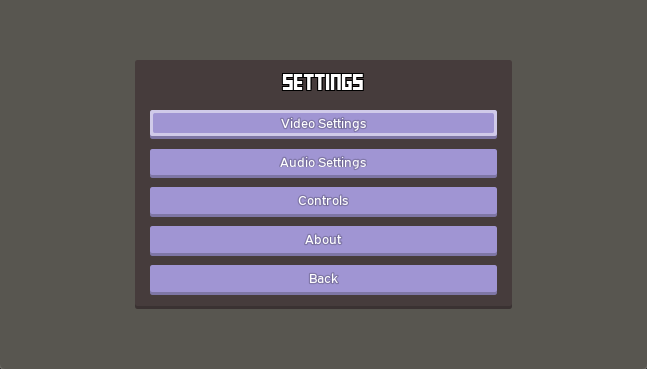
The game comes with a main menu that lets you navigate through options, an about screen, a level selection and the game. These are all inheriting the Screen scene and will be copied to [screens/] during the configuration. The menu can be navigated using a joypad/controller.
Additionally, there are in-game ui components [addons/toolbox_project/scenes/ui/game] like:
- PauseMenu
- GameOver
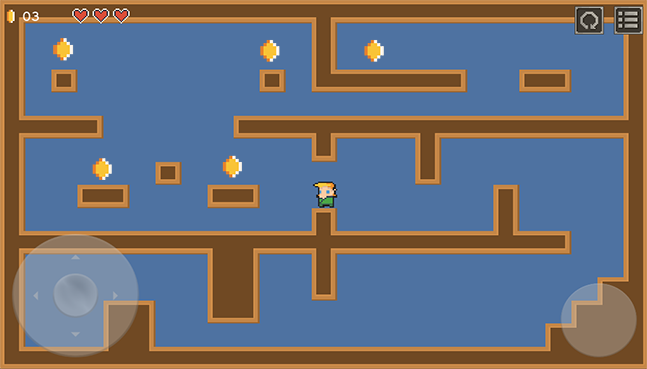
- A GameUI equipped with a healthbar and a score indicator
- the mobile controls
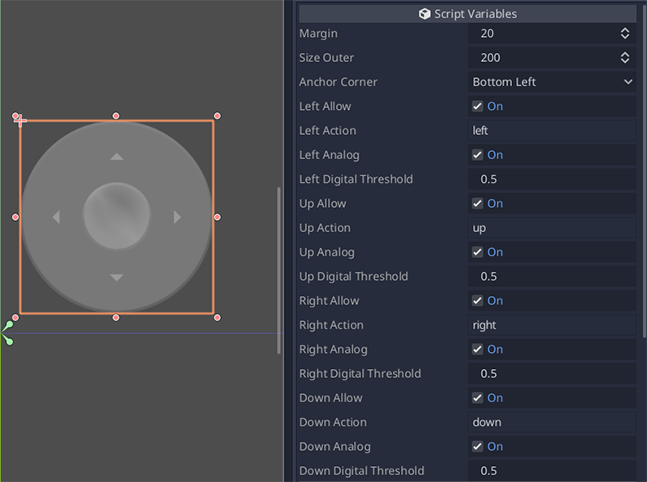
A joystick and one button enable for platformer controls on mobile. The default version can be found at [addons/toolbox_project/scenes/ui/game/GameMobileUI.tscn]. However, you could add an extra button or joypad if you needed them.
They trigger the same InputEvents a key stroke would fire and their respective InputMap action can be configured via export variables.
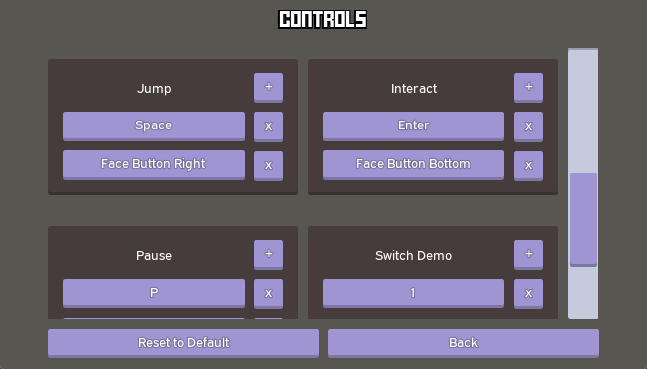
Video, audio and controls settings can all be adjusted and are saved using the PersistenceMngr.
The controls default is taken from the project settings InputMap.
Any changes to the controls will be saved as a file using the PersistenceMngr.
Changes in the settings menu do affect the InputMap and can therefore be polled using Input.is_action_pressed() as usual.
Three Sliders give the option for main, music and soundeffects volume. Make sure to set the corresponding bus in any AudioStreamPlayers you create.
Currently only Fullscreen and VSync options, but can be extended easily.
If you downloaded the entire repo, the demo game can be found in [game/], but it is not required.
The world is broken up into levels, aka sub scenes located in [game/levels/]. In this demo each level showcases a different map and mechanic and they can be changed by pressing 1 (or by collecting all coins ;) ).
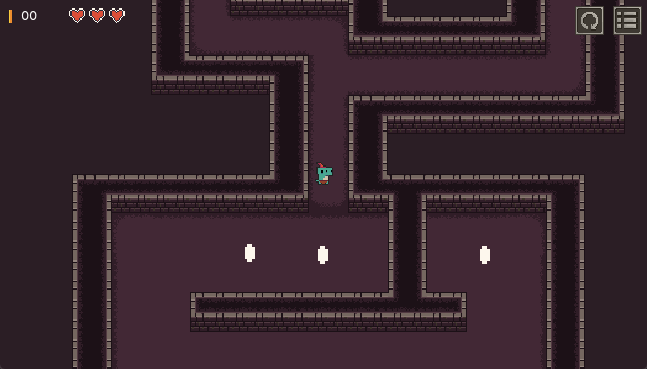
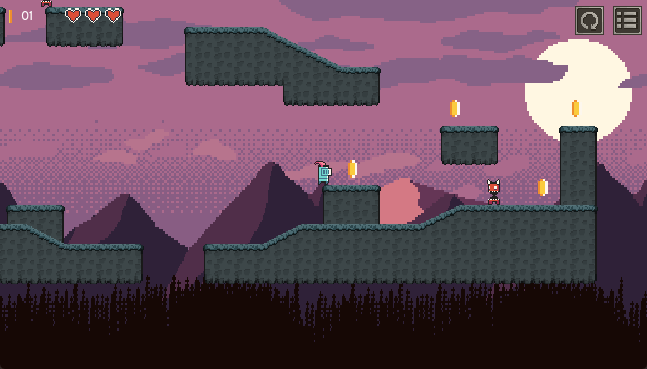
A total of 5 levels with different settings can be found, some with specials. Some of the most notable:
- Platformers
- darkness and light [game/levels/PlatformerDarkCave]
- a parallax background [game/levels/PlatformerParallax]
- a 3x3 autotile TileMap [game/levels/PlatformerAutotile]
- TopDown
- an isometric TileMap [game/levels/TopDownIsometric]
- a 3x3 autotile TileMap [game/levels/TopDownMysteryDungeon]
The Player and the Enemy are both inheriting from the abstract Entity class, which refactors common behavior like basic physics, health, damage, collision and more. In this demo, the Player provides 2 control schemes, and 4 skins.
For global access, these Managers are put into the projects autoload.
Contains custom debug print functions. Each print has a topic (of enum D.LogCategory or a string) and D.LogLevel
Use the short-hand fcts D.w and D.e for warnings and errors.
# output grounded pos in topic "Player"
D.l("Player", ["grounded", position])

# equivalent
D.l(D.LogCategory.GAME, ["Savefile could not be found", state], LogLevel.WARN)
D.w(D.LogCategory.GAME, ["Savefile could not be found", state])
The Config file allows filtering the debug output by topic and LogLevel
Contains global settings for hiding menus, the title song, default settings, screens, levels and more.
Since the config is global, it can be accessed:
health = 100 if C.is_debug else 3Loads and saves state on the users physical file system. Use for settings, game progression, scores, ...
Consider the following (semi-structured) state:
var default_audio = {
	"Master" : 80,
	"Music" : 100,
	"Effects" : 100
}
Given a unique name and the default state, one can add a persistent state object:
var state = PersistenceMngr.add_state("settingsAudio", default_audio)
state.connect("changed", self, "_on_settingsAudio_update")
Use flags to customize further details:
# saves state after every PersistenceMngr.set_state(...)
PersistenceMngr.add_state("settingsAudio", default_audio, PersistenceMngr.SAVE_ON_SET)
# also loades state immeditately
PersistenceMngr.add_state("settingsAudio", default_audio, PersistenceMngr.SAVE_ON_SET | PersistenceMngr.LOAD_ON_START)
The PersistenceMngr acts a global interface to query state objects using a unique id.
The getter functions as a singleton, ensuring that previously saved states are loaded from the disk.
print(PersistenceMngr.get_state("settingsAudio"))
# outputs {"Master":80, ...}
print(PersistenceMngr.get_state("settingsAudio").Master)
# outputs 80
print(PersistenceMngr.get_state("settingsAudio.Master"))
# outputs 80
There is a respective set_val("settingsAudio", {"Master":80,...}) to overwrite previously created states
Basically a scene manager to globally allow switching scenes in a push and pop manner.
All screens must inherit [scenes/screen/Screen.tscn].
# Open settings screen
ScreenMngr.push_screen(C.SCREEN_OPTIONS_MENU)

# Go to custom screen
ScreenMngr.push_screen(load("res://scenes/screens/my_custom_screen.tscn"))

# Pop back to previous screen (without re-instantiating it!)
ScreenMngr.pop_screen()Global "connecting-point" for main signals like:
# Screen lifecycle
signal screen_entered(screen)
signal screen_left(screen)

# Game lifecycle
signal game_started
signal game_paused(pause_on)
signal game_ended

signal level_started(root_node)
signal level_restarted()
Is already used for a lot of components, esp. to notify game elements.
Creates the state objects for the PersistenceMngr and holds some global variables.
All assets used have been declared royalty free and useable for commercial use. Check out their original art to use and find more like these:
Seamless parallax layer sprites
Ansimuz
Players, Enemies, Icons
0x72
Isometric topdown tileset
ToxSickProductions
Music
Monolith OST
Soundeffects
Kastenfrosch
LittleRobotSoundFactory
Theme, Logo, the dungeon tileset
Me
